
 Pin
Pin
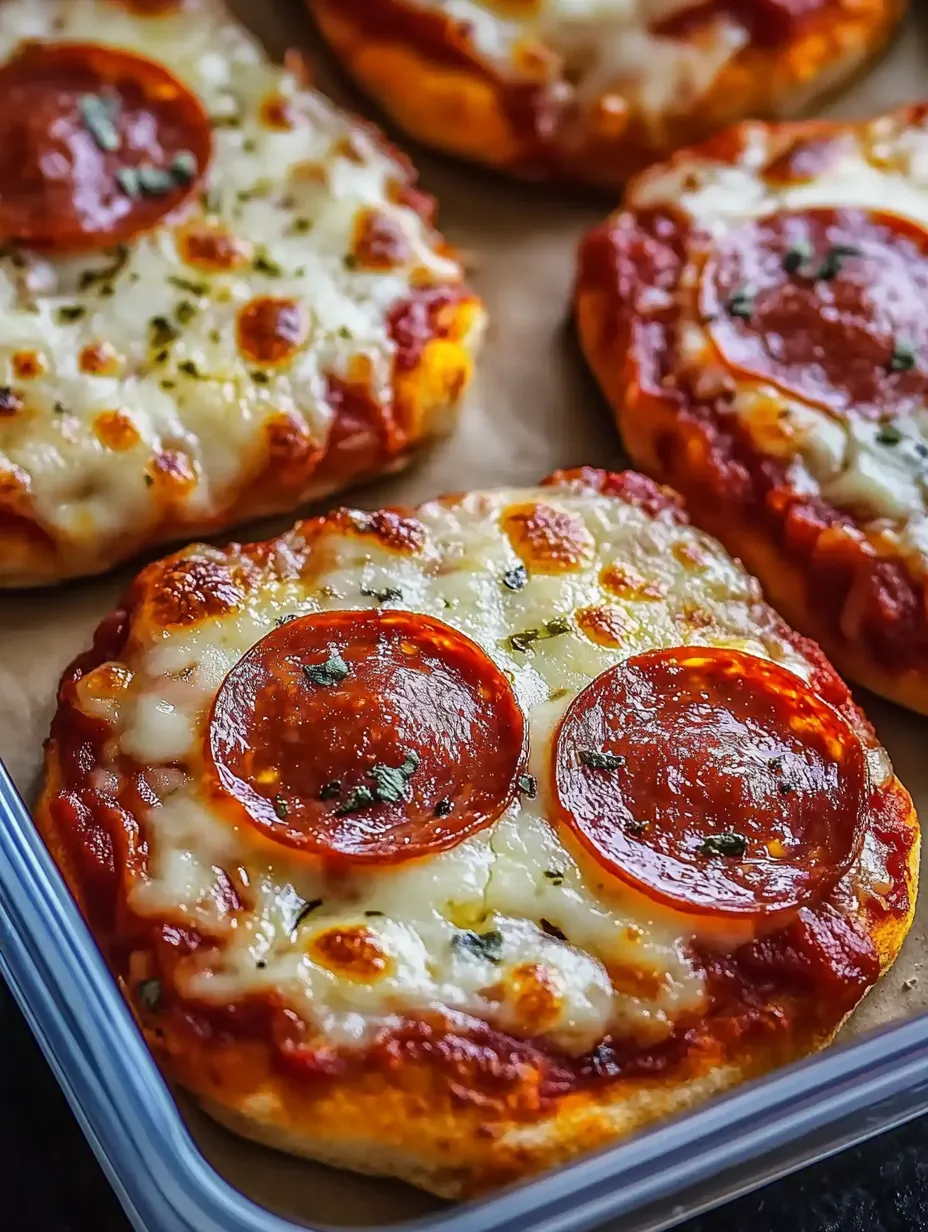
Transform simple yogurt dough into adorable personal pizzas perfect for lunchboxes and after-school snacks. These mini pizzas combine the ease of 2-ingredient dough with classic pizza toppings, creating portable treats that kids love to help make and eat.
Through countless lunchbox preparations, I've discovered that proper dough handling and consistent sizing create the perfect portable pizzas.
Essential Ingredients
- Self-Rising Flour: Creates perfect rise without yeast
- Full-Fat Greek Yogurt: Provides best texture
- Quality Tomato Paste: Concentrated flavor works best
- Shredded Mozzarella: Fresh-grated melts better
- Mini Pepperoni: Perfect size for mini pizzas
- Italian Seasoning: Enhances sauce flavor
Detailed Instructions
- 1. Dough Preparation:
- Combine 2 cups self-rising flour with 1 cup Greek yogurt until shaggy dough forms. Turn onto lightly floured surface and knead 5-7 minutes until smooth and elastic. If dough feels sticky, add flour one tablespoon at a time. Let rest 5 minutes if dough resists rolling.
- 2. Shaping Process:
- Roll dough to ¼-inch thickness on floured surface. Use 3-inch round cutter or mug to cut circles. Re-roll scraps gently to create more circles. Transfer rounds to parchment-lined baking sheet.
- 3. Topping Application:
- Spread 1-2 teaspoons tomato paste on each round, leaving small border. Sprinkle each with ⅛ teaspoon Italian seasoning. Add 2 tablespoons shredded mozzarella and 3-4 mini pepperoni pieces per pizza.
- 4. Baking Method:
- Bake at 400°F for 12-14 minutes until edges are golden brown and cheese is melted with light brown spots. Check bottoms - they should be crispy and golden.
- 5. Cooling Strategy:
- Let pizzas cool on baking sheet 5 minutes, then transfer to wire rack. This prevents soggy bottoms and ensures proper texture for lunchboxes.
Storage and Serving Solutions
- 1. Immediate Storage:
- Let pizzas cool completely before packing in lunchboxes or airtight containers. Layer between parchment paper to prevent sticking. Store in refrigerator up to 3 days. For room temperature lunches, pack with ice pack to maintain food safety.
- 2. Freezer Storage:
- Place cooled pizzas on baking sheet in single layer, freeze until solid (about 2 hours). Transfer to freezer bags, removing as much air as possible. Label with date and contents. Freeze up to 3 months. Thaw overnight in refrigerator or reheat from frozen.

Perfect Pairings
- Fresh vegetable sticks
- Fruit cups or berries
- Greek yogurt
- Trail mix
- Baby carrots
- Cherry tomatoes
- String cheese
- Hummus for dipping
Creative Variations
- BBQ chicken and cheddar
- Margherita with fresh basil
- Veggie supreme
- Hawaiian style
- Mexican with taco seasoning
- Pesto and mozzarella
- White pizza with ricotta

These mini pizzas prove that homemade lunches can be both fun and nutritious. Whether preparing for school lunches or after-school snacks, they're sure to become a favorite in your meal prep rotation. Remember, consistent sizing and proper cooling ensure the best results for portable enjoyment.
Recipe FAQs
- → Can I make these ahead and freeze them?
- Yes, freeze fully baked pizzas for up to 3 months. Reheat in oven or microwave.
- → What other toppings can I use?
- Try ham, vegetables, different cheeses, or make them vegetarian with just cheese.
- → Why use Greek yogurt in the dough?
- Greek yogurt creates a tender dough without need for yeast or rising time.
- → Can I make the dough in advance?
- Yes, store wrapped dough in fridge for up to 24 hours before using.
- → How do I prevent soggy bottoms?
- Don't use too much tomato paste and ensure oven is fully preheated.