
 Pin
Pin
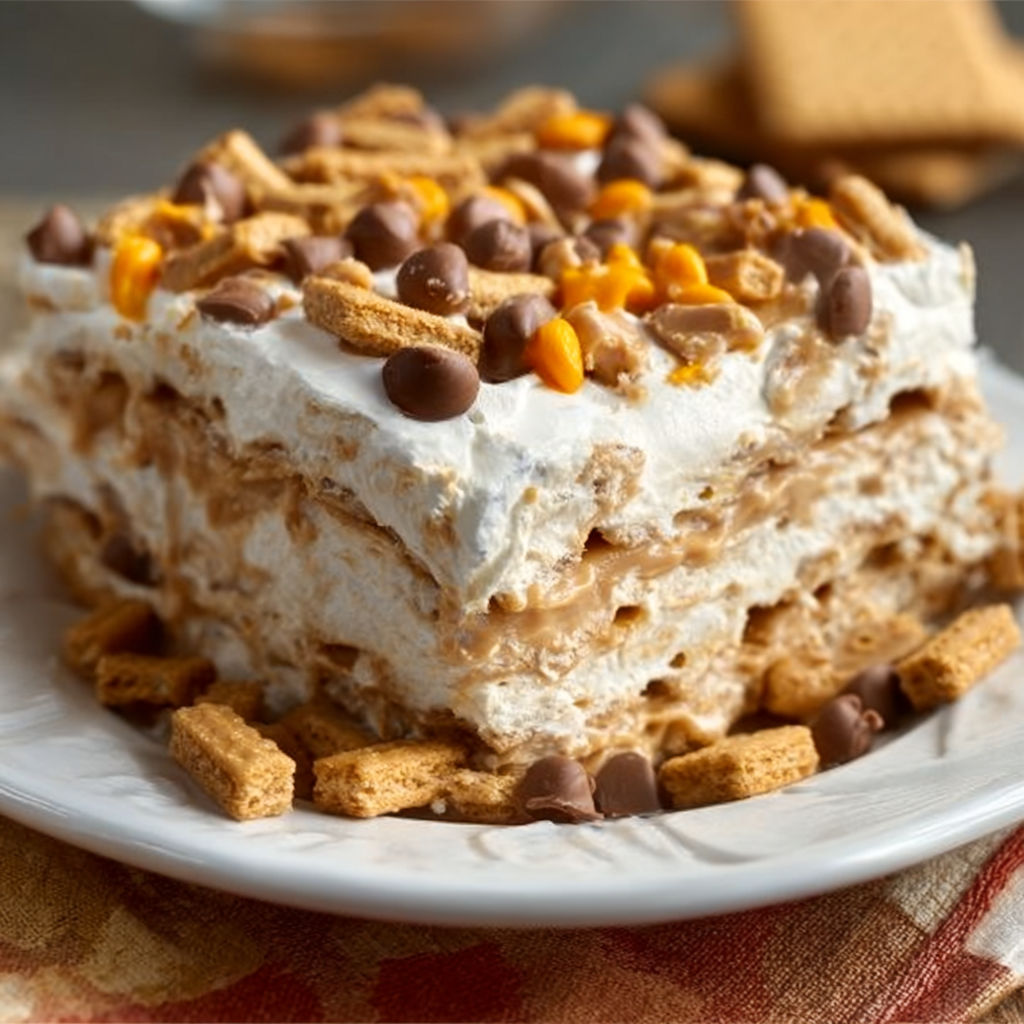
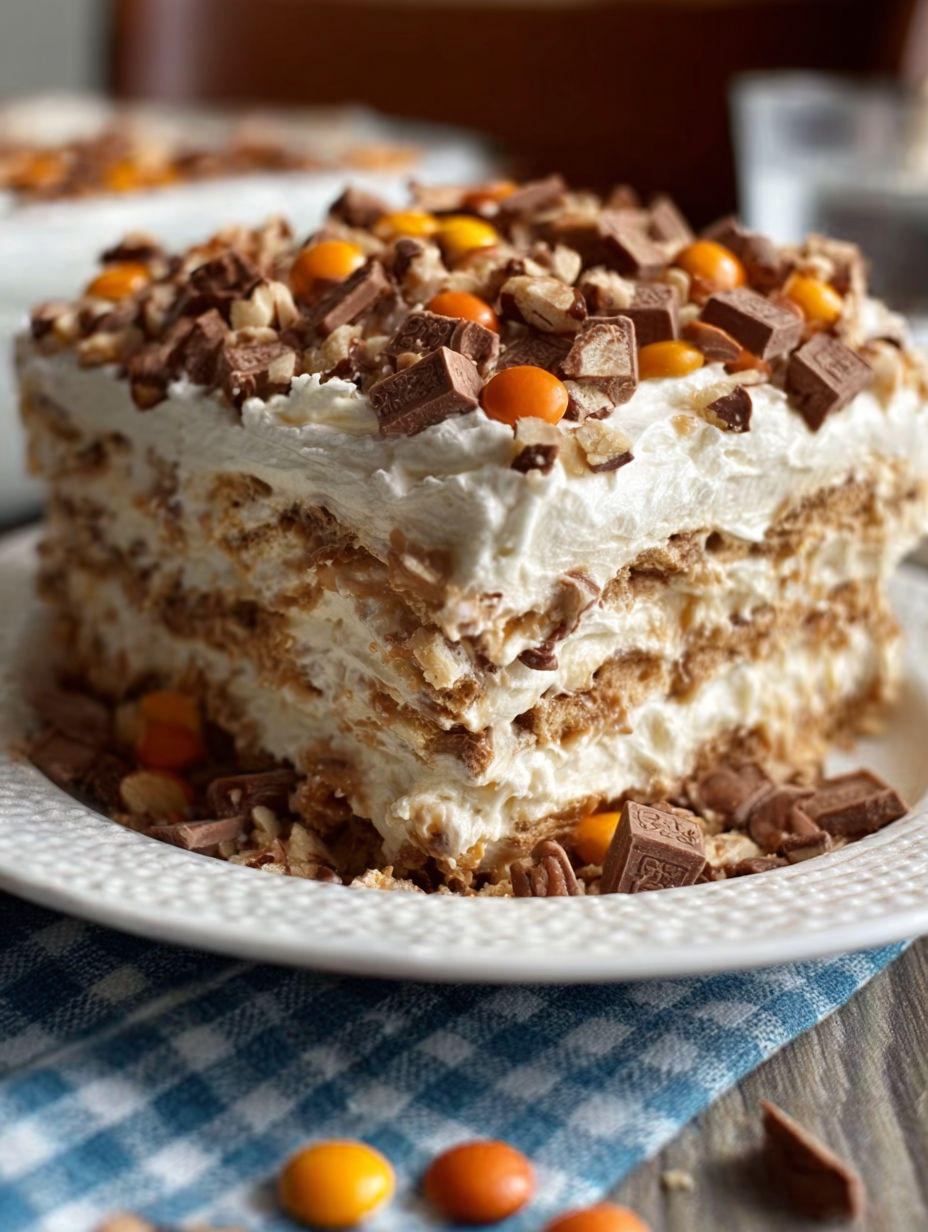
This No-Bake Nutty Buddy Icebox Cake will quickly become your go-to dessert for any occasion. It’s irresistibly creamy, peanut buttery, and loaded with the crispy, chocolatey goodness of Nutty Buddy wafers. With no baking required, it’s the ultimate treat when you’re in the mood for something simple yet indulgent.
The first time I made this recipe was for a quick potluck dish, and now it’s my most-requested dessert. It’s a nostalgic mix of flavors that feels like an elevated version of childhood snacks.
Ingredients
- Little Debbie Nutty Buddy wafers: 2 boxes give the dessert its signature layers of crunch and chocolate
- Jell-O Vanilla Instant Pudding mix: Ensure the 3.4oz size for the right pudding consistency
- Cold milk: 1 ½ cups to perfectly activate and thicken the pudding
- Cool Whip (8oz thawed): for creaminess and stability in the filling
- Jif Creamy Peanut Butter: ½ cup delivers that rich, nutty flavor to complement the wafers
How To Make No-Bake Nutty Buddy Icebox Cake
- Prepare the Pudding Base:
- Whisk the vanilla pudding mix and cold milk in a large bowl until it thickens to a creamy texture. Give it a few minutes for the pudding to fully set.
- Incorporate the Peanut Butter:
- Warm the peanut butter in the microwave for about 20 seconds just until it becomes runny. Fold it into the prepared pudding gently so that the flavors combine evenly.
- Blend in the Cool Whip:
- Take the thawed Cool Whip and carefully fold it into the peanut butter-pudding mixture. This creates a fluffy and light filling that is key to the dessert.
- Assemble the First Layer:
- Cover the bottom of a 9x13 glass dish with a tight and even layer of Nutty Buddy wafers. Break pieces as needed so there are no gaps.
- Add the Filling:
- Spread the creamy peanut butter pudding mixture over the first layer of wafers. Use a spatula to distribute it evenly for a smooth top.
- Finish and Chill:
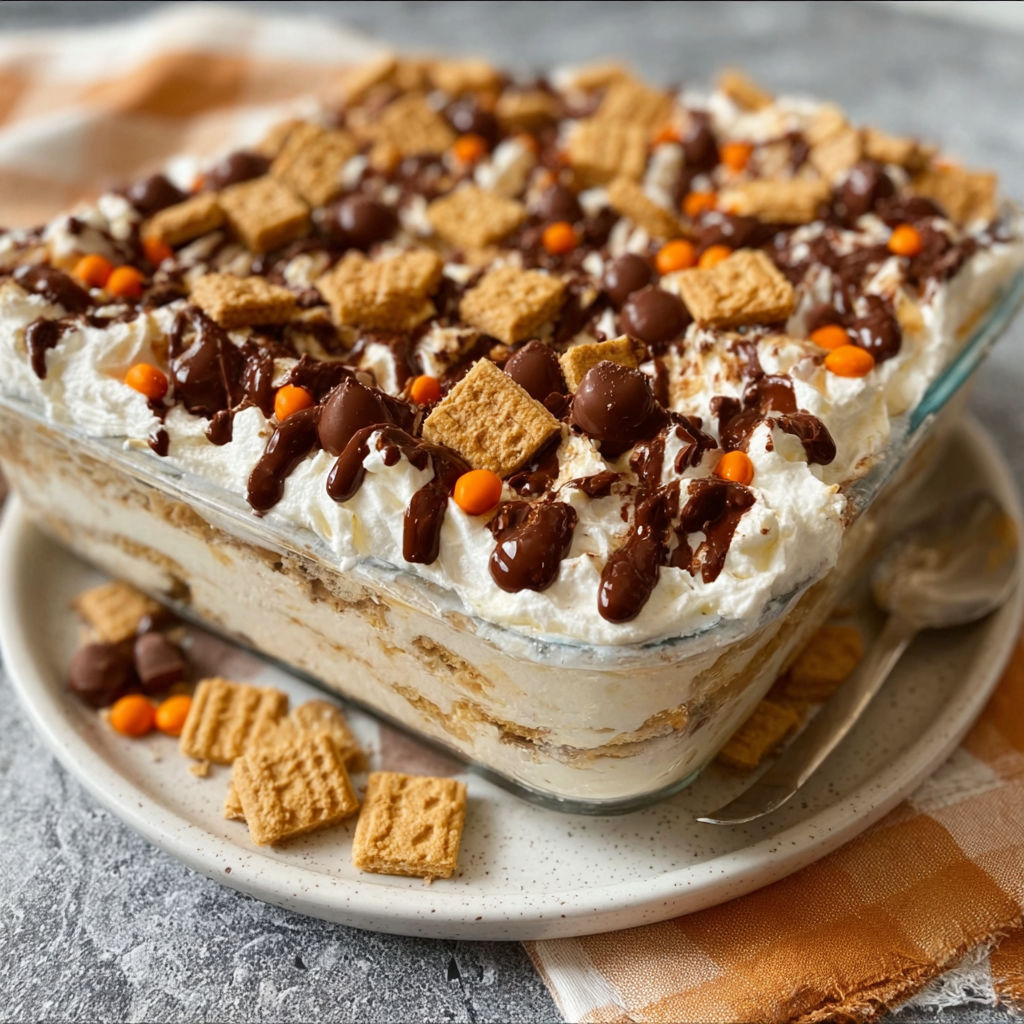
- Place a second layer of Nutty Buddy wafers on top of the creamy mixture as the final layer. Refrigerate the cake for at least 4 hours to allow the dessert to set and the flavors to meld together before serving.
My favorite part of this recipe is the visual of those distinct crispy wafer layers when you cut into the cake. It reminds me of how excited my family gets to dig into this dessert, especially on movie nights.
Storage Tips
Cover the dish tightly with plastic wrap or a lid and store in the refrigerator for up to 3 days. It’s best enjoyed chilled since it holds its form better when cold.
Ingredient Substitutions
You can swap Cool Whip with freshly whipped cream if preferred for a fluffier texture. For a slightly less sweet version, use natural peanut butter instead of processed.
Serving Suggestions
Serve slices as-is or with a drizzle of chocolate syrup and a sprinkle of crushed peanuts for an extra special touch. Pair with a tall glass of milk or coffee for a complete treat.
With every bite, this cake brings the perfect combination of creamy, peanut buttery filling and crispy wafer crunch. Its straightforward process means you’ll spend less time in the kitchen and more time enjoying it with loved ones. Whether it’s a casual family dinner or a festive gathering, this dessert never fails to impress.
Recipe FAQs
- → Can I use a different type of wafer for this dessert?
Yes, you can substitute Nutty Buddy wafers with another chocolate and peanut butter-flavored wafer for a similar taste. However, the Nutty Buddy adds a signature texture and flavor that's hard to replicate exactly.
- → How long does this dessert need to refrigerate?
Refrigerate for at least 4 hours to allow the layers to set and the flavors to blend together perfectly.
- → Can I make this dessert ahead of time?
Absolutely! This dessert can be made a day in advance. In fact, giving it more time in the fridge enhances the flavor and texture.
- → Is there a substitute for Cool Whip?
If you don’t have Cool Whip, you can use freshly whipped cream instead. Just make sure to whip it to soft peaks for a similar consistency.
- → Can this dessert be frozen?
Yes, you can freeze the dessert. Freeze it tightly covered, and thaw in the fridge for a few hours before serving to maintain its creamy texture.