
 Pin
Pin
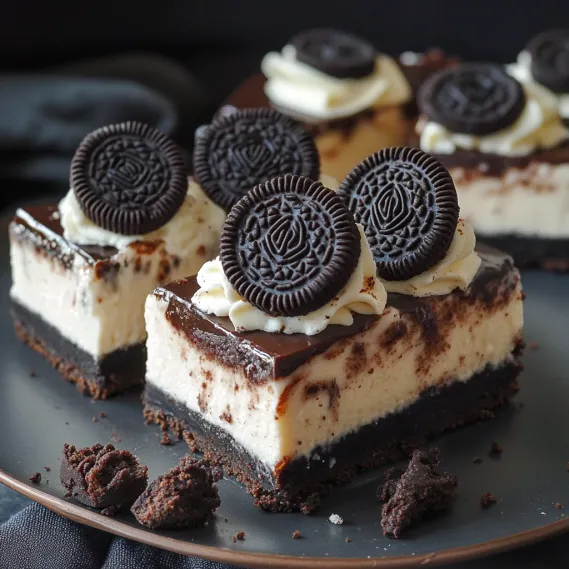
This no-bake Oreo cheesecake has been my ultimate party trick for years. Whenever I need an impressive dessert without turning on the oven, these creamy, chocolatey bars come to the rescue with their perfect balance of crunchy cookie bits and smooth cheesecake filling.
I first made these for my nephew's birthday when the power went out during a summer storm. What started as a kitchen emergency has become our most requested family celebration dessert, with everyone fighting over the corner pieces.
Ingredients
- For the Crust
- 18 Oreo cookies: Biscuit part only, providing the perfect chocolate foundation
- 4 tablespoons melted butter: Adds richness and helps bind the crust
- For the Cheesecake Filling
- 10.5 ounces cream cheese: Softened for that classic tangy cheesecake flavor
- 1/3 cup granulated sugar: Balances the tanginess without overwhelming the Oreo flavor
- 18 Oreo fillings: Recycled from your crust cookies for authentic Oreo taste
- 2/3 cup heavy cream: Creates the light mousse-like texture
- 10 chopped Oreo cookies: For delightful cookie chunks in every bite
- 3 whole Oreo cookies: Creates a surprise middle layer
- For the Ganache Topping
- 5 ounces milk chocolate: Creates a silky smooth topping
- 3.5 tablespoons heavy cream: Gives the ganache its perfect consistency
- 3 Oreo cookies: For an eye-catching garnish that hints at what is inside
How To Make No-Bake Oreo Cheesecake Bars
- Prepare the Crust:
- Separate your Oreo cookies saving the filling for later. Crush the chocolate biscuits into fine crumbs using a food processor or placing them in a bag and crushing with a rolling pin. Mix thoroughly with melted butter until the mixture resembles wet sand. Press firmly and evenly into a parchment lined 8x8 inch pan using the bottom of a glass for a smooth finish. Refrigerate for at least 30 minutes until completely firm.
- Create the Cheesecake Base:
- In a large mixing bowl beat the softened cream cheese with an electric mixer for a full 3 minutes until completely smooth and fluffy. Scrape down the sides of the bowl frequently to ensure no lumps remain. Add all the reserved Oreo fillings and beat again until the mixture is uniform and no white streaks remain.
- Whip the Cream:
- In a separate chilled metal bowl whip the heavy cream with the granulated sugar. Start on low speed then gradually increase to medium high and beat for about 4 minutes until soft peaks form where the cream stands up with slight drooping at the tips. Be careful not to overwhip as it can quickly turn grainy.
- Combine the Filling:
- Using a rubber spatula fold the whipped cream into the cream cheese mixture with a gentle hand. Use a bottom to top folding motion to preserve the air bubbles for a light texture. When almost combined add the chopped Oreos and continue folding just until evenly distributed.
- Assemble the Layers:
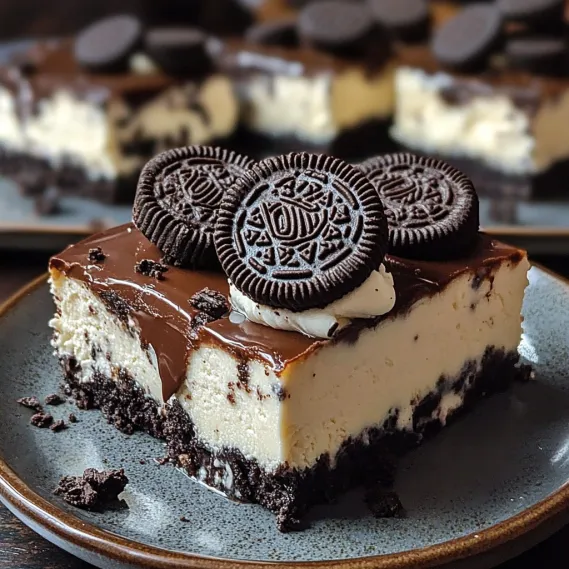
- Spread half of the cheesecake filling over the chilled crust creating an even layer. Arrange 3 whole Oreos in a row down the center for a surprise when slicing. Cover with the remaining filling and use an offset spatula to create a perfectly smooth surface. Tap the pan gently on the counter to release any air bubbles.
- Chill Thoroughly:
- Cover the pan with plastic wrap without touching the surface of the cheesecake. Refrigerate overnight or for at least 8 hours. This resting time is crucial for developing the perfect texture and allowing the flavors to meld.
- Make the Ganache:
- Heat the heavy cream in a microwave safe bowl or small saucepan until just beginning to simmer but not boiling. Pour over the milk chocolate pieces in a heat safe bowl. Let stand for 2 minutes then stir gently from the center outward until completely smooth and glossy. Allow to cool for 10 minutes until slightly thickened but still pourable.
- Add the Finishing Touch:
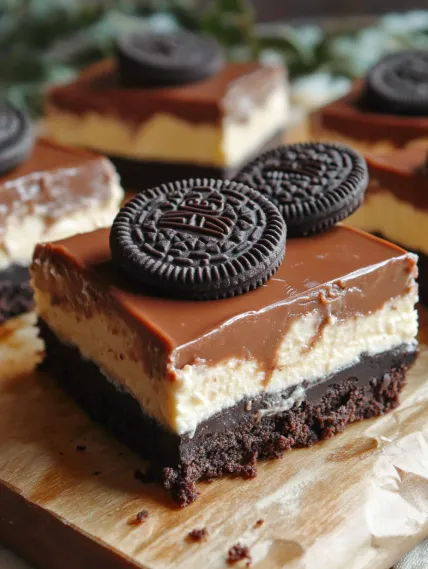
- Pour the cooled ganache over the chilled cheesecake tilting the pan gently to create an even layer. Use an offset spatula if needed for perfect coverage. Return to the refrigerator for 30 minutes until the ganache is set.
- Garnish and Serve:
- Before serving top with halved Oreo cookies as a decoration. For clean slices use a sharp knife dipped in hot water and wiped dry between cuts. Lift the cheesecake out using the parchment paper overhang and slice into 12 equal bars.
The secret to this recipe's amazing flavor is using both the Oreo biscuits and the filling separately. I discovered this technique after wondering why my first attempts never tasted quite like the cookies themselves. Separating the components lets you maximize the flavor in both the crust and filling while controlling the sweetness perfectly.
Storage Secrets
These cheesecake bars maintain their best quality when stored in the refrigerator in an airtight container for up to 5 days. Place parchment paper between layers if stacking to prevent sticking. For longer storage freeze individually wrapped bars for up to 2 months. Thaw overnight in the refrigerator for the best texture never at room temperature as this can cause weeping and texture changes.
Customization Ideas
While classic Oreos create the authentic flavor profile you can experiment with flavored varieties like mint golden or birthday cake Oreos for seasonal variations. For a more sophisticated adult version add 2 tablespoons of coffee liqueur to the filling and use dark chocolate for the ganache. If you prefer a lighter dessert substitute Greek yogurt for half the cream cheese and use whipped coconut cream instead of dairy cream.
Serving Suggestions
These bars shine when served with complementary accompaniments. Drizzle each plate with a small amount of raspberry coulis for a vibrant color contrast and berry tang that cuts through the richness. For special occasions pair with a scoop of vanilla bean ice cream and a shot of espresso on the side. At summer gatherings serve these bars slightly chilled but not cold from the refrigerator to maximize their creamy texture.
Troubleshooting Tips
If your ganache appears dull or grainy reheat gently over a double boiler and add a teaspoon of vegetable oil to restore shine. For a filling that seems too soft after overnight chilling place in the freezer for 30 minutes before slicing. When working in warm kitchens chill your mixing bowl and beaters before whipping the cream to achieve better volume. Remember that patience is key with no bake desserts give them the full chilling time for the best texture and flavor development.
Recipe FAQs
- → How do I make the crust for Oreo cheesecake bars?
Crush Oreo biscuits and mix with melted butter until combined. Press the mixture into a lined pan and chill until firm.
- → Can I use a different type of chocolate for the ganache?
Yes, you can substitute milk chocolate with dark or white chocolate for a richer or sweeter ganache, depending on your preference.
- → Do I have to refrigerate the bars overnight?
Yes, chilling overnight allows the cheesecake filling to set properly and enhances the flavor and texture.
- → Can I make these bars in advance?
Absolutely! These no-bake Oreo cheesecake bars can be made 1-2 days ahead and stored in the fridge until ready to serve.
- → Can I use other cookies instead of Oreos?
Yes, you can replace Oreos with any sandwich cookie of your choice to create different flavor combinations.
- → How should I slice the bars for serving?
For clean slices, use a sharp knife and wipe it with a damp towel between each cut to prevent sticking.