
 Pin
Pin
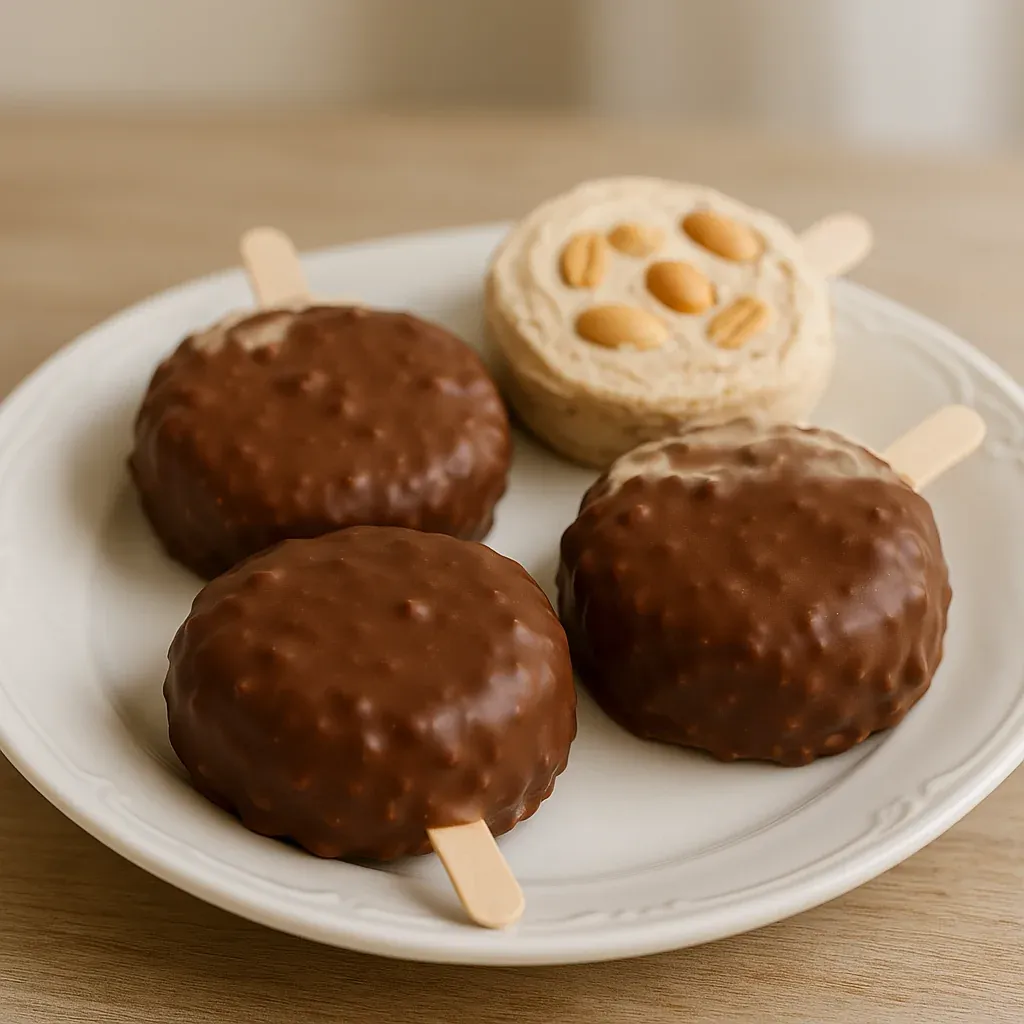
This homemade peanut butter Buster Bars recipe transforms simple ingredients into a decadent frozen treat that rivals any ice cream shop favorite. The contrast between creamy peanut butter frozen yogurt and the crisp chocolate coating creates an irresistible texture that cracks perfectly with each bite.
I first made these during a particularly brutal heatwave when my ice cream cravings were at their peak but didn't want to leave the house. The simplicity surprised me, and now these bars have become my go-to dessert when entertaining friends who can't believe they're actually healthier than store-bought versions.
Ingredients
- Yogurt or vanilla ice cream: Choose Greek yogurt for extra protein or a dairy-free alternative for a vegan version
- Peanut butter: The foundation of flavor providing creamy richness and that distinctive nuttiness we all crave
- Sweetener of choice: Skip if using already sweetened yogurt or ice cream, otherwise honey or maple syrup add natural sweetness
- Chocolate chips: Dark chocolate creates the perfect shell and adds antioxidant benefits
- Peanuts: Optional but adds delightful texture and visual appeal to your homemade treats
- Coconut oil: Creates a smoother chocolate coating that hardens beautifully when frozen
Step-by-Step Instructions
- Prepare the Base:
- Whip together the yogurt, peanut butter, and sweetener until completely smooth and integrated. The mixture should be thick enough to hold its shape when scooped but still workable. This forms the creamy foundation of your bars that will freeze beautifully with a fudge-like texture.
- Form the Bars:
- Drop generous spoonfuls of the peanut butter yogurt mixture onto a parchment-lined tray keeping them evenly spaced. Insert a popsicle stick or small spoon into each mound to create a handle then use another spoon to smooth the mixture into your desired shape. Work quickly as the mixture will soften at room temperature.
- Add Texture Elements:
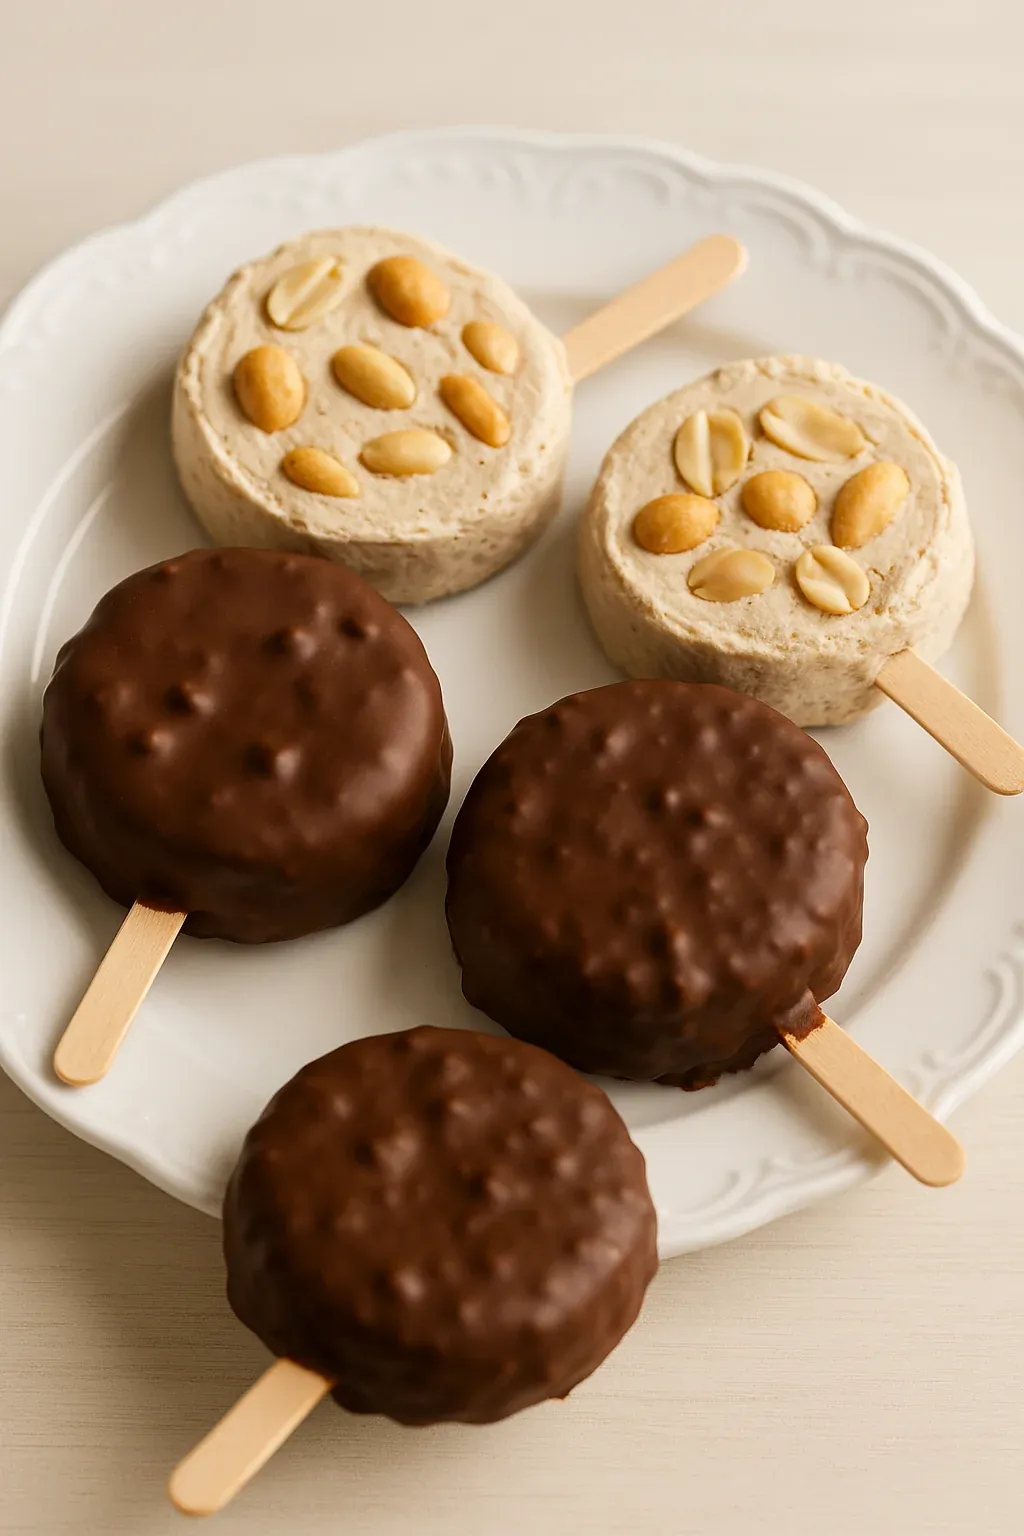
- Sprinkle a few chopped peanuts over each bar pressing them gently into the surface so they adhere well. This step adds a professional touch and creates that signature Buster Bar texture contrast between smooth and crunchy elements that makes each bite interesting.
- Initial Freezing:
- Place the prepared tray into the freezer for at least 2 hours or until completely firm. This step is crucial as attempting to dip soft bars will result in a messy disappointment. The bars should feel solid when touched and show no signs of give.
- Prepare the Chocolate Coating:
- Melt chocolate chips using short 30-second bursts in the microwave stirring well between each interval until completely smooth. Add the coconut oil and stir until fully incorporated. The chocolate should flow smoothly from your spoon in a ribbon-like consistency perfect for coating.
- Dip and Finish:
- Working quickly with one bar at a time dip each frozen peanut butter bar into the melted chocolate ensuring complete coverage. Allow excess chocolate to drip off before returning to the parchment-lined tray. The cold bar will cause the chocolate to begin setting immediately creating that classic magic shell effect.
- Final Setting:
- Return the chocolate-covered bars to the freezer for at least 30 minutes to fully set. This ensures the chocolate hardens completely and bonds with the frozen center creating that satisfying crack when bitten.
My absolute favorite part of this recipe is the moment the cold peanut butter center hits the warm chocolate creating that perfect shell that shatters when you bite into it. My grandmother used to make something similar and watching the chocolate harden always seemed like kitchen magic to a young child standing on a stool beside her.
Make-Ahead Magic
These Buster Bars are perfect for preparing days or even weeks before you need them. The flavor actually improves after a day in the freezer as the components meld together. I often make a double batch at the beginning of summer and keep them wrapped individually in parchment paper inside a freezer container ready for impromptu dessert needs or unexpected guests.
Dietary Adaptations
Whether you follow a vegan, keto, or gluten-free lifestyle these bars can be adapted to suit your needs. For vegan versions use dairy-free yogurt or ice cream with vegan chocolate chips. Keto followers can opt for sugar-free chocolate and a low-carb sweetener. Those with nut allergies can substitute sunflower seed butter and skip the peanut garnish completely without sacrificing texture or satisfaction.
Serving Suggestions
These homemade Buster Bars stand perfectly on their own but can transform into an elegant dessert when needed. Try serving them on a chilled platter with fresh berries scattered around or drizzle additional melted chocolate and a sprinkle of sea salt just before serving. For a dessert board presentation break some bars into chunks and combine with fresh fruit brownie bites and a small bowl of warm caramel for dipping.
Storage Wisdom
While these bars will keep for up to a month in the freezer they taste best within the first two weeks. To prevent freezer burn wrap each bar individually in parchment paper then place in an airtight container. If making larger batches consider using layers of parchment between bars stored in a container. Allow bars to temper in the freezer door or refrigerator for 5 minutes before serving for the perfect consistency where the chocolate remains crisp but the center yields beautifully.
Recipe FAQs
- → Can I use almond or cashew butter instead of peanut butter?
Yes, almond butter, cashew butter, or even sunflower seed butter can be used as a substitute for peanut butter for a different flavor or allergy-friendly option.
- → What type of yogurt works best?
You can use any yogurt, including Greek, regular, or vegan yogurt. Pick plain, vanilla, or even flavored yogurt to suit your preference.
- → How do I create a smooth chocolate coating?
Adding a teaspoon or two of coconut or vegetable oil to the melted chocolate helps achieve a smoother coating, but it is optional.
- → Can I make these bars sugar-free or keto?
Yes, use unsweetened yogurt, sugar-free chocolate chips, and a low-carb sweetener like stevia to make these bars keto-friendly.
- → How should I store the bars?
Store the bars in an airtight container in the freezer for up to a month to maintain freshness and texture.