
 Pin
Pin
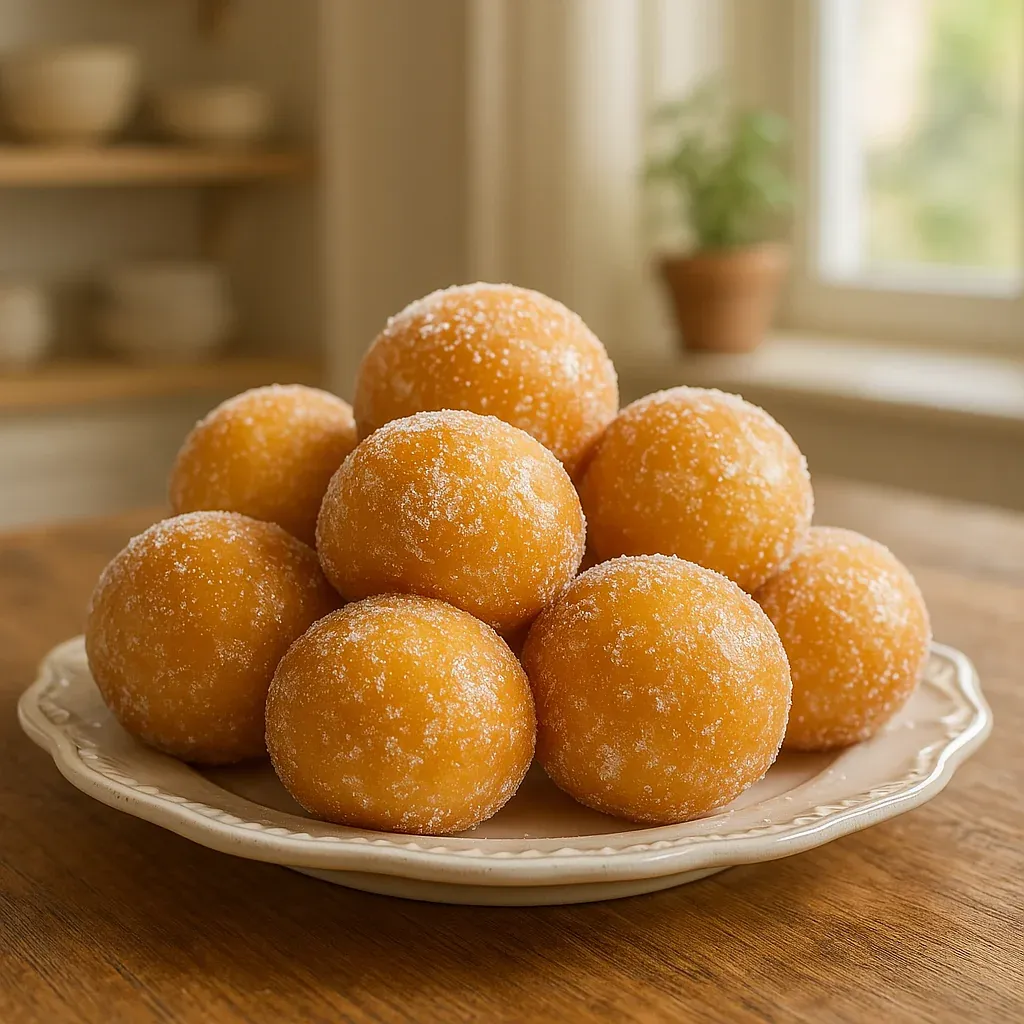
This pillowy Portuguese doughnut recipe brings the authentic taste of malasadas right to your kitchen. These golden-fried treats deliver that perfect balance of crisp exterior and soft, airy inside that makes them irresistible. After discovering these on a trip to Hawaii years ago, I knew I had to master making them at home, and now they've become our Sunday morning tradition.
I first tasted malasadas at a small bakery in Honolulu and became instantly obsessed. After several attempts at recreating them, this recipe finally captured that perfect balance of sweetness and texture that transported me back to that little shop on the island.
Ingredients
- All purpose flour: Provides the structure for these doughnuts while keeping them tender
- Granulated sugar: Adds just the right sweetness without overpowering the delicate dough
- Active dry yeast: Creates those essential air pockets for a pillowy texture
- Warm milk: Activates the yeast and adds richness to the dough
- Eggs: Contribute richness and help create that signature golden color
- Unsalted butter: Adds moisture and a subtle richness to the dough
- Vanilla extract: Enhances the overall flavor profile with warm aromatic notes
- Salt: Balances the sweetness and enhances all other flavors
- Vegetable oil: For frying gives the perfect crisp exterior without adding flavor
- Extra sugar: For coating creates that irresistible sweet crunch in every bite
Step-by-Step Instructions
- Yeast Activation:
- Combine warm milk around 110°F with a teaspoon of sugar and the yeast in a small bowl. Let this mixture sit undisturbed for 5 to 10 minutes until it becomes foamy and fragrant. This indicates your yeast is alive and will work properly in your dough.
- Dough Creation:
- In a large bowl, whisk together flour, sugar, and salt. Make a well in the center and add your eggs, melted butter, vanilla, and the foamy yeast mixture. Mix everything together until a slightly sticky dough forms. The dough should pull away from the sides of the bowl but still feel tacky to the touch.
- First Rise:
- Cover your bowl with a clean kitchen towel and place it in a warm draft free spot. Let the dough rise until it has doubled in size, which usually takes between 1 to 2 hours depending on the temperature of your kitchen. You can test if it's ready by gently poking it with your finger. If the indentation remains, it's ready.
- Shaping The Doughnuts:
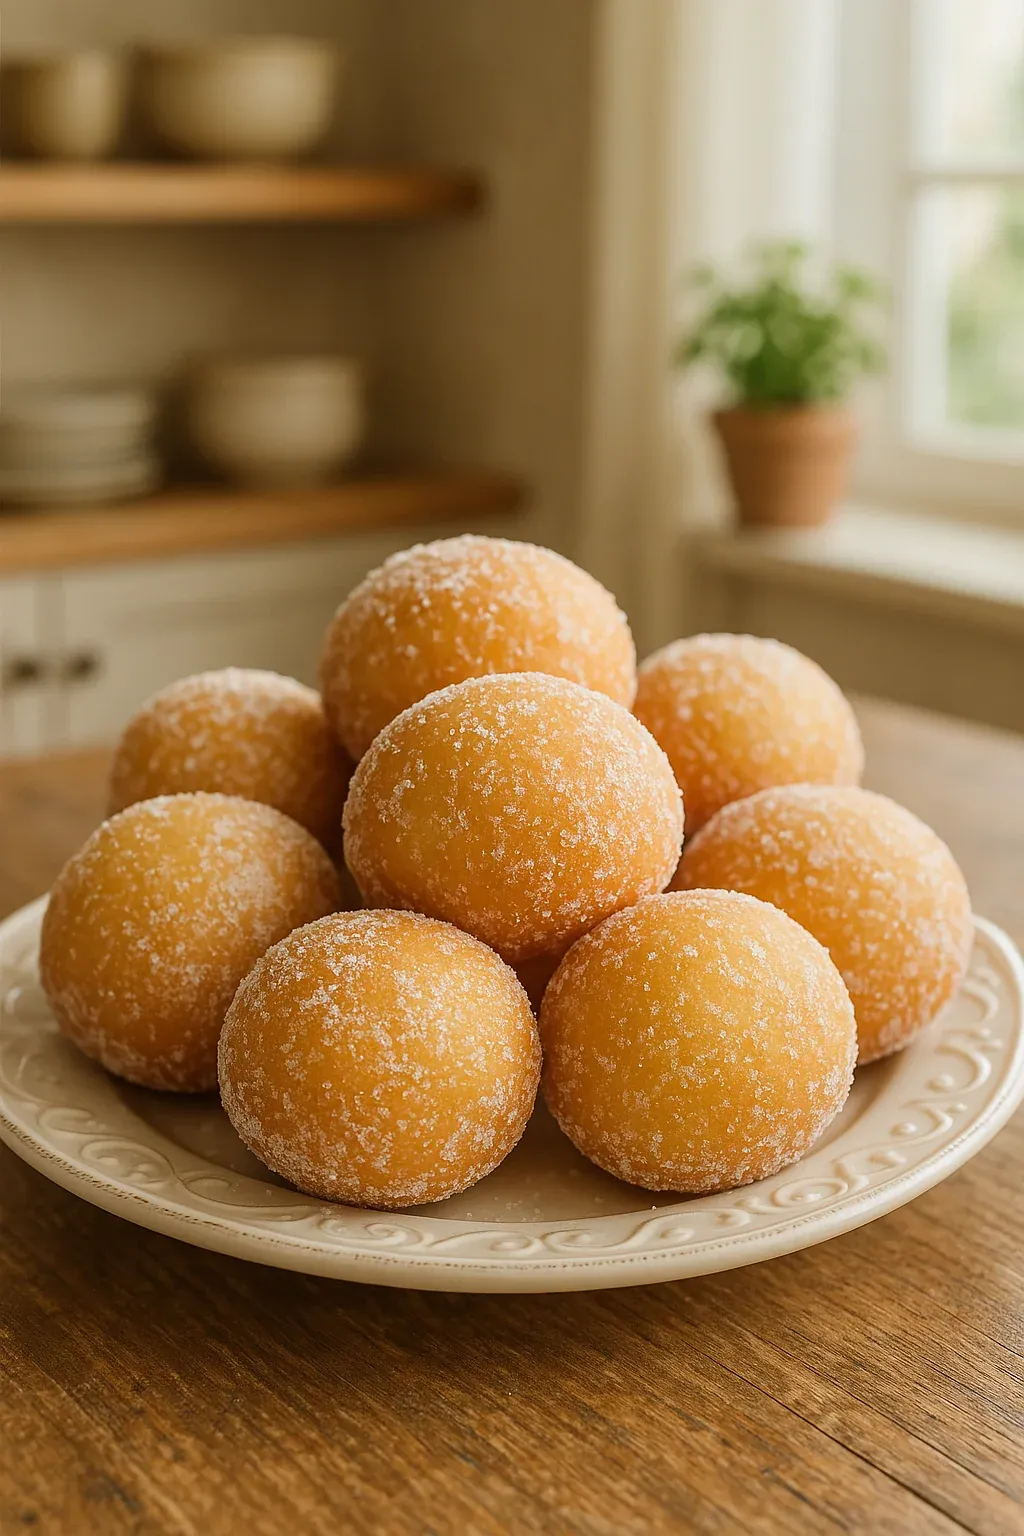
- Turn your risen dough onto a lightly floured surface and gently punch it down to release excess air. Divide the dough into equal portions about the size of golf balls. Roll each portion into a smooth ball and place them on a floured surface. Cover with a towel and let them rest for 15 minutes to relax the gluten.
- Oil Heating:
- Pour about 2 inches of vegetable or canola oil into a heavy bottomed pot or deep fryer. Heat the oil to exactly 350°F, checking with a thermometer for accuracy. Maintaining this temperature is crucial for proper cooking without greasiness.
- Frying Process:
- Carefully lower 2 to 3 dough balls into the hot oil, being careful not to overcrowd the pot. Fry for approximately 2 minutes on each side until they achieve a deep golden brown color. Monitor the oil temperature throughout and adjust your heat as needed to maintain 350°F.
- Sugar Coating:
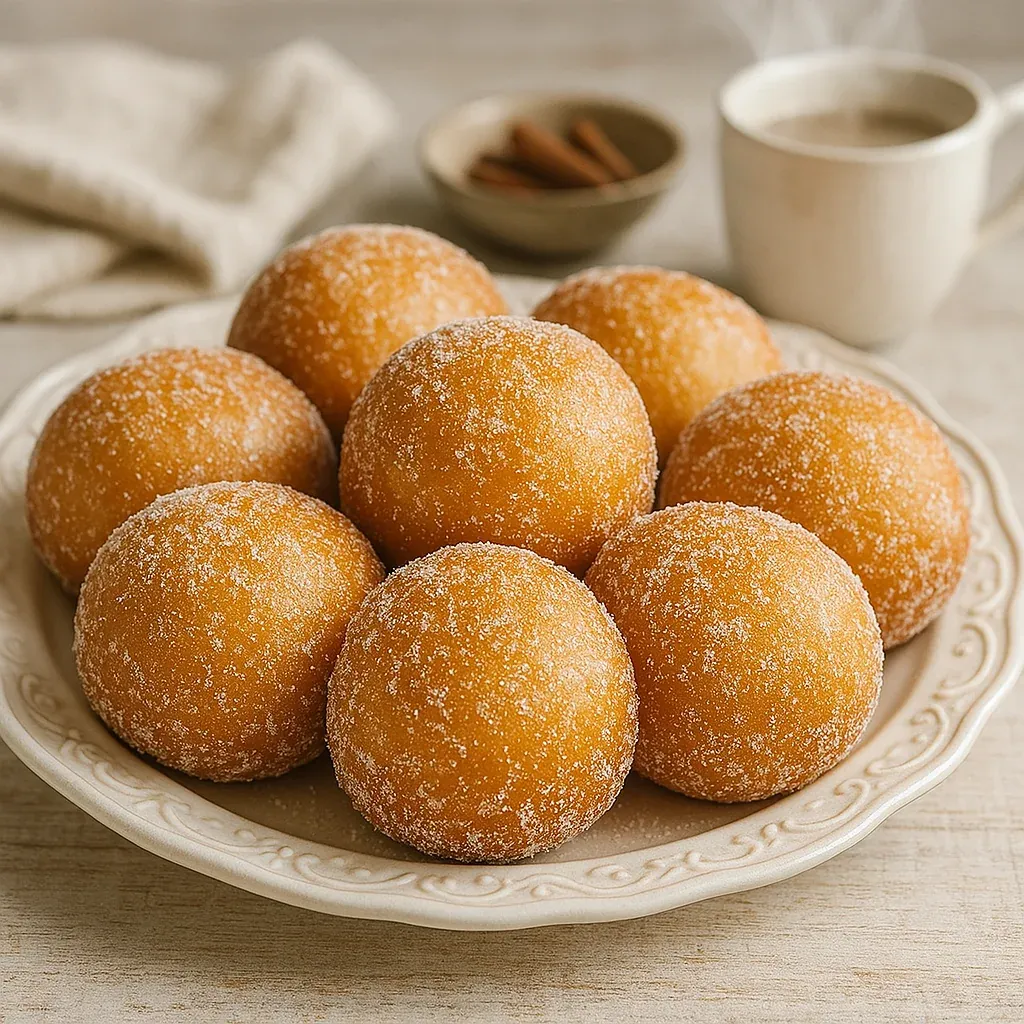
- Remove the fried malasadas using a slotted spoon and place them briefly on paper towels to absorb excess oil. While they are still hot but cool enough to handle, roll them in granulated sugar until completely coated. The warmth helps the sugar adhere perfectly to the surface.
- Serving:
- Arrange your freshly coated malasadas on a serving plate and enjoy them immediately while still warm. This is when their texture is absolutely perfect with a slight crispness giving way to that pillowy interior.
My grandmother taught me to make these when I was just twelve years old. She always insisted on using whole milk and real vanilla extract, saying shortcuts would be immediately noticeable in the final flavor. That lesson has stayed with me through decades of cooking and applies to so many recipes beyond these delicious doughnuts.
History and Cultural Significance
Malasadas have a rich history dating back to Portugal's Madeira and Azores islands. Portuguese immigrants brought this recipe to Hawaii in the late 19th century when they came to work on sugar plantations. Today, they're especially popular on Fat Tuesday, known as Malasada Day in Hawaii, when bakeries sell thousands to celebrate before the Lenten season begins. The tradition of making these treats has been preserved across generations, making them much more than just a doughnut but a connection to cultural heritage.
Filling Variations
If you want to take your malasadas to the next level, consider adding fillings. After frying and cooling slightly, use a piping bag with a long tip to inject fillings into the center. Traditional Portuguese custard cream (called nata) is authentic, but chocolate pastry cream, fruit jams, or coconut cream all work beautifully. For the best results, fill the malasadas while they're still warm but not hot, which helps the filling distribute evenly without melting completely.
Temperature Control Tips
The secret to perfect malasadas lies in temperature control throughout the process. Your milk should be around 110°F when activating yeast anything hotter will kill it, while cooler temperatures won't activate it properly. When frying, maintain 350°F oil temperature using a thermometer. If the oil is too hot, the outside burns before the inside cooks. If too cool, the doughnuts absorb excess oil and become greasy. Taking these temperature details seriously elevates your malasadas from good to exceptional.
Recipe FAQs
- → What makes malasadas unique?
Malasadas are unique due to their light and fluffy texture, crisp golden exterior, and rich cultural history tied to Portugal and Hawaii.
- → Can I fill malasadas with custard or jam?
Yes, malasadas are customizable and can be filled with custard, jam, chocolate, or any other filling of your choice for added flavor.
- → What type of oil is best for frying malasadas?
Vegetable or canola oil works best for frying malasadas because of their high smoke points and neutral flavor.
- → How do I store leftover malasadas?
Store leftover malasadas in an airtight container at room temperature for up to 2 days. Avoid refrigeration as it may dry them out.
- → Can malasadas be reheated?
Yes, malasadas can be reheated in the microwave for 10-15 seconds or in the oven at 300°F (150°C) for a few minutes. This helps restore their fluffy texture.
- → What are some topping variations for malasadas?
Popular variations include cinnamon sugar, citrus zest, or shredded coconut as toppings to enhance the flavor of the malasadas.