
 Pin
Pin
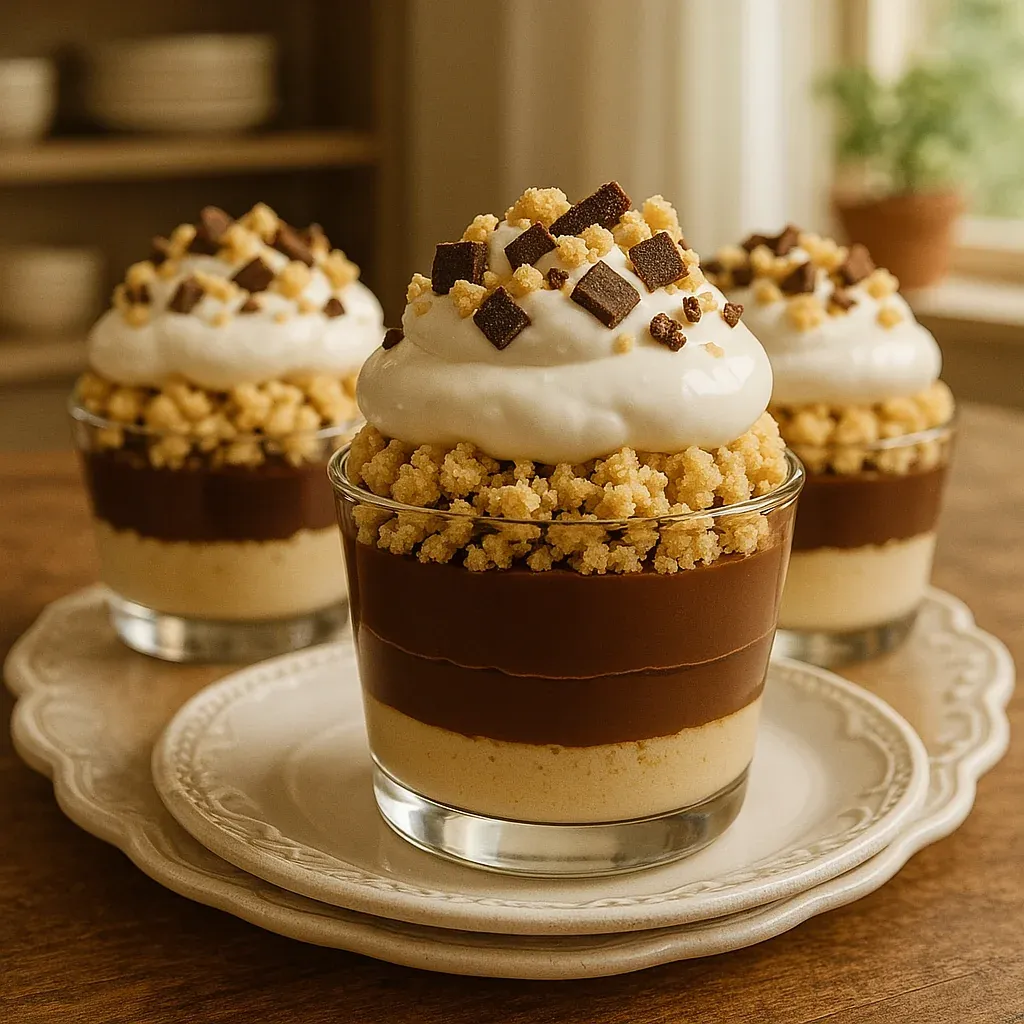
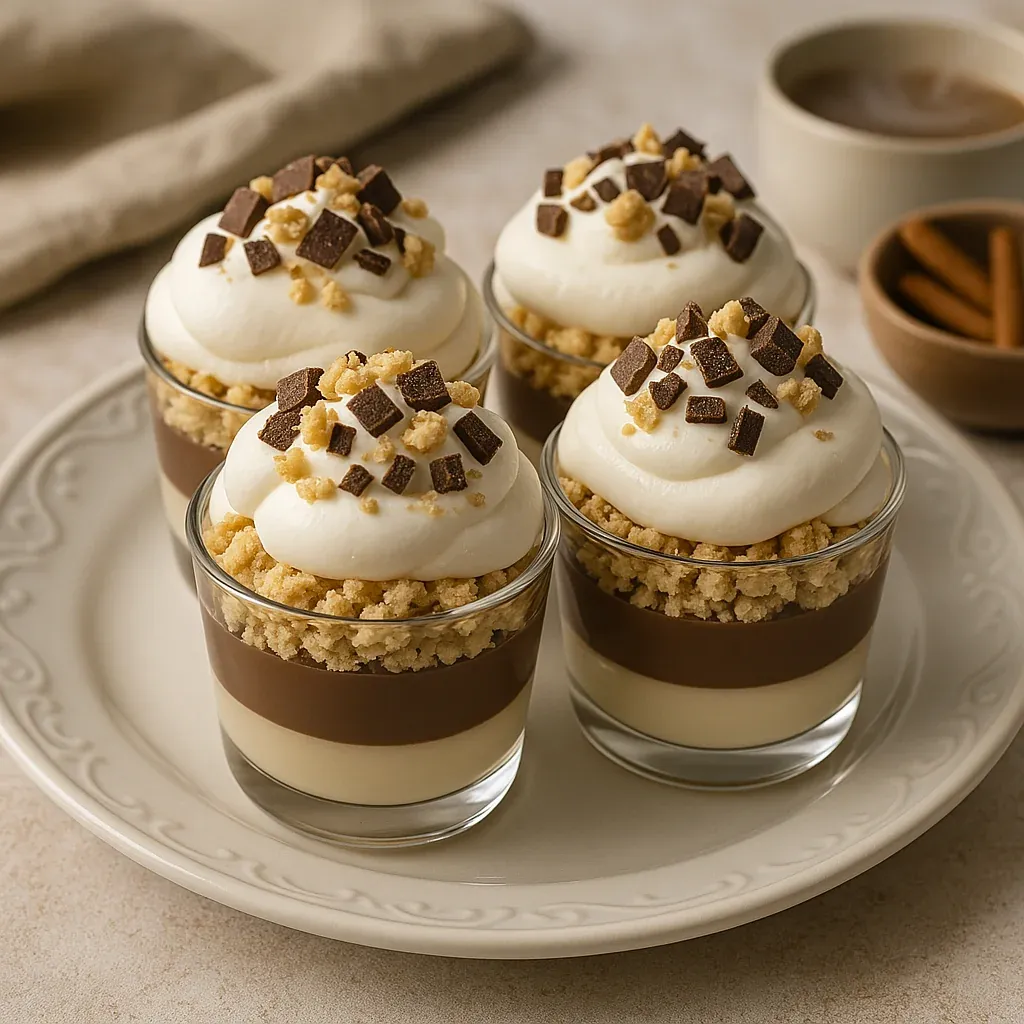
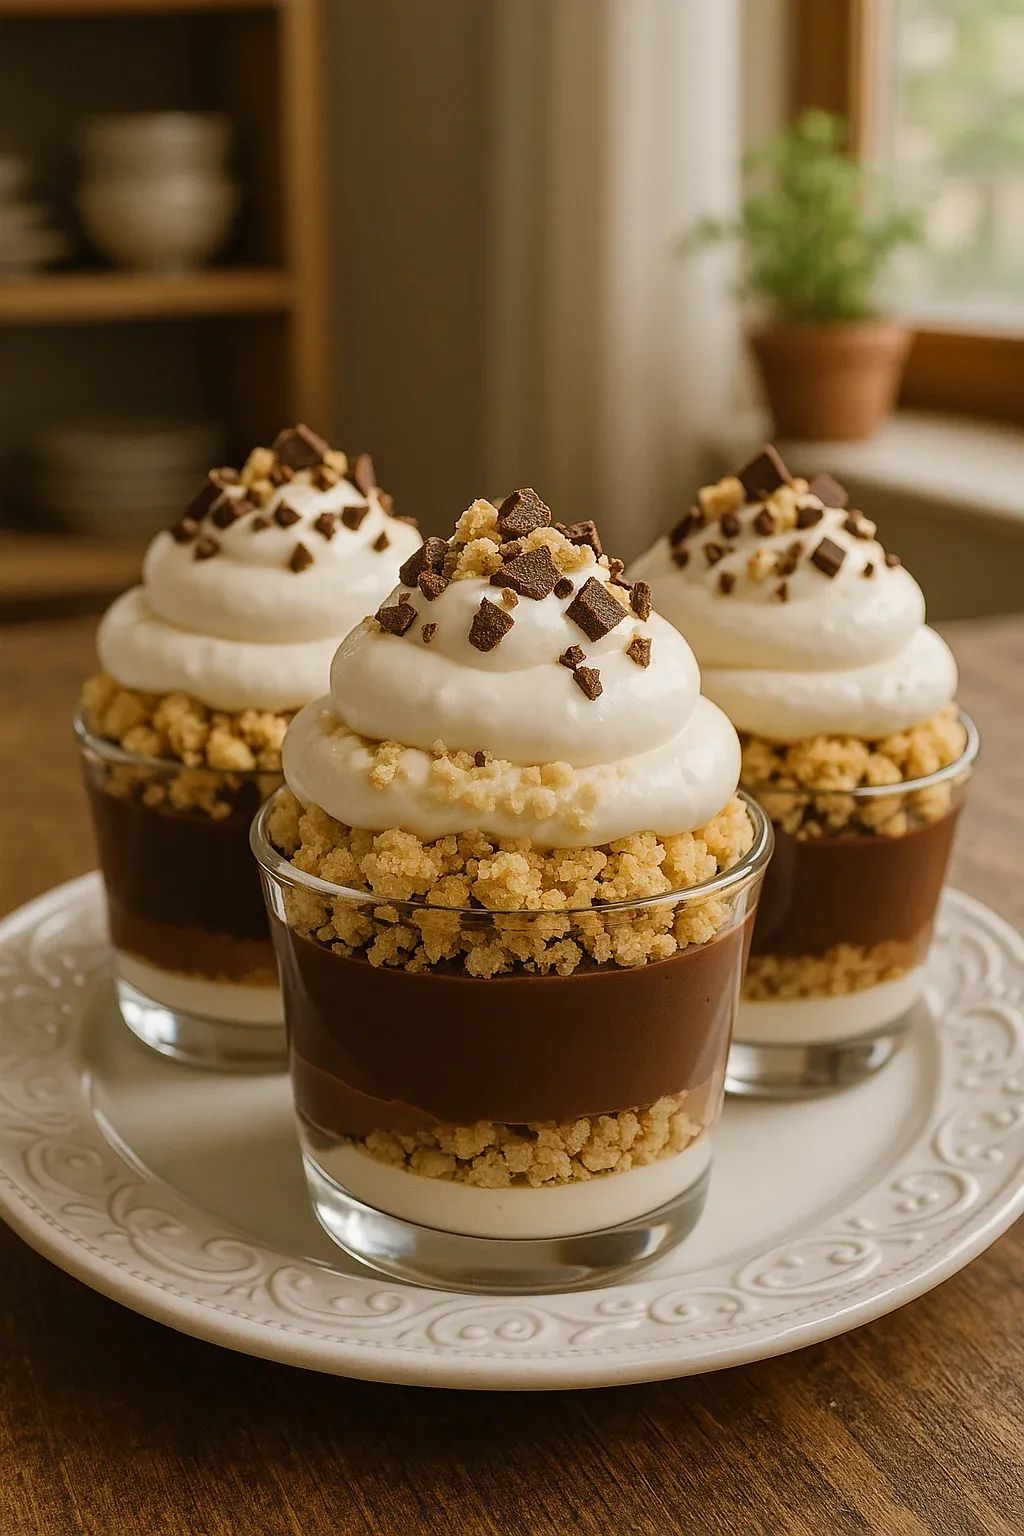
This hearty S'mores Cheesecake Pudding Cups recipe transforms classic campfire flavors into an irresistible no-bake dessert that brings together the best of two beloved treats. I created these creamy, layered cups for my niece's birthday party last summer, and they've become our most requested dessert for gatherings ever since.
I first made these pudding cups during a backyard camping night with my family. The kids were disappointed when rain canceled our bonfire plans, but these indoor s'mores quickly turned tears into smiles. Now we make them regardless of weather.
Ingredients
- For the Graham Cracker Crust
- Graham cracker crumbs: Provide that classic s'mores base look for honey graham crackers for the most authentic flavor
- Melted butter: Binds the crust together and adds richness use unsalted for better control of sweetness
- Granulated sugar: Enhances the graham flavor and helps create a firmer base
- For the Cheesecake Pudding
- Instant vanilla pudding mix: Serves as the quick base for our filling choose a quality brand for best results
- Cold milk: Activates the pudding mix whole milk creates the creamiest texture
- Cream cheese: Adds that distinctive cheesecake tang ensure it's fully softened to prevent lumps
- Powdered sugar: Sweetens without graininess and helps stabilize the mixture
- Vanilla extract: Deepens the flavor profile use pure rather than imitation for best results
- For the Toppings
- Milk chocolate pieces: Create the essential s'mores element choose a bar that melts smoothly
- Mini marshmallows: For that iconic toasted finish the smaller size works better in individual cups
Step-by-Step Instructions
- Prepare the Graham Cracker Base:
- Combine graham cracker crumbs with melted butter and sugar until the mixture resembles wet sand. The proper ratio is crucial here. The crumbs should hold together when pressed but not be soggy with butter. Spoon about two tablespoons into each serving cup and press firmly using the back of a spoon to create an even layer. The pressure helps create a stable base that will hold up beneath the creamy layers.
- Whip Up the Cheesecake Filling:
- Beat the cream cheese until completely smooth with no lumps whatsoever. This usually takes about 2 minutes on medium speed. Any lumps now will remain in your final product. Gradually add powdered sugar and vanilla until fully incorporated and fluffy. In a separate bowl, whisk pudding mix with cold milk for a full 2 minutes until it begins to thicken. Fold the pudding into the cream cheese mixture using a spatula with gentle strokes to maintain airiness while ensuring complete integration.
- Layer the Components:
- Spoon the cheesecake filling carefully over each graham cracker base, filling cups about three quarters full. Use the back of a spoon to create a smooth, level surface for the chocolate layer. Take your time here as neat layers make for a more impressive presentation. Sprinkle chocolate pieces evenly over the cheesecake layer, using enough to ensure chocolate in every bite but not so much that it overwhelms the balance of flavors.
- Create the Toasted Topping:
- Arrange mini marshmallows over the chocolate layer, slightly overlapping them to create a full coverage. Toast the marshmallows using a kitchen torch with sweeping motions about 2 inches from the surface until they reach a golden brown color. The contrast between the toasted exterior and gooey interior creates that authentic s'mores experience. If using a broiler instead, watch constantly to prevent burning and rotate cups for even browning.
- Chill and Set:
- Refrigerate the assembled cups for a minimum of 2 hours to allow all layers to set properly. The waiting is difficult but crucial for the best texture and flavor development. The chilling time helps the cheesecake filling firm up and allows the flavors to meld together beautifully.
The mini marshmallows are truly the star of this dessert. I discovered by accident that using the small variety rather than large ones creates the perfect marshmallow to filling ratio in each bite. My daughter once insisted we try jumbo marshmallows and while delicious, they overwhelmed the delicate cheesecake flavor beneath. Sometimes the simplest ingredients make the biggest difference.
Make Ahead Magic
These pudding cups are ideal for preparing in advance of gatherings. The cheesecake layer actually improves with time as the flavors meld together in the refrigerator. Assemble everything except the marshmallow topping up to 24 hours before serving. Store covered in the refrigerator then add and toast the marshmallows just before guests arrive. This approach gives you the perfect balance of convenience and freshness while still delivering that wow factor of freshly toasted marshmallows.
Creative Variations
This base recipe serves as a wonderful canvas for personalization. For chocolate lovers, try layering chocolate pudding instead of vanilla or use chocolate graham crackers for the crust. During fall, add a pinch of cinnamon to the graham cracker mixture and use caramel filled chocolate pieces for an autumn twist. For a more sophisticated adult version, add a tablespoon of coffee liqueur to the cheesecake mixture and top with dark chocolate shavings alongside the toasted marshmallows. The possibilities are endless while still maintaining that nostalgic s'mores essence.
Serving Suggestions
These S'mores Cheesecake Pudding Cups shine as a standalone dessert but can also create a memorable dessert experience when presented thoughtfully. Set up a s'mores bar alongside the prepared cups with extra toppings like chocolate sauce, caramel drizzle, crushed graham crackers, and chocolate shavings so guests can add final touches to their liking. For summer gatherings, pair with fresh berries on the side to cut through the richness. During holiday seasons, serve on a platter surrounded by evergreen sprigs or alongside peppermint hot chocolate for a festive touch that plays off the traditional s'mores campfire associations.
Recipe FAQs
- → Can I use dark chocolate instead of milk chocolate?
Yes, dark chocolate works beautifully in this dessert and adds a more intense chocolate flavor. Feel free to customize based on your taste.
- → How do I toast the marshmallows without a torch?
You can use your oven’s broiler for 1–2 minutes to toast the marshmallows. Watch carefully to prevent burning.
- → Can these cups be made ahead of time?
Yes, they can be made a day in advance, but for the best presentation, toast the marshmallows just before serving.
- → How do I store the pudding cups?
Store them in an airtight container in the fridge for up to 2–3 days. Keep toasted marshmallows separate to maintain their texture.
- → Can I freeze the pudding cups?
Yes, you can freeze the cups without the marshmallows. Thaw in the fridge overnight and add fresh toasted marshmallows before serving.
- → What serving containers work best?
Clear glass jars or small mason jars are ideal as they showcase the layered dessert beautifully.