
 Pin
Pin
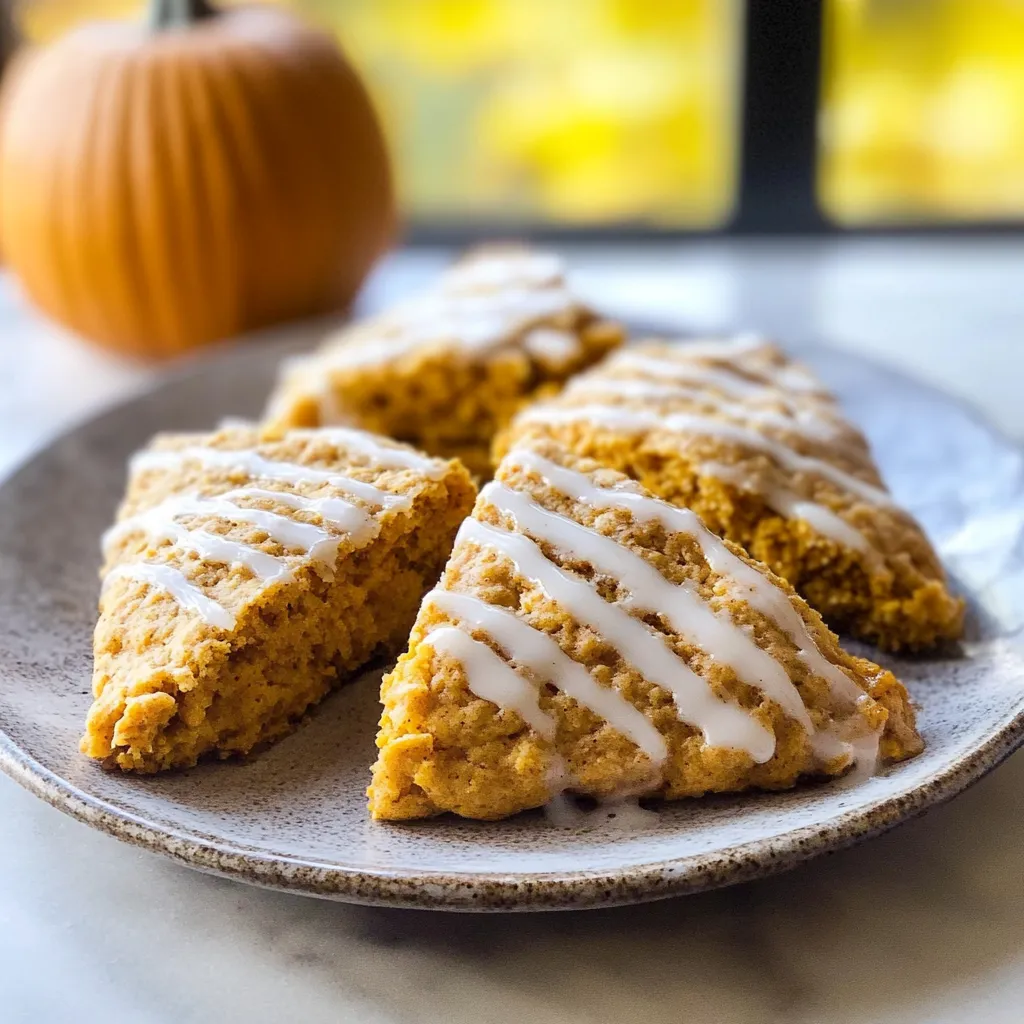
The aroma of pumpkin spice wafting from the oven transforms any morning into something special. Through years of perfecting scones, I've discovered that creating the perfect pumpkin scone is about understanding the delicate balance between temperature and technique. These aren't just ordinary scones - they're tender, flaky vessels of autumn comfort, crowned with a maple glaze that takes them from delicious to extraordinary.
Last weekend, I served these at a fall brunch, and the room fell silent as everyone savored their first bites. The secret? Understanding how temperature and gentle handling create perfect texture.
Essential Ingredients and Selection Tips:
Start with quality butter - European-style if possible, for its higher fat content. Choose pure pumpkin purée, not pie filling, ensuring it's at room temperature for proper mixing. Fresh spices make a significant difference; replace your pumpkin pie spice if it's been open more than six months. Even your eggs matter - they should be cold from the refrigerator.
Step-by-Step Creation
Begin by cutting your butter into precise half-inch cubes, placing them in the freezer while you gather remaining ingredients. This initial freeze is crucial - those butter pieces will create steam pockets during baking, resulting in flaky layers. Meanwhile, position your oven rack in the upper-middle position and heat to 425°F.
In your largest bowl, whisk together the flour, brown sugar, baking powder, spices, and salt. This isn't just combining - you're aerating the flour and ensuring even distribution of leavening agents. Run your fingers through the mixture, breaking up any brown sugar lumps.
Mastering the Mixing
Now comes the crucial moment - adding your frozen butter to the dry ingredients. Whether using a pastry blender or your fingertips, work quickly and deliberately. The goal is a mixture resembling coarse sand with some larger, pea-sized butter pieces still visible. These varying sizes create different textures in your finished scones. If using your hands, work quickly - your body heat is the enemy of cold butter.
In a separate bowl, whisk your pumpkin purée and cold eggs until completely smooth. The temperature contrast here is intentional - cold eggs help keep your butter from melting. Pour this mixture into your flour-butter combination, using a rubber spatula to fold everything together with gentle, deliberate strokes. Stop as soon as the dough starts to come together - those few remaining dry spots will incorporate as you shape.
Turn your shaggy dough onto a lightly floured surface. With floured hands, gently press it together and shape into an 8-inch circle, about 1½ inches thick. Don't use a rolling pin - your hands provide better control and prevent overworking. Cut into eight wedges with decisive, straight-down cuts using a sharp knife. Clean cuts ensure better rising.
Transfer your wedges to a parchment-lined baking sheet, spacing them at least an inch apart. Here's where patience becomes crucial - freeze these shaped scones for a full 20 minutes. This rest allows the gluten to relax and the butter to become completely cold again. Meanwhile, your oven should be thoroughly preheated.
The Final Stage
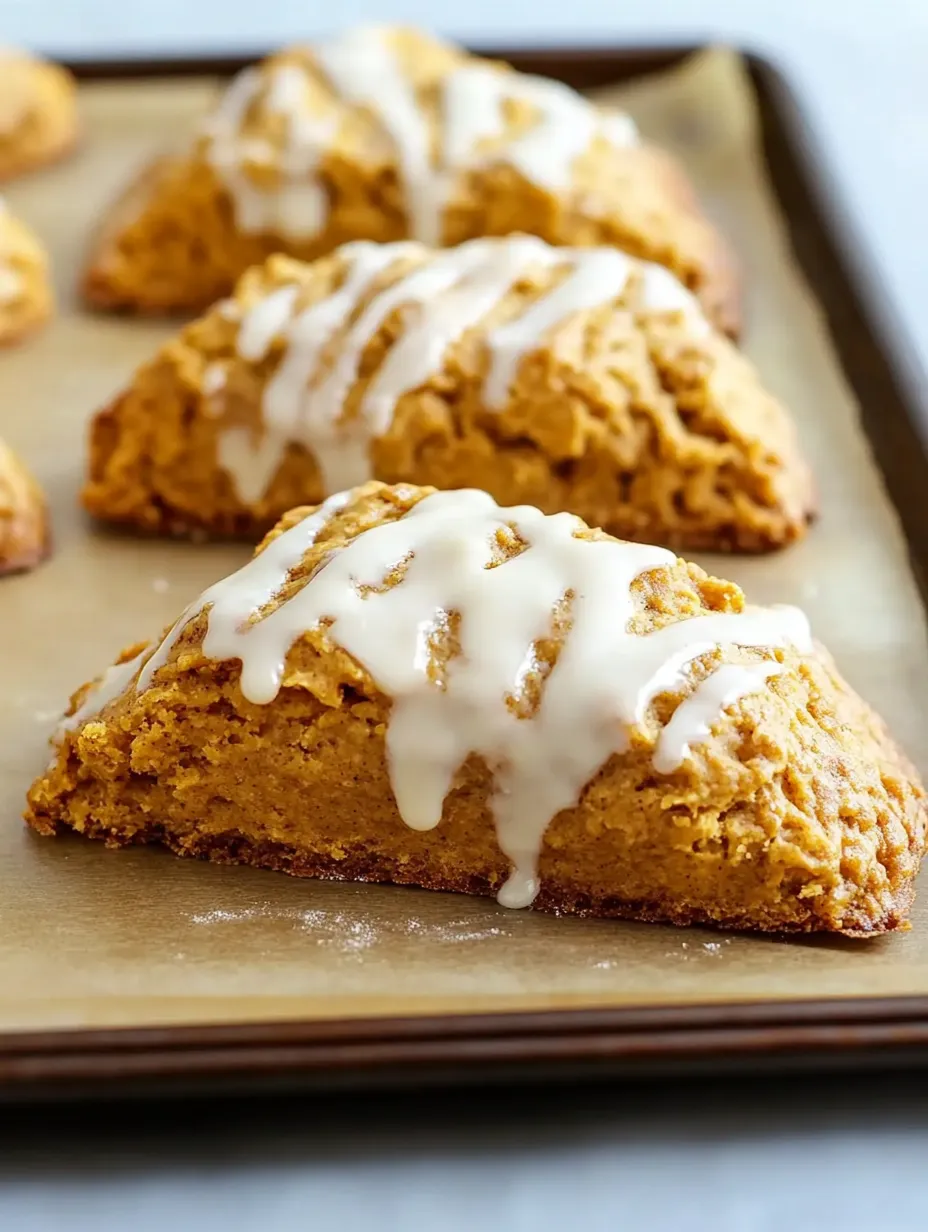
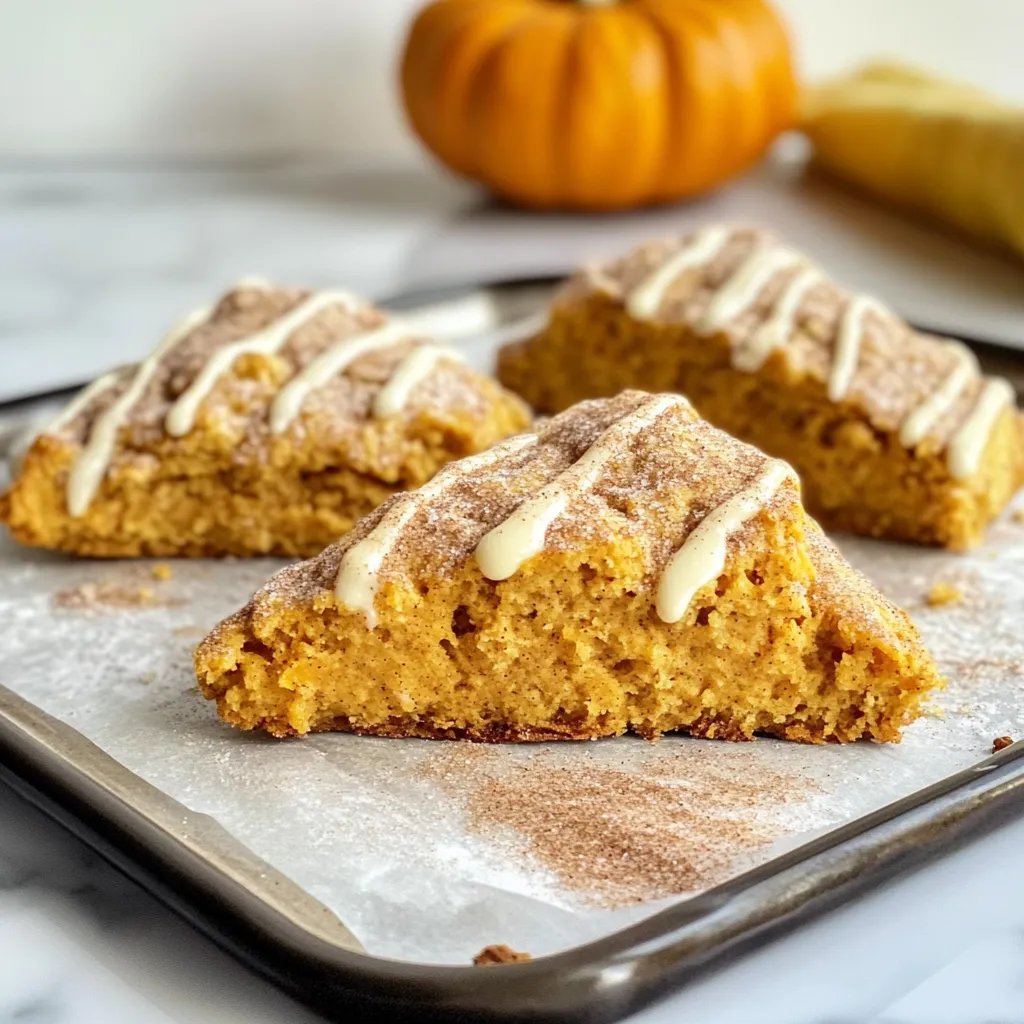
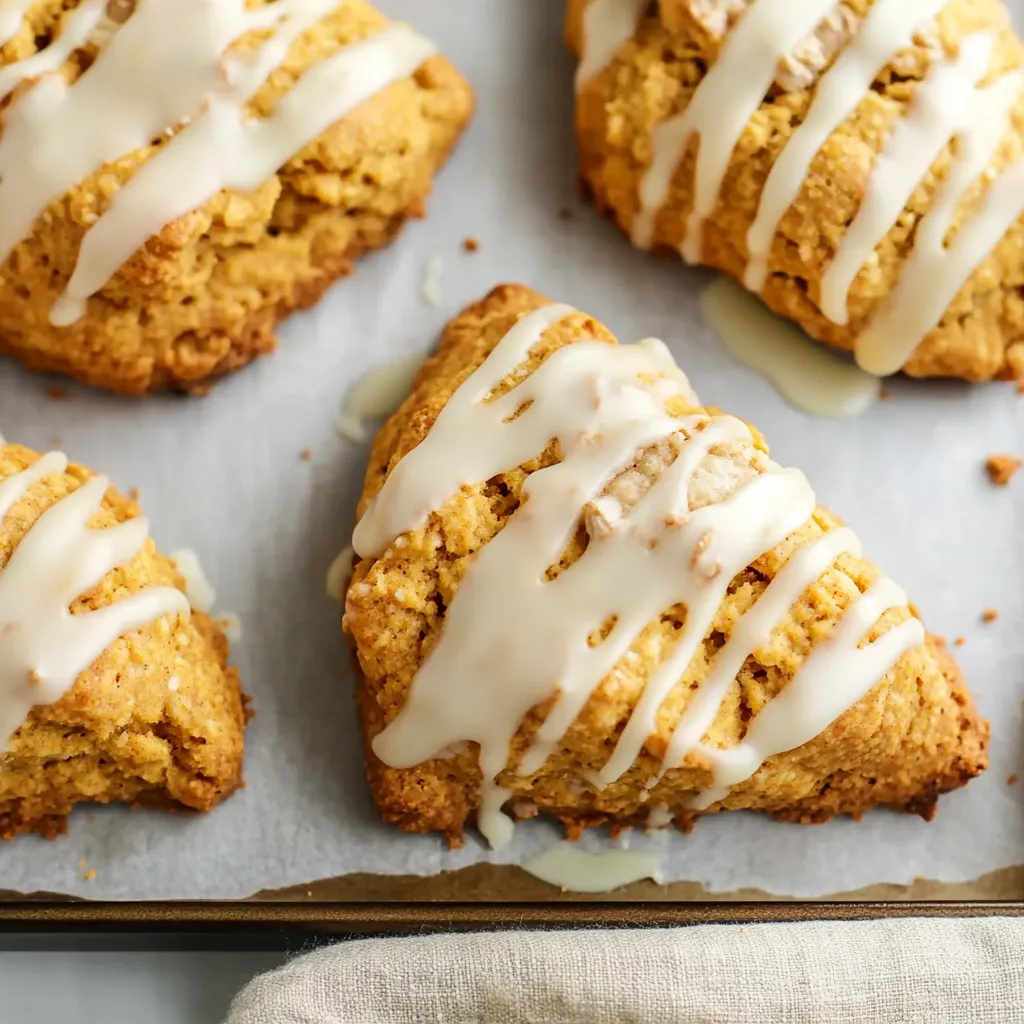
Just before baking, brush each scone with milk and sprinkle generously with turbinado sugar. The milk promotes even browning while the sugar adds both sweetness and delightful crunch. Slide them into your preheated oven and watch carefully - they'll need 17-22 minutes, but start checking at 15. Look for golden brown edges and tops that spring back slightly when touched.
Perfecting the Maple Glaze
While your scones cool, prepare the maple glaze. Real maple syrup is essential here - its complex sweetness elevates these scones from good to extraordinary. Whisk it with powdered sugar until smooth and silky. The consistency should be thick enough to hold its shape when drizzled but thin enough to slowly cascade down the sides of your scones. Add vanilla and a pinch of salt to enhance the maple flavor.
Recipe FAQs
- → Why do ingredients need to be cold?
- Cold ingredients create flaky layers in the scones by preventing butter from melting too quickly during baking.
- → Can I freeze unbaked scones?
- Yes, freeze shaped scones solid, then store in freezer bags for up to 2 months. Bake straight from frozen.
- → Can I substitute the pumpkin pie spice?
- Mix cinnamon, ginger, nutmeg, and cloves to make your own pumpkin pie spice blend.
- → Why chill before baking?
- Chilling helps scones hold their shape and creates flakier layers when baked.
- → Can I make these ahead?
- Yes, shape and freeze unbaked scones, or store baked scones in an airtight container for 2 days.