 Pin
Pin
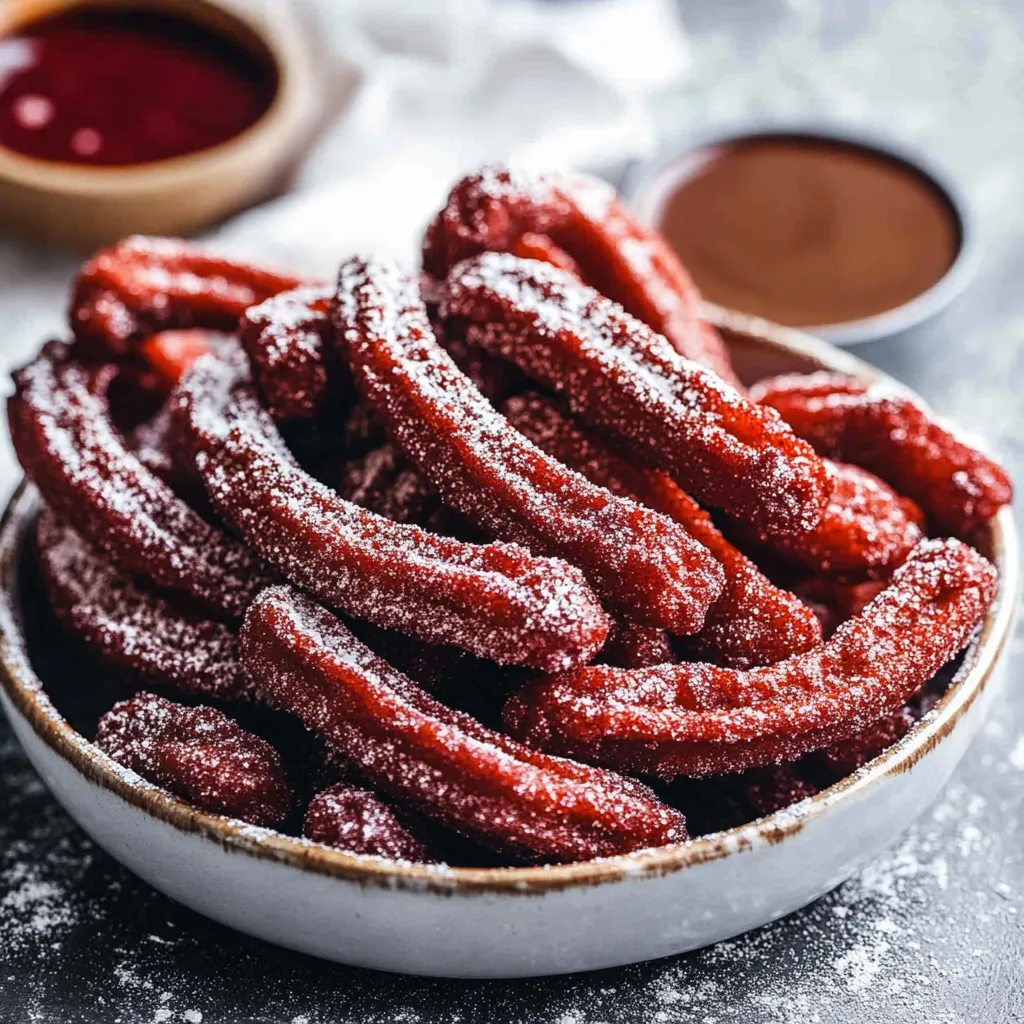
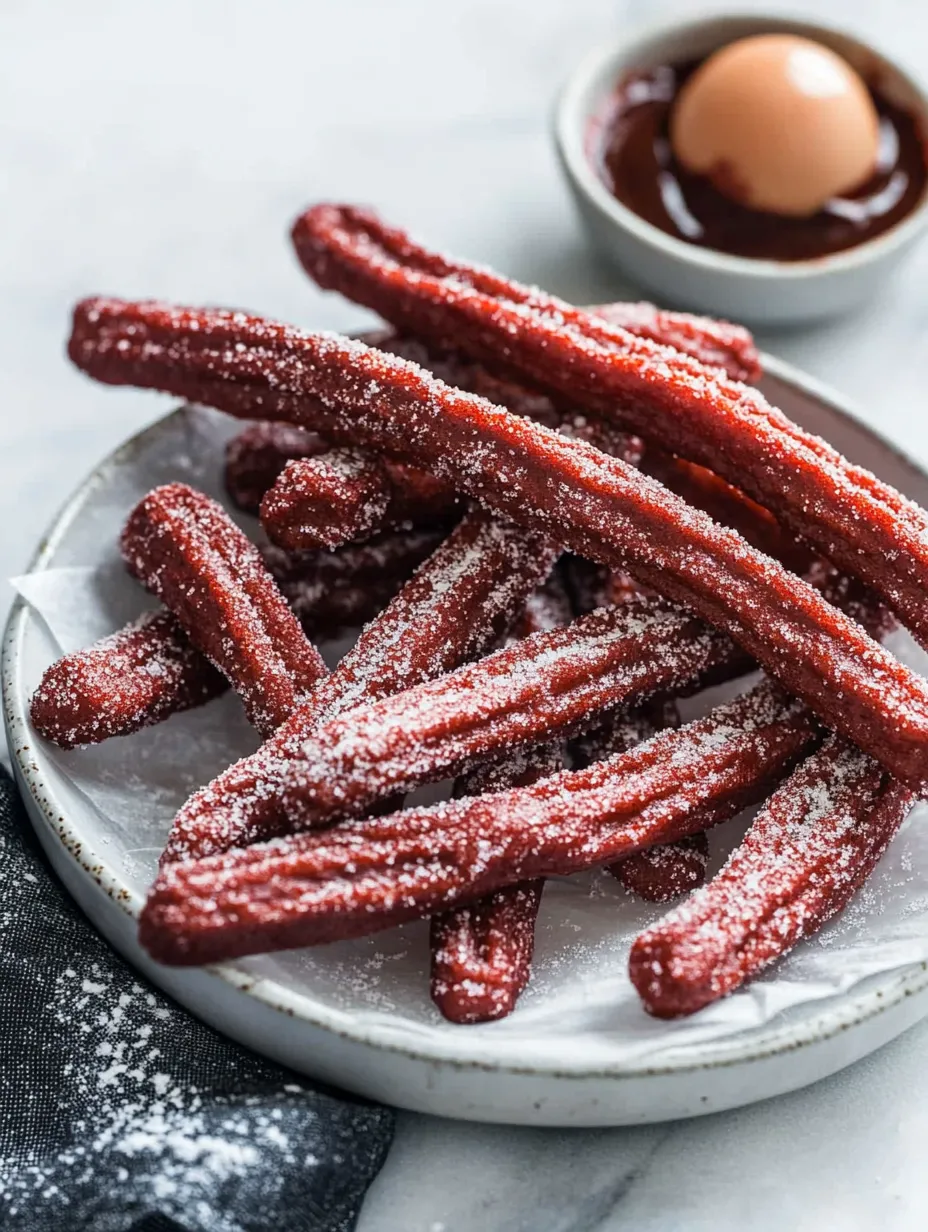
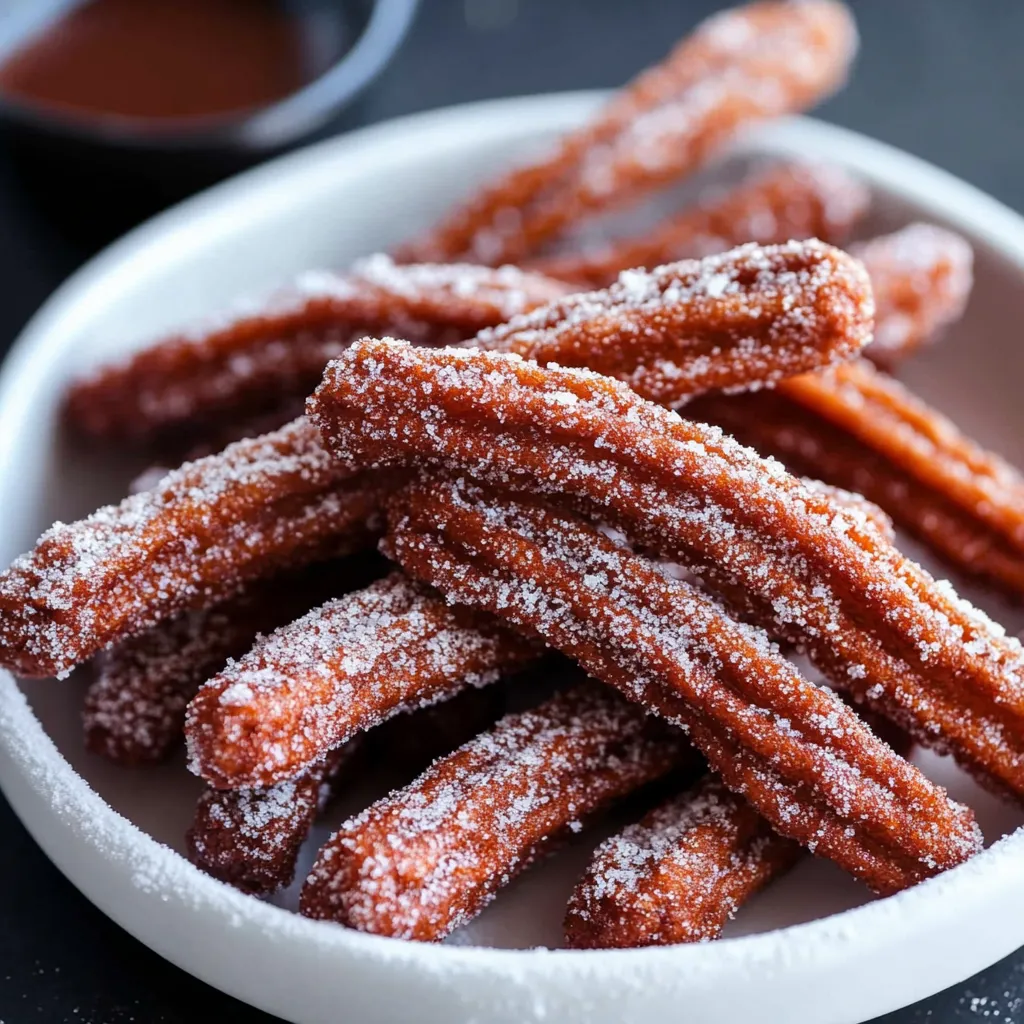
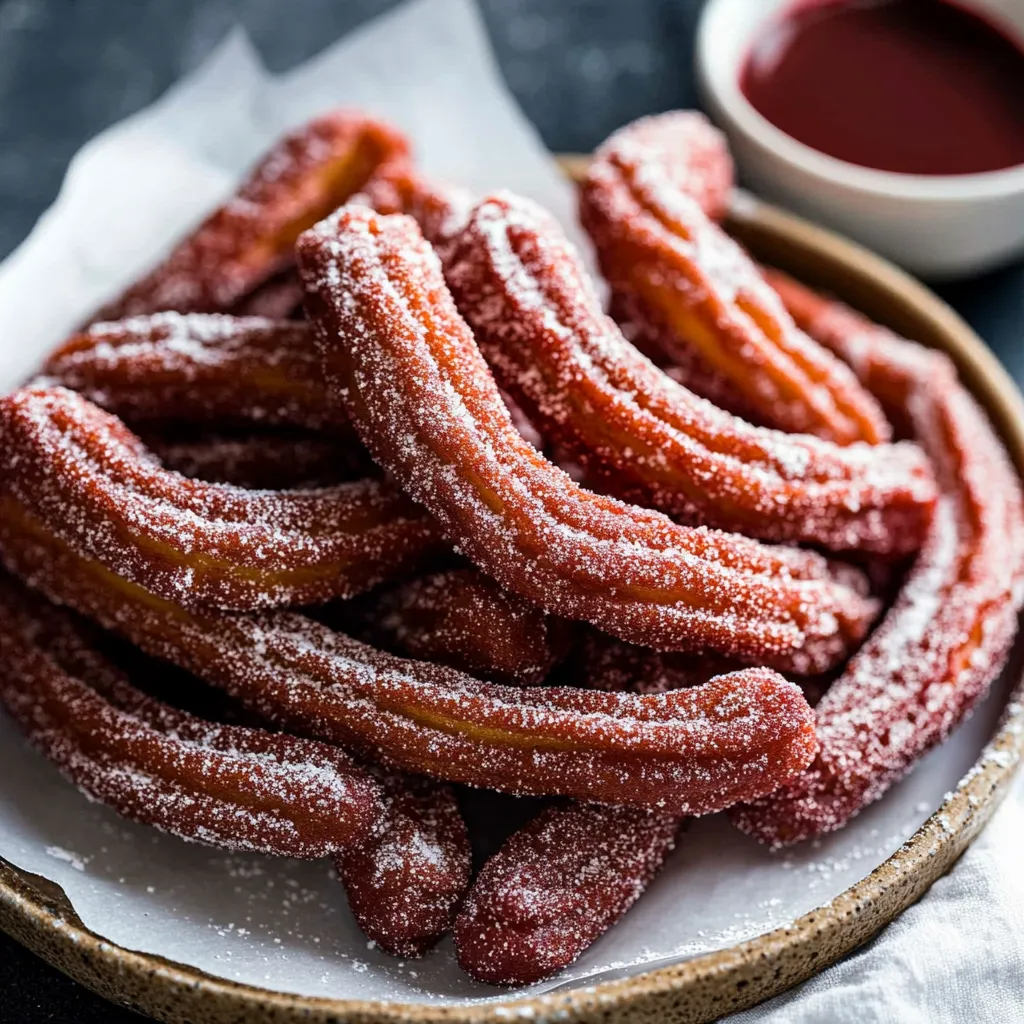
These incredible baked red velvet churros deliver that classic crispy exterior and tender interior you expect from churros, but with only 36 calories each. Perfect for Valentine's Day or any special occasion, these churros combine the subtle chocolate sweetness of red velvet with traditional cinnamon-sugar coating, all while being healthier than their fried counterparts. I discovered this recipe after countless tests to create a baked churro that truly delivers that authentic texture.
Last weekend, I served these at a party and guests couldn't believe they were baked, not fried. The combination of red velvet flavor with traditional churro crunch creates an irresistible treat that disappears quickly.
Essential Ingredients and Selection Tips
- Red Velvet Mix - Use quality cake mix for best flavor
- Eggs - Room temperature for best texture
- Butter - Unsalted, melted and cooled
- Cinnamon Sugar - Mix your own for perfect ratio
- Piping Tips - Star tip creates authentic ridges
The magic happens when the red velvet batter meets high heat, creating that characteristic crispy exterior while maintaining a tender center.
Detailed Cooking Instructions
- Step 1: Prepare Batter
- Mix red velvet ingredients until smooth and thick. Let rest for 5 minutes to hydrate properly. Transfer to piping bag fitted with large star tip.
- Step 2: Prepare Pans
- Line baking sheets with parchment paper. Spray lightly with non-stick spray. Draw guidelines if needed for straight churros.
- Step 3: Pipe Churros
- Hold bag at 45-degree angle above sheet. Pipe 4-inch lines with steady pressure. Use scissors to cut clean ends.
- Step 4: Initial Baking
- Place in preheated oven at 400°F. Bake 12-15 minutes until starting to crisp. Don't open oven during this time.
- Step 5: Finish Baking
- Reduce heat to 350°F. Continue baking 5-7 minutes until crispy. Watch carefully to prevent burning.
- Step 6: Coat While Hot
- Roll in cinnamon sugar immediately. Work quickly while churros are hot. Place on rack to cool slightly.

Perfect Piping
Success with these churros depends largely on proper piping technique. The batter should be thick enough to hold its shape but soft enough to pipe smoothly. Practice on a separate piece of parchment until you get the feel for the right pressure and speed.
Temperature Matters
The two-stage baking process is crucial for achieving that authentic churro texture. The initial high heat creates the crispy exterior, while the lower temperature ensures the inside cooks through without burning. This method mimics the effect of frying without the extra calories.

Beyond Basic Coating
While traditional cinnamon sugar is delicious, these red velvet churros welcome creative variations. Try coating with cocoa powder and sugar, or drizzling with melted chocolate. For Valentine's Day, a white chocolate drizzle creates beautiful contrast with the red color.
Chef's Essential Tips
- Keep piping bag warm for easier handling
- Use heavy-duty piping bags to prevent bursting
- Space churros evenly on baking sheet
- Don't skip the two-stage baking
- Coat while still hot for best sugar adhesion

These baked red velvet churros have become my go-to impressive dessert. The combination of traditional churro texture with red velvet flavor creates something uniquely delicious.
Final Tips
- Make extra cinnamon sugar for coating
- Serve warm for best texture
- Consider dipping sauces
- Store in paper bag, not plastic
- Best enjoyed same day
Recipe FAQs
- → Why use a double-lined piping bag?
- The dough is thick and needs strong piping bag to prevent bursting.
- → Can I use natural coloring?
- Yes, beetroot juice can replace artificial food coloring.
- → Why bake at two temperatures?
- Initial high heat creates crispiness, lower heat sets centers.
- → Can these be made ahead?
- Best served fresh but can be stored briefly in airtight container.
- → What's the best dipping sauce?
- Nutella or melted chocolate work well for dipping.
