 Pin
Pin
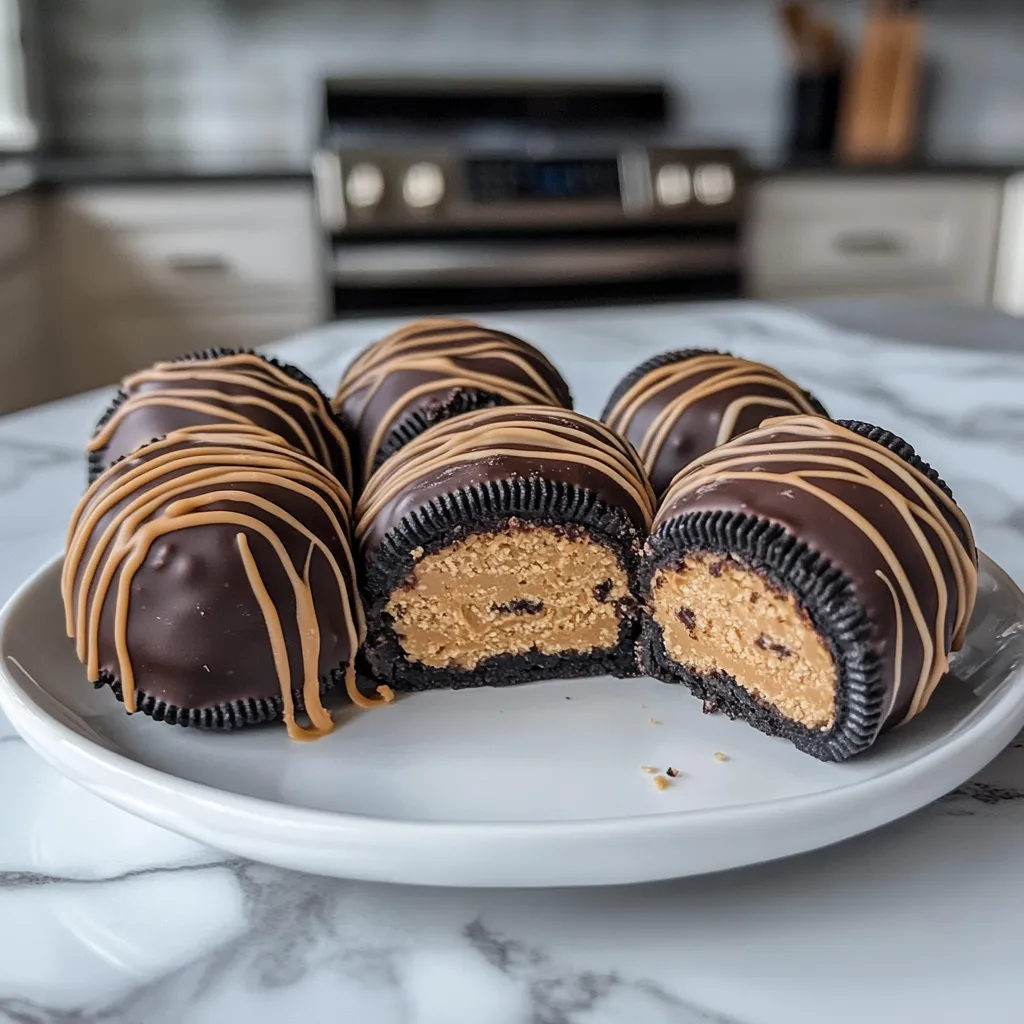
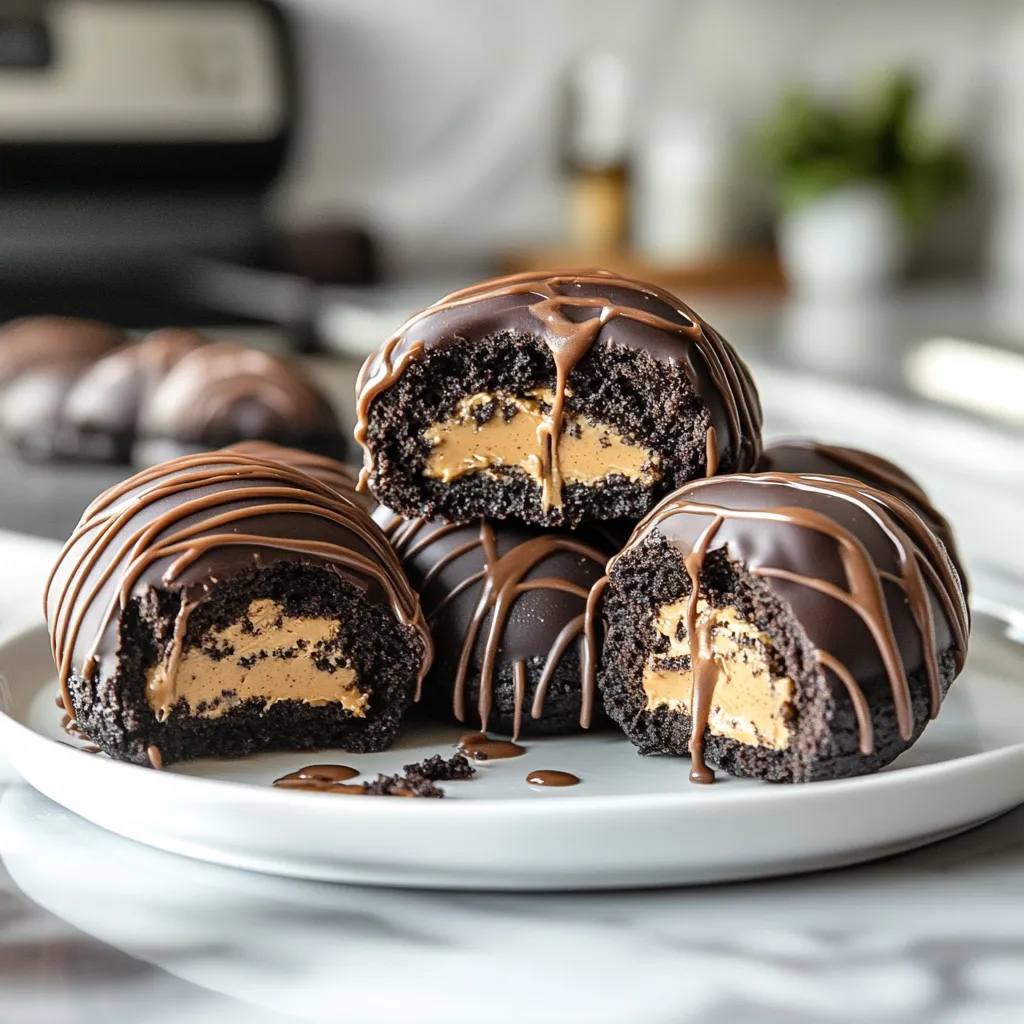
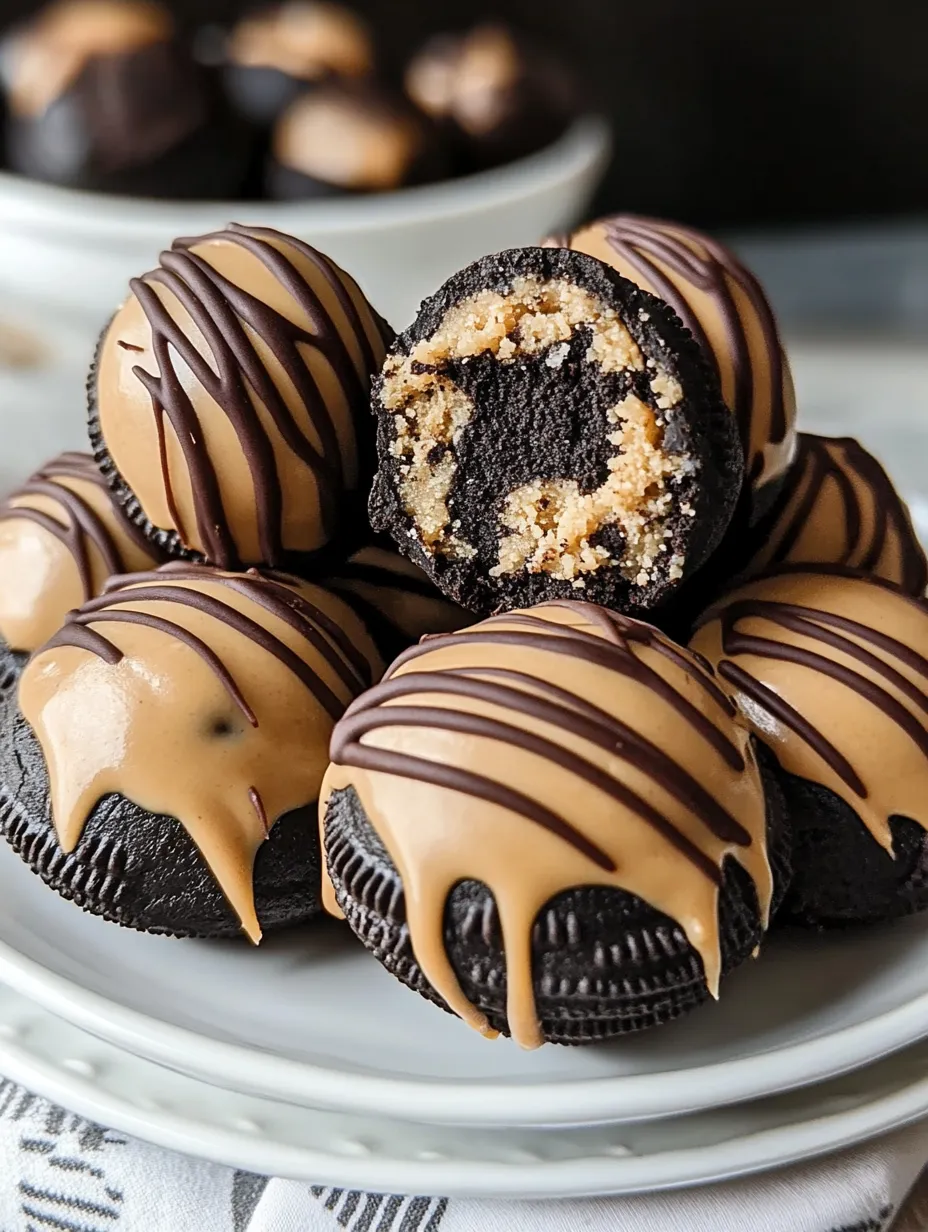
These 3-Ingredient Peanut Butter Oreo Cookie Balls are the perfect no-bake treat for when you need something sweet without the hassle. Combining the rich flavor of Oreos with creamy peanut butter and a chocolate coating, these bite-sized delights come together in minutes and disappear even faster. I discovered this recipe when looking for a last-minute dessert for unexpected guests, and it's become my go-to emergency sweet treat ever since.
Last week, I brought these to a neighborhood potluck and came home with an empty plate and five requests for the recipe. The combination of Oreo crumbs and peanut butter creates an irresistible texture that keeps everyone reaching for "just one more."
Essential Ingredients and Selection Tips
- Oreo Cookies - Classic flavor works best; keep the cream filling for binding
- Peanut Butter - Smooth, commercial brands provide the best consistency; natural varieties may separate
- Chocolate for Coating - Melting wafers or chips in milk, dark, or white chocolate
The magic happens when the simple combination of crushed cookies and peanut butter creates a dough-like mixture that's perfect for shaping into bite-sized balls of deliciousness.
Detailed Cooking Instructions
- Step 1: Crush the Oreos
- Place Oreos (with filling intact) in a food processor and pulse until they become fine crumbs. Alternatively, place in a sealed plastic bag and crush with a rolling pin until fine.
- Step 2: Add Peanut Butter
- Transfer crushed Oreos to a medium bowl and add peanut butter. Start with approximately ½ cup peanut butter for every 20 Oreos crushed.
- Step 3: Mix Thoroughly
- Using a spoon or clean hands, combine the Oreo crumbs and peanut butter until the mixture reaches a dough-like consistency that holds together when pressed.
- Step 4: Shape into Balls
- Scoop about 1 tablespoon of mixture and roll between your palms to form a ball. Place on a parchment-lined baking sheet or tray.
- Step 5: Chill the Balls
- Refrigerate the formed balls for at least 30 minutes (or freeze for 15-20 minutes if you're in a hurry). This crucial step ensures they'll hold their shape during the dipping process.
- Step 6: Melt the Chocolate
- While the balls chill, melt your chosen chocolate in a microwave-safe bowl. Heat in 20-second intervals, stirring between each, until completely smooth.
- Step 7: Dip in Chocolate
- Using a fork or dipping tool, submerge each chilled ball in melted chocolate. Tap the fork gently against the bowl to remove excess chocolate.
- Step 8: Add Toppings
- While the chocolate is still wet, sprinkle with optional toppings like crushed Oreos, chopped nuts, or sprinkles if desired.
- Step 9: Let Set
- Return the chocolate-coated balls to the parchment-lined tray and refrigerate until the chocolate coating is completely set, about 15-20 minutes.
- Step 10: Serve or Store
- Enjoy immediately or store in an airtight container in the refrigerator for up to a week.

I learned the importance of proper chilling after my first batch turned into a melty mess in the warm chocolate. Now I always allow extra chilling time for the perfectly shaped, easy-to-dip balls.
Perfect Party Pleasers
These treats have become my signature contribution to gatherings, from casual movie nights to elegant holiday parties. They're impressive enough to make guests think you spent hours in the kitchen, yet simple enough that even kitchen novices can master them. The bite-sized format makes them perfect for dessert trays, and their richness means one or two satisfies even the strongest sweet tooth. I've found they're particularly popular with children and adults alike, bridging generational taste preferences with universal appeal.

Versatility Champion
What makes these cookie balls truly special is their incredible adaptability. While the classic recipe is divine, I've experimented with countless variations. Try using different Oreo flavors - golden Oreos with white chocolate coating create a beautiful blonde version, while mint Oreos with dark chocolate offer a refreshing twist. The peanut butter can be substituted with cookie butter, Nutella, or almond butter for allergy-friendly alternatives. Each variation maintains the simple three-ingredient approach while delivering a completely different flavor experience.
Make-Ahead Magic
As a busy host, I appreciate desserts that can be prepared well in advance, and these cookie balls excel in that category. They can be made up to a week ahead and stored in the refrigerator, or frozen for up to two months before a special event. I often make a double batch, enjoying some immediately and freezing the rest for impromptu gatherings or late-night cravings. The chocolate coating serves as a protective seal, keeping the inside fresh and delicious until you're ready to serve.
Chef's Essential Tips
- For uniform sizes, use a small cookie scoop to portion the mixture
- If your hands get sticky while rolling, rinse with cold water between batches
- Adding a teaspoon of coconut oil to the melting chocolate creates a smoother, shinier coating
- Roll the balls twice if you want a perfectly round shape
- Let the balls come to room temperature for about 10 minutes before serving for the best texture and flavor
I've refined these techniques through many batches, particularly after discovering that slightly wet hands make rolling so much easier and produce smoother balls.
These 3-Ingredient Peanut Butter Oreo Cookie Balls prove that impressive desserts don't require complicated recipes or lengthy preparation. The simple combination of familiar ingredients transforms into something greater than the sum of its parts - a treat that delivers sophisticated flavor with minimal effort.

Whether you're looking for a last-minute dessert for unexpected guests, a make-ahead treat for busy holidays, or just satisfying a chocolate-peanut butter craving, this recipe delivers consistent, crowd-pleasing results every time.
Final Tips
- Package in mini cupcake liners for an elegant presentation at parties
- Try a drizzle of contrasting chocolate (white over milk or vice versa) for visual appeal
- Make mini versions using a 1/2 tablespoon measure for lighter bites
- Label clearly if serving at parties due to peanut allergy concerns
- For gift-giving, place in small boxes lined with parchment for a homemade treat that feels special
Recipe FAQs
- → Why avoid natural peanut butter?
- Regular peanut butter holds shape better than natural varieties.
- → Can I use different Oreo flavors?
- Yes, but classic works best to let peanut butter shine.
- → How should I melt chocolate?
- Use short microwave intervals, stirring between each.
- → Can I make these ahead?
- Yes, store in refrigerator up to a week.
- → Do I remove Oreo filling?
- No, keep filling as it helps bind the mixture.
