 Pin
Pin
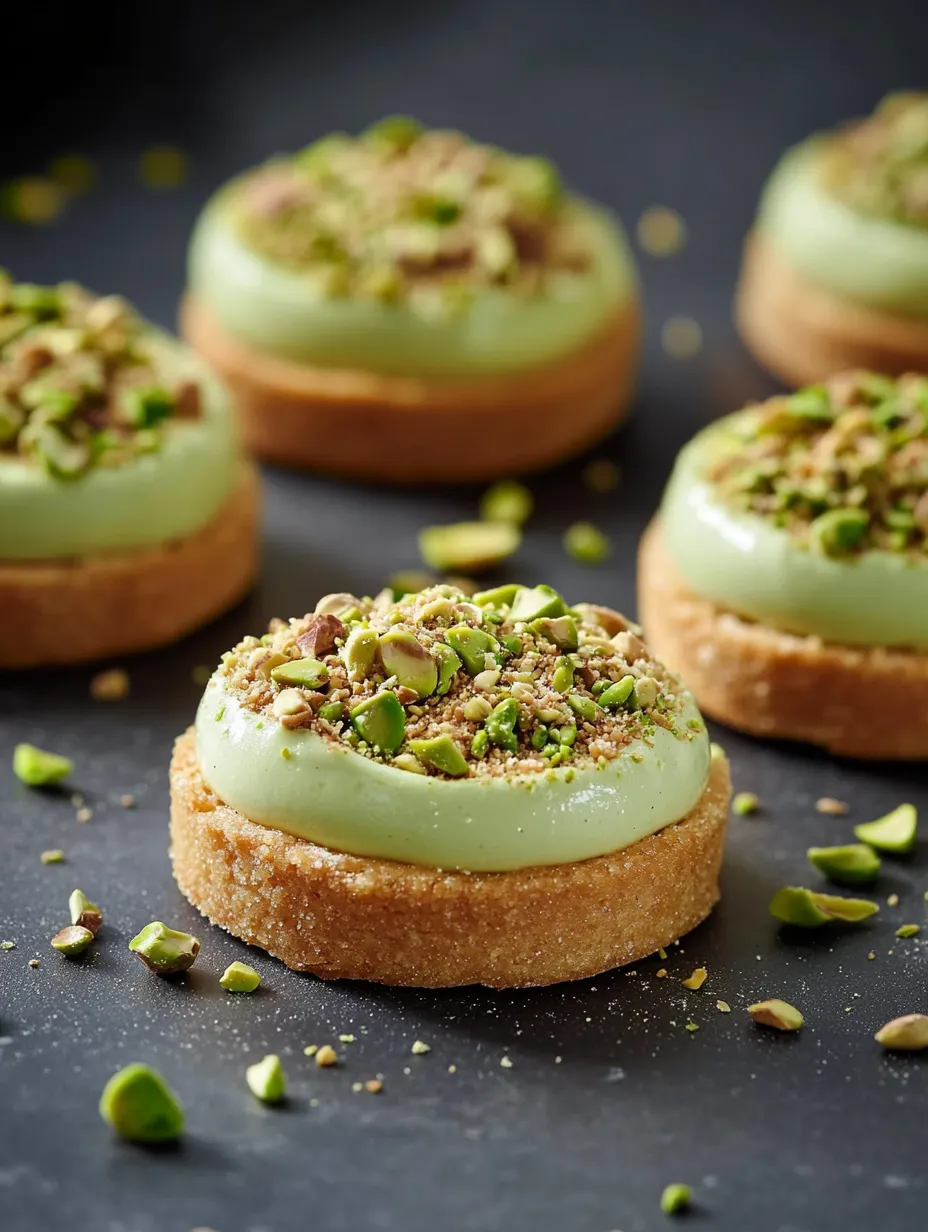
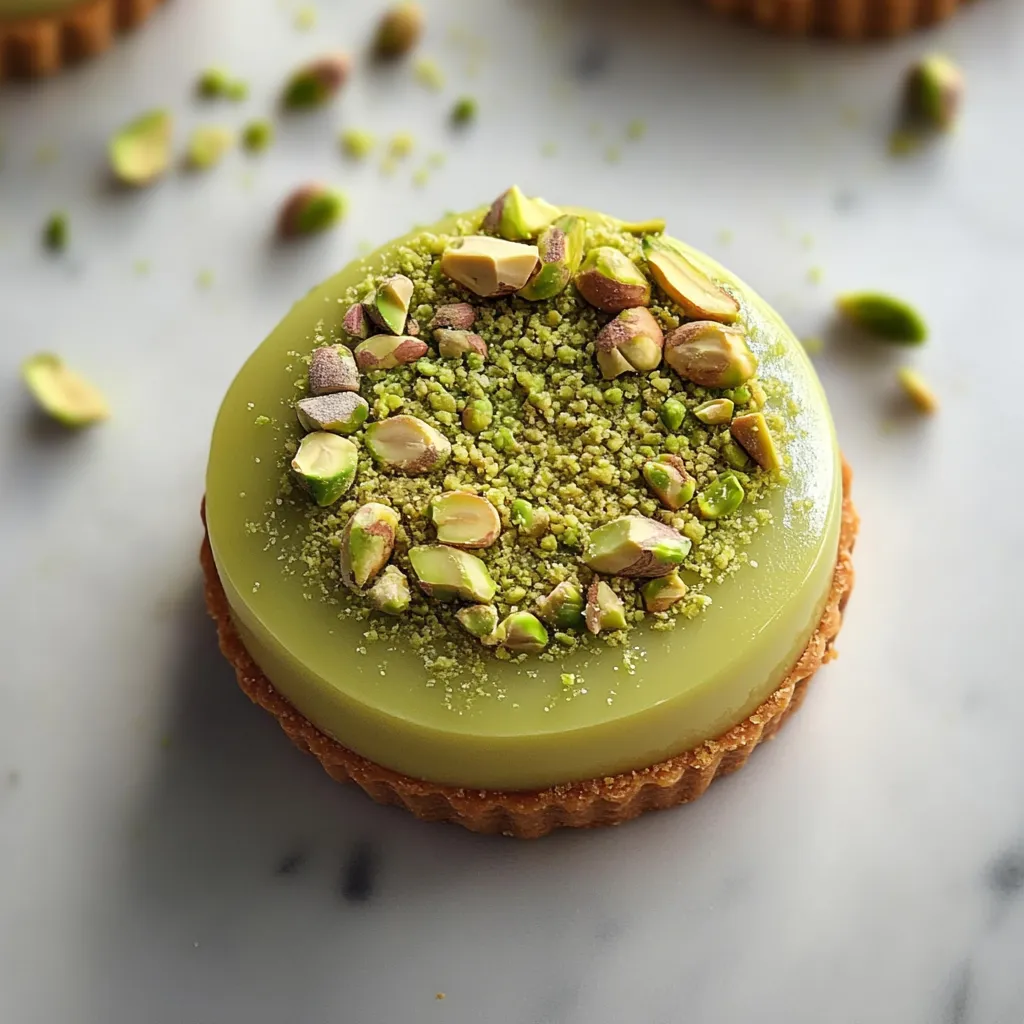
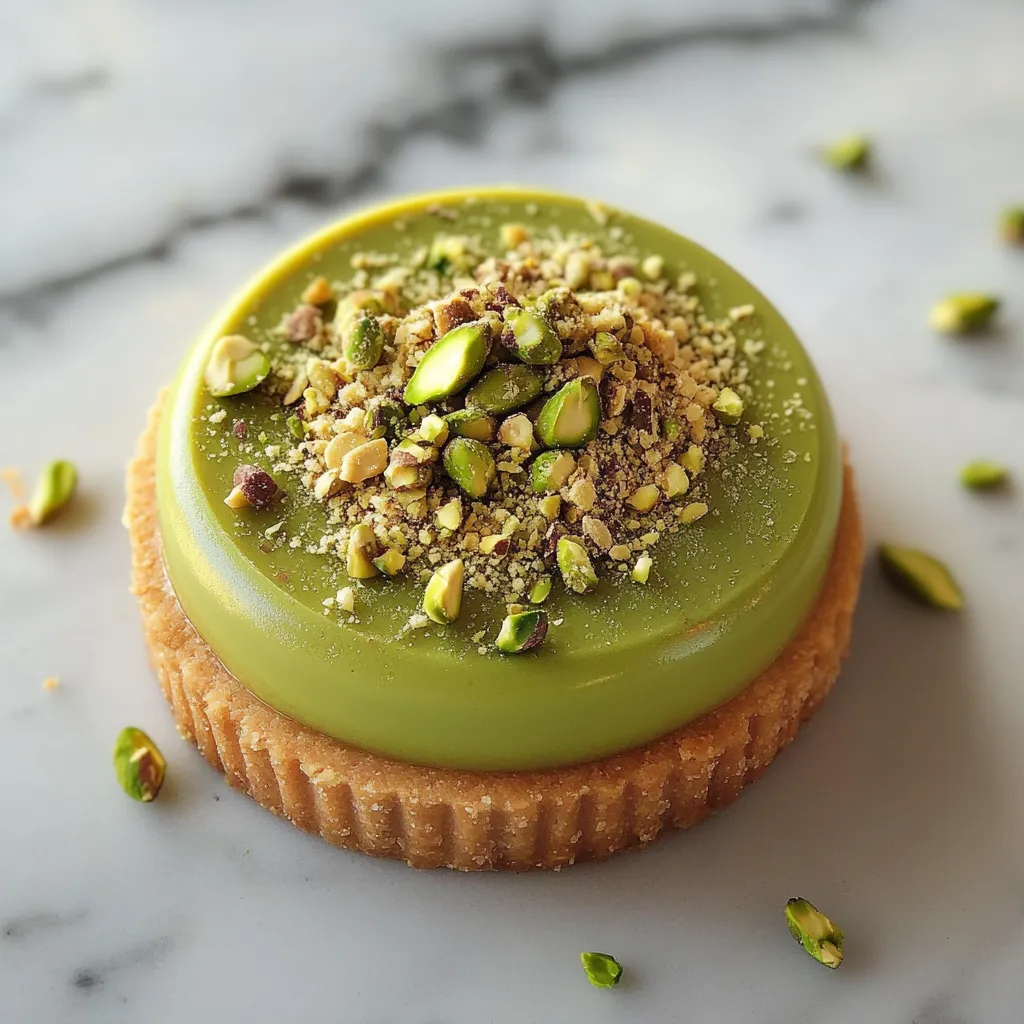
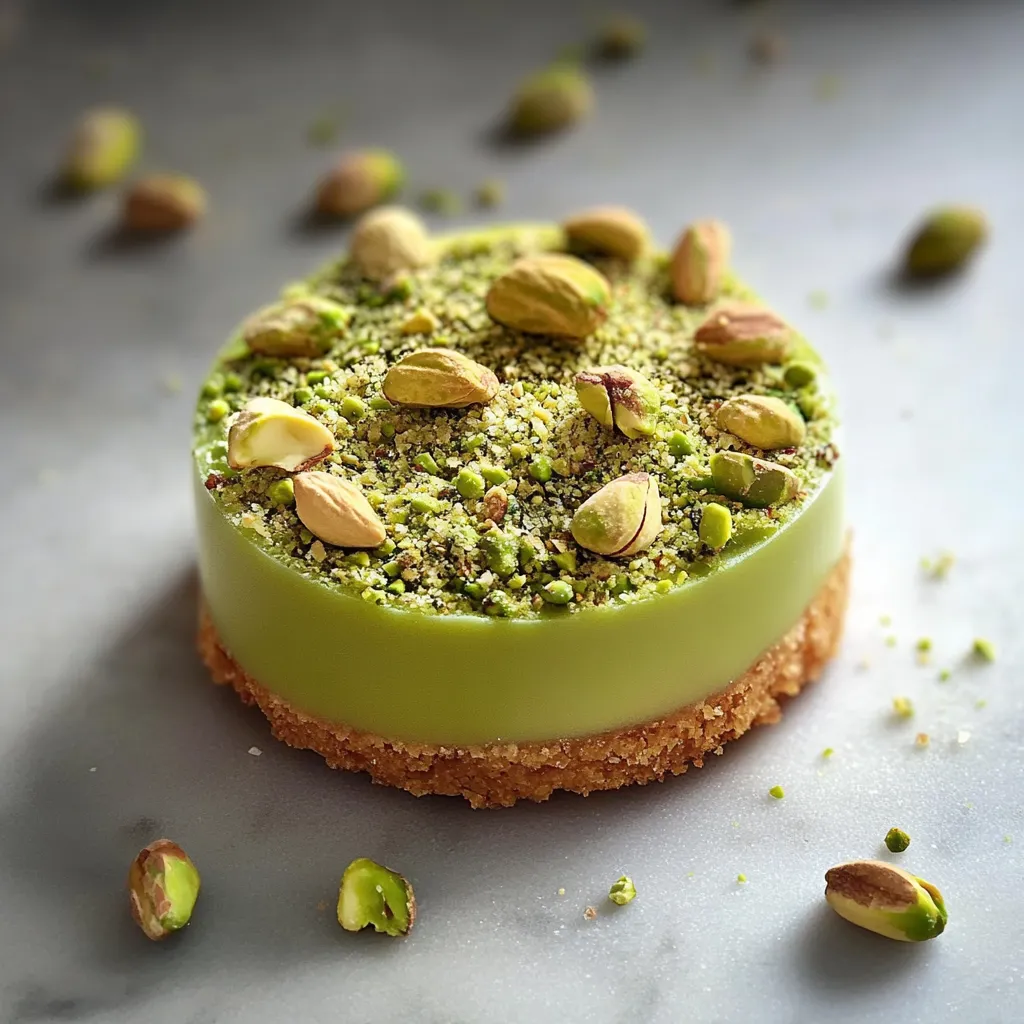
These elegant pistachio tartlets capture the essence of the beloved green nut in multiple layers of texture and flavor. A buttery vanilla crust holds baked pistachio cream, crunchy pistachio streusel, and a silky pistachio crémeux for a sophisticated dessert that celebrates pistachio in every bite. I created this recipe from ingredients I had on hand after a busy holiday season, combining elements from my favorite pistachio desserts into one showstopping treat.
Last New Year's Eve, I served these tartlets to friends who couldn't believe they were homemade. The multiple layers created such a professional appearance that one guest asked which bakery I had visited!
Essential Ingredients and Selection Tips
- Natural Pistachio Butter - Look for 100% pistachio with no added oils or sugar for the purest flavor
- Shelled Pistachios - Bronte pistachios from Sicily offer superior flavor and vibrant green color
- Pailleté Feuilletine - These caramelized wafer flakes add essential crunch; find them at specialty baking stores
- White Chocolate - Balances the pistachio flavor in the crémeux
- Gelatin - Creates the perfect silky texture for the crémeux layer
The magic happens when these distinct layers come together—crisp crust, tender baked cream, crunchy streusel, and smooth crémeux—creating an elegant dessert with impressive depth of flavor and texture.
Detailed Cooking Instructions
- Step 1: Prepare Gelatin Mass
- Sprinkle gelatin powder over water, mix well and refrigerate for at least 30 minutes until fully bloomed. Cut into small pieces before using.
- Step 2: Make Pistachio Crémeux
- Combine white chocolate, pistachio butter and gelatin in a measuring pitcher. Heat milk, cream, sugar and egg yolks to 80-82°C, stirring continuously. Strain into the chocolate mixture, blend until smooth, and pour into smaller rings. Freeze until set.
- Step 3: Prepare Vanilla Crust
- Mix flour, almond powder, powdered sugar, salt and cold butter cubes until sandy. Add whisked egg and vanilla, mix until just combined. Roll between parchment to 3mm thickness and refrigerate until firm.
- Step 4: Shape Tart Shells
- Cut strips and circles from chilled dough, line the larger rings, creating right angles at the corners. Trim excess, prick bottoms with a fork, and freeze until stiff.
- Step 5: Bake Crusts
- Bake at 170°C for 16-18 minutes until lightly golden. Cool and remove from rings, cleaning edges for a sharp appearance.
- Step 6: Make Baked Pistachio Cream
- Grind pistachios with powdered sugar, mix with softened butter, gradually add egg until smooth. Fill crusts halfway and bake 16-19 minutes until set.
- Step 7: Prepare Pistachio Streusel
- Combine ground pistachios, flour, sugar, salt and butter into a crumble. Bake at 170°C for 8-10 minutes until golden.
- Step 8: Create Pistachio Crunch
- Mix pistachio butter, feuilletine and streusel with melted chocolate until spreadable. Spread over the baked cream layer and level with the crust edge.
- Step 9: Roast Pistachios for Decoration
- Roast shelled pistachios at 160°C for 7 minutes, cool, then crush for the final decoration.
- Step 10: Assemble Tartlets
- Place thawed crémeux discs on top of the crunch layer. When slightly tacky, press crushed roasted pistachios on top and around the sides.

I discovered the importance of temperature control with these tartlets after my first attempt on a warm day resulted in frustratingly soft dough that kept tearing during shaping.
The Art of Patience
This dessert teaches the value of patience in pastry-making. Each component requires time—from chilling dough to freezing crémeux to letting flavors develop. I've found that spreading the preparation across multiple days not only makes the process manageable but actually improves the final result, allowing flavors to mature and textures to set perfectly.

Color Variations
The natural green color varies dramatically depending on your pistachios. Iranian and Sicilian varieties offer the most vibrant hue, while California pistachios yield a more subtle tone. I've experimented with both extremes and found each beautiful in its own way. Let the natural coloring be part of the charm rather than attempting artificial enhancement.
A Cultural Journey
These tartlets connect us to pistachio's rich history across Mediterranean and Middle Eastern cuisines. Originally from western Asia, pistachios have been treasured for thousands of years. I like to share this heritage when serving the dessert, explaining how the different textures represent the nut's versatility across culinary traditions from Turkish baklava to Italian gelato.
Chef's Essential Tips
- For the crunch layer, adjust the chocolate amount if needed to achieve the right spreadable consistency
- The crémeux frozen discs make assembly much easier than trying to pipe the mixture
- Pressing the crushed pistachios onto the slightly thawed crémeux creates better adhesion
- Use a Silpan if available for more even baking of the crusts
- Keep the finished tartlets in an airtight container in the refrigerator for 2-3 days
These tartlets represent my pastry journey over the years – combining techniques I've learned from various recipes into one harmonious creation. The multiple components allow you to spread the work over several days, making it manageable even for busy schedules.
The layered textures create a dessert that feels professionally crafted yet delivers the satisfaction of homemade goodness. With each bite offering crisp, crunchy, creamy, and buttery elements, these pistachio tartlets transform simple ingredients into an extraordinary dessert worthy of celebration.

Final Tips
- Begin the recipe a day or two before serving to allow for chilling and freezing times
- Use high-quality pistachios for the most vibrant color and flavor
- For a cleaner cut when serving, dip your knife in hot water and wipe dry between slices
- Garnish with a small edible gold leaf for special occasions
- Consider making extra crémeux discs to freeze for future desserts
Recipe FAQs
- → Why use two sizes of rings?
- Different components require different dimensions for proper assembly.
- → What is pailleté feuilletine?
- Crispy, crushed crepe pieces that add texture to desserts.
- → Can I make components ahead?
- Yes, several components can be made ahead and assembled later.
- → Why such precise temperatures?
- Ensures proper setting of custards and prevents curdling.
- → Are ring molds necessary?
- Yes, they create the precise shapes needed for professional results.
