 Pin
Pin
These vibrant blueberry cookies transform simple ingredients into something magical, combining the comforting essence of a blueberry muffin with the irresistible allure of a perfectly baked cookie. The natural blue hue and bursts of berry flavor make these treats as beautiful as they are delicious, proving that plant-based baking can be both stunning and satisfying.
After developing this recipe through countless test batches, I've found these cookies never fail to surprise and delight. The first time I served them at a gathering, guests couldn't believe they were naturally colored and vegan - they disappeared within minutes!
Essential Ingredients
- All-purpose flour: Needs to be measured precisely - too much creates dry cookies
- Frozen blueberries: Should be completely frozen when starting - this helps maintain their color
- Vegan butter: Must be at cool room temperature - too soft creates flat cookies
- White chocolate chips: Should be high quality - they balance the berry tang perfectly
- Baking powder: Must be fresh for proper lift

Step-by-Step Instructions
- Step 1:
- Begin by creaming your vegan butter and sugar together in a stand mixer fitted with the paddle attachment. Beat on medium speed for 3-4 minutes until light and fluffy. This step creates air pockets for tender cookies.
- Step 2:
- While the mixer runs on high speed, gradually add your frozen blueberries. Watch as the mixture transforms into a stunning purple-blue color. Continue mixing until blueberries are completely broken down.
- Step 3:
- In a separate bowl, whisk together your flour, baking powder, and salt. This ensures even distribution of leavening agents.
- Step 4:
- Gradually add the dry ingredients to your wet mixture, mixing on low speed just until combined. Scrape down the sides of the bowl as needed.
- Step 5:
- Fold in white chocolate chips by hand, being careful not to overmix. The dough will be quite soft - this is normal.
- Step 6:
- Cover the bowl and chill in the freezer for 30 minutes. This firms up the dough for easier handling and prevents excessive spreading.
- Step 7:
- Using a cookie scoop or scale, portion out 35g balls of dough onto a parchment-lined baking sheet.
- Step 8:
- Bake in a preheated 350°F oven for 12-15 minutes, or until the edges are set but the centers still look slightly underbaked.

My journey with these cookies began when trying to create a natural alternative to food-dyed treats. The moment I saw that first batch emerge from the oven, their vibrant color achieved purely from berries, I knew I had something special.
Science of Natural Color
Through extensive testing, I've discovered that temperature plays a crucial role in maintaining that gorgeous blue hue: Keep berries frozen until the last moment. Don't overheat the butter while creaming. Chill dough thoroughly before baking. Cool cookies completely on wire racks.
Seasonal Adaptations
While frozen berries work year-round, I've experimented with variations: Summer: Add fresh lemon zest. Fall: Include warming spices. Winter: Mix in crushed candy canes. Spring: Add lavender buds.
Troubleshooting Common Issues
Quick fixes for baking challenges: Too spread out: Chill dough longer. Not blue enough: Use wild blueberries. Too wet: Add 1-2 tablespoons flour. Not sweet enough: Increase white chocolate chips.
Working with Vegan Ingredients
Understanding vegan baking nuances: Different brands of vegan butter perform differently. Look for white chocolate specifically labeled vegan. Natural sugars may affect color. Plant-based milk can help adjust consistency.
The Joy of Natural Baking
These cookies prove that natural ingredients can create spectacular results. Children especially love watching the transformation as blue berries create magical purple-blue swirls in the dough. It's a wonderful way to teach them about natural food colors and the science of baking.
Remember, patience is key with these cookies. The time invested in proper chilling and careful baking yields treats that are not just delicious but also visually stunning. As one young baker told me, 'They look like they're made from fairy dust!' - and sometimes, that's exactly the kind of magic we need in our kitchens.
The Art of Perfect Presentation
Through countless batches, I've discovered presentation techniques that make these cookies even more magical: Arrange on blue or white platters to enhance color. Sprinkle with edible shimmer dust. Create cookie sandwiches with vanilla cream. Stack in glass jars for gifting.
Storage Strategies
Proper storage maintains both flavor and appearance: Use airtight containers with parchment layers. Keep away from direct sunlight to preserve color. Freeze unbaked dough balls individually. Store baked cookies away from aromatic foods.
Advanced Techniques
For those ready to elevate their baking: Brown the vegan butter first for depth. Add blueberry powder to intensify color. Create marbled effects with plain dough. Experiment with different chip sizes.
Educational Opportunities
These cookies offer perfect teaching moments: Color changes in natural foods. Chemical reactions in baking. Importance of precise measurements. Plant-based ingredient alternatives.
The Science of Texture
Understanding texture development: Protein content in flour affects chewiness. Sugar ratio impacts spread. Fat type influences crispiness. Moisture balance affects shelf life.

After countless batches and many happy tasters, I've learned that these cookies are more than just a treat - they're a conversation starter, a teaching tool, and a way to show that natural ingredients can create extraordinary results. Whether you're an experienced baker or just starting out, these blueberry cookies offer a delightful adventure in plant-based baking.
Remember, every batch is unique, just like the natural ingredients that create their beautiful color. Embrace the variations and enjoy the process of creating these magical treats.
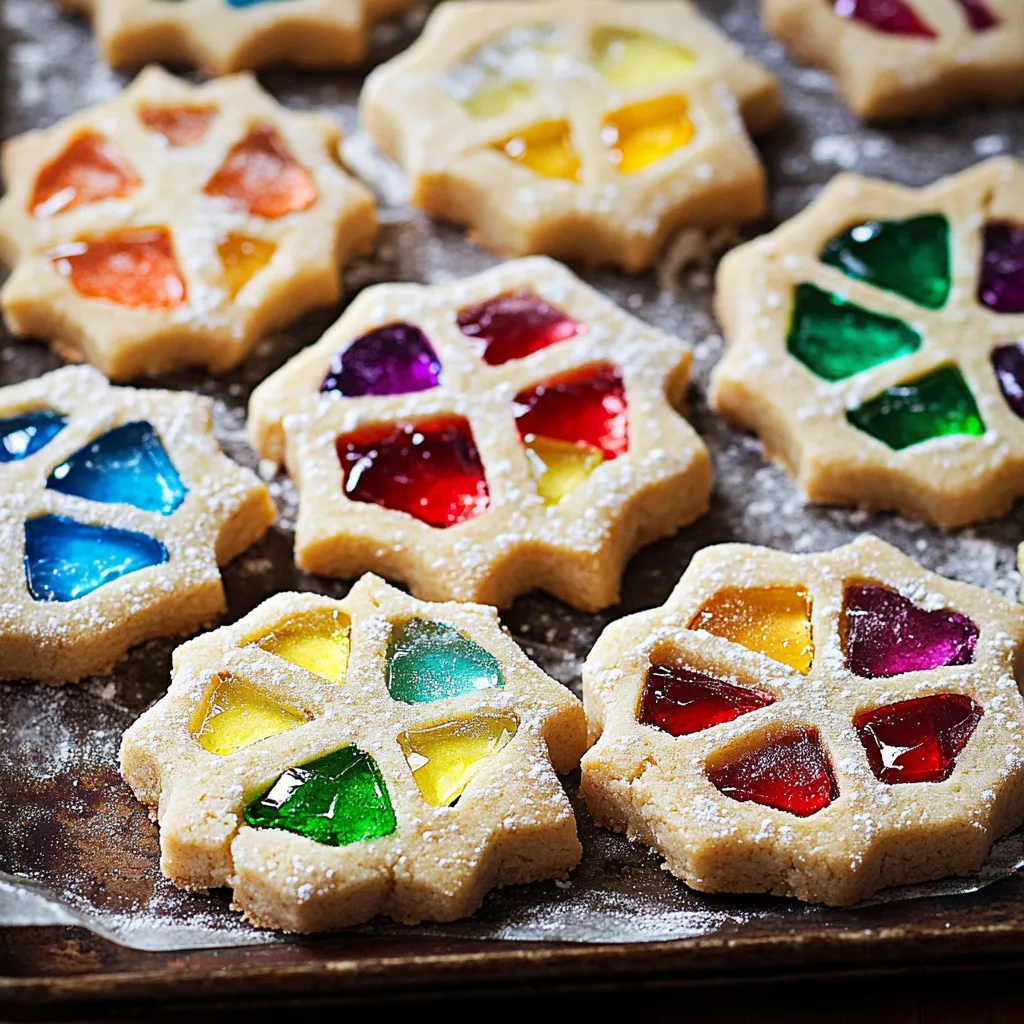
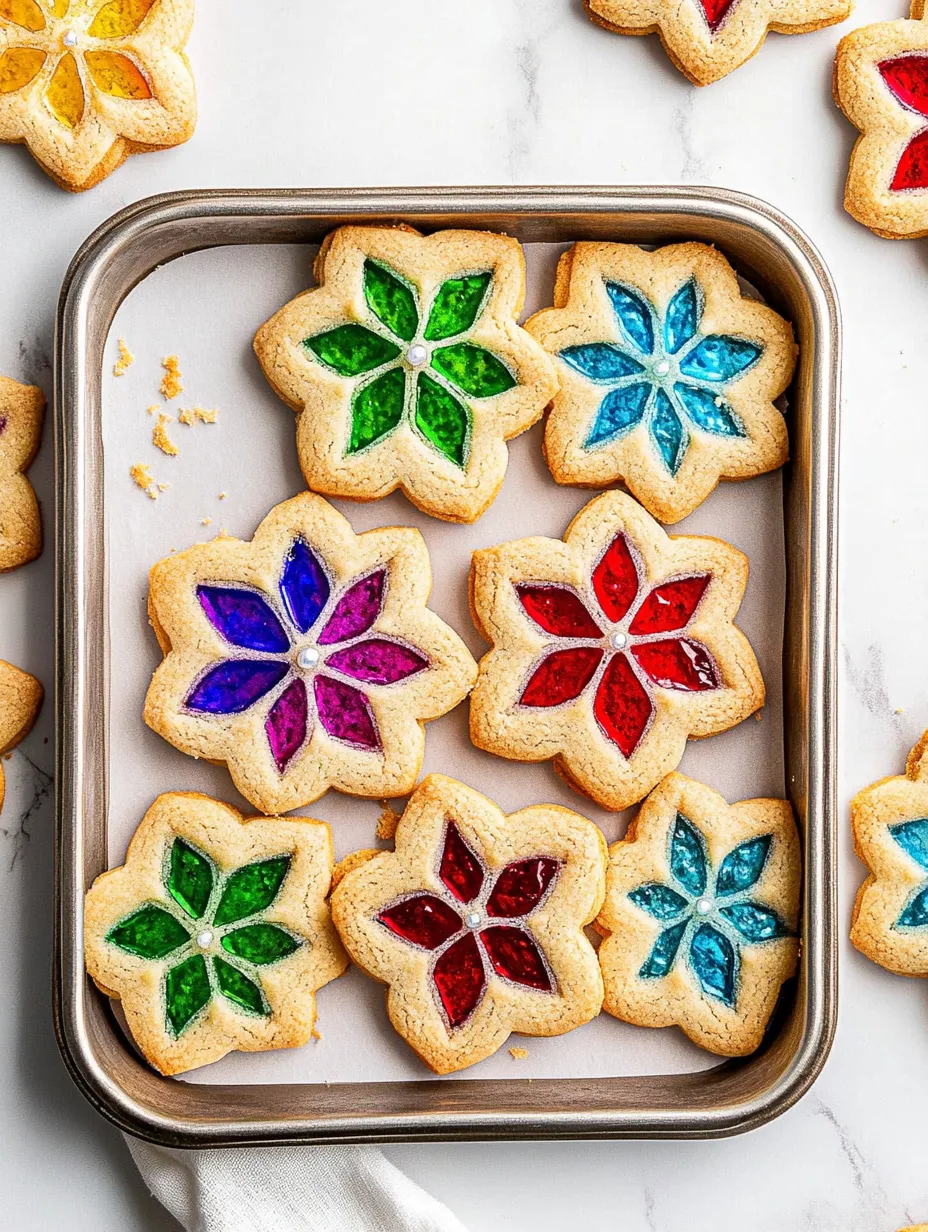
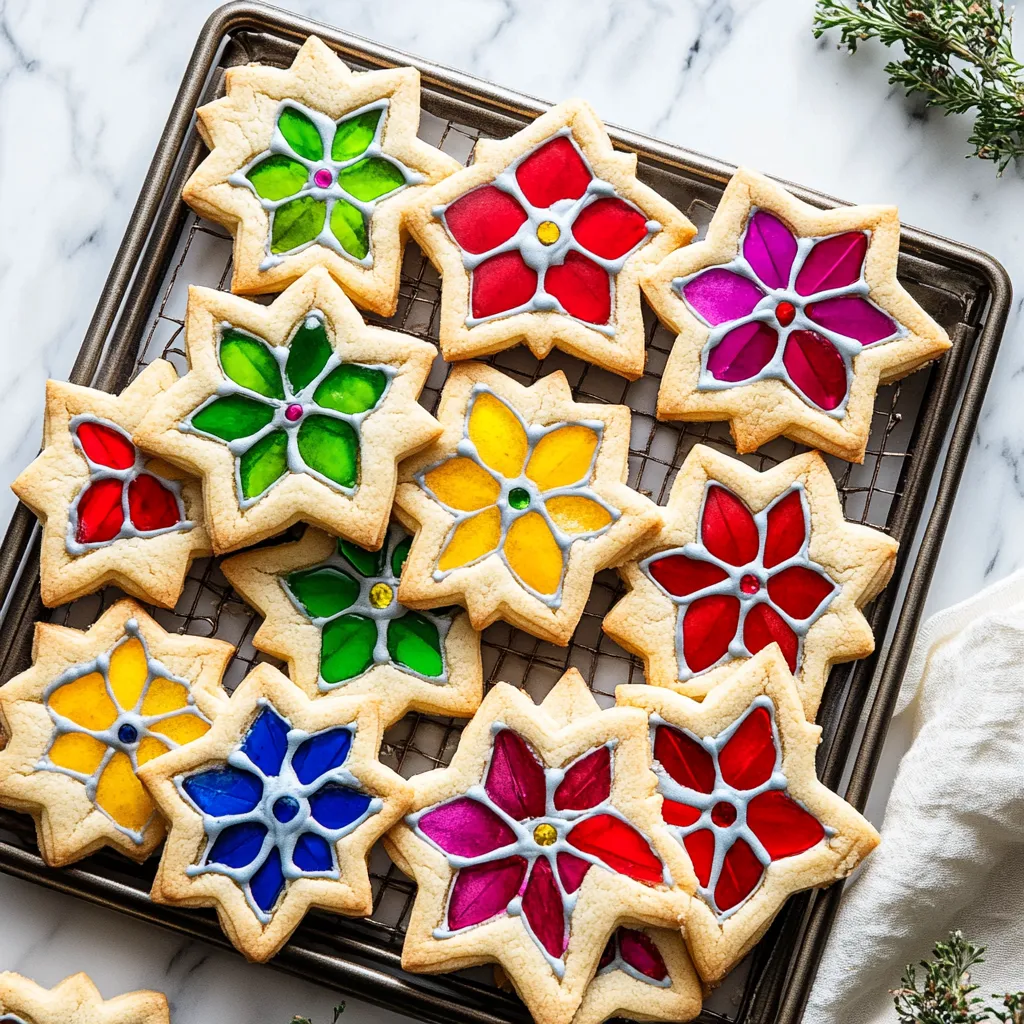
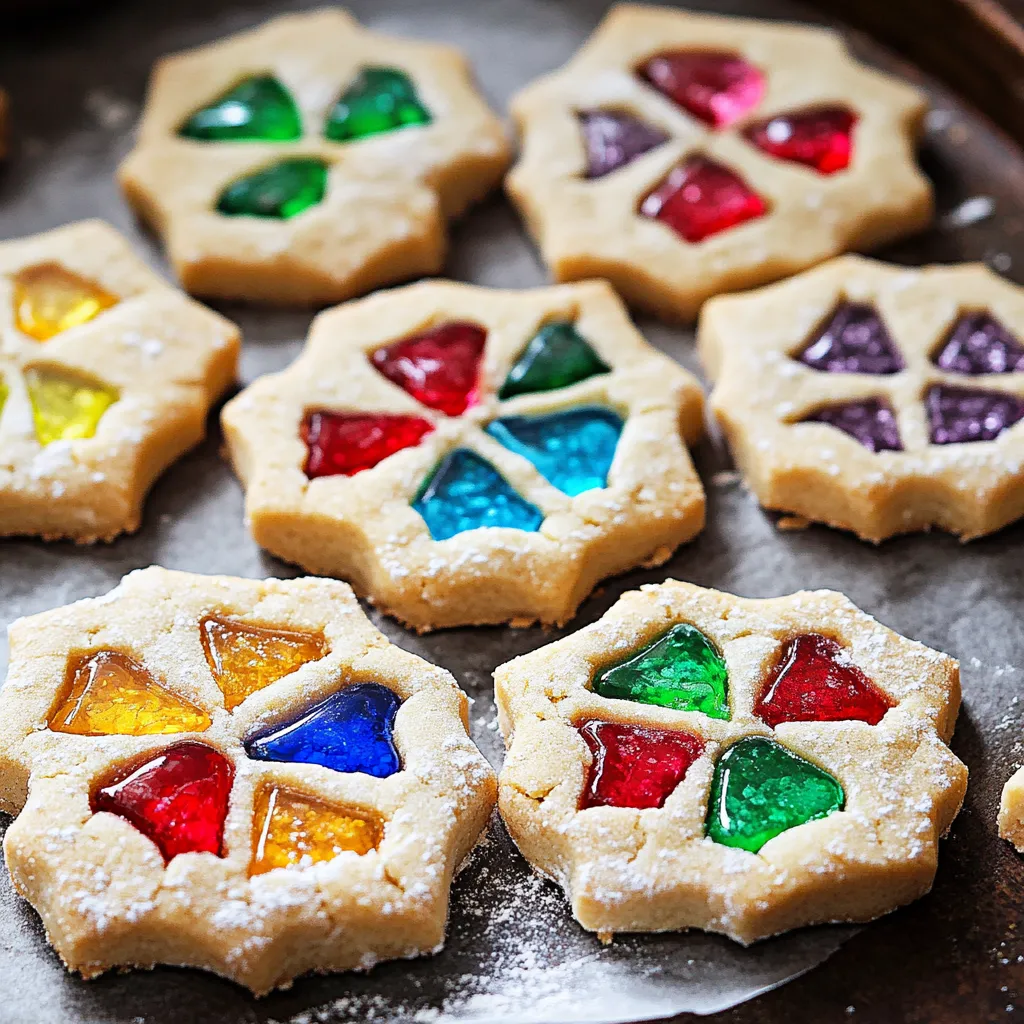
These enchanting stained glass window cookies transform simple ingredients into edible works of art. With their sparkling candy centers catching the light like jewels and buttery cookie frames, they bring a touch of magic to any holiday cookie platter. Perfect for hanging on Christmas trees or gifting to loved ones, these cookies create moments of wonder for both young and old.
Recipe FAQs
- → What kind of candy works best for the windows?
- Hard candies like Jolly Ranchers or Life Savers work best. Avoid soft candies or those that contain chocolate.
- → Why do I need to chill the dough?
- Chilling prevents cookies from spreading while baking and makes the dough easier to handle when cutting shapes.
- → Can I make these ahead of time?
- Yes, they keep well at room temperature for a week or refrigerated for up to 10 days.
- → Why didn't my candy windows turn out clear?
- Make sure to crush candies into small pieces, not powder, and don't overfill the centers. Bake until completely melted.
- → Can I hang these cookies as decorations?
- Yes, make a small hole at the top before baking. Once cooled, thread with ribbon to hang.
