 Pin
Pin
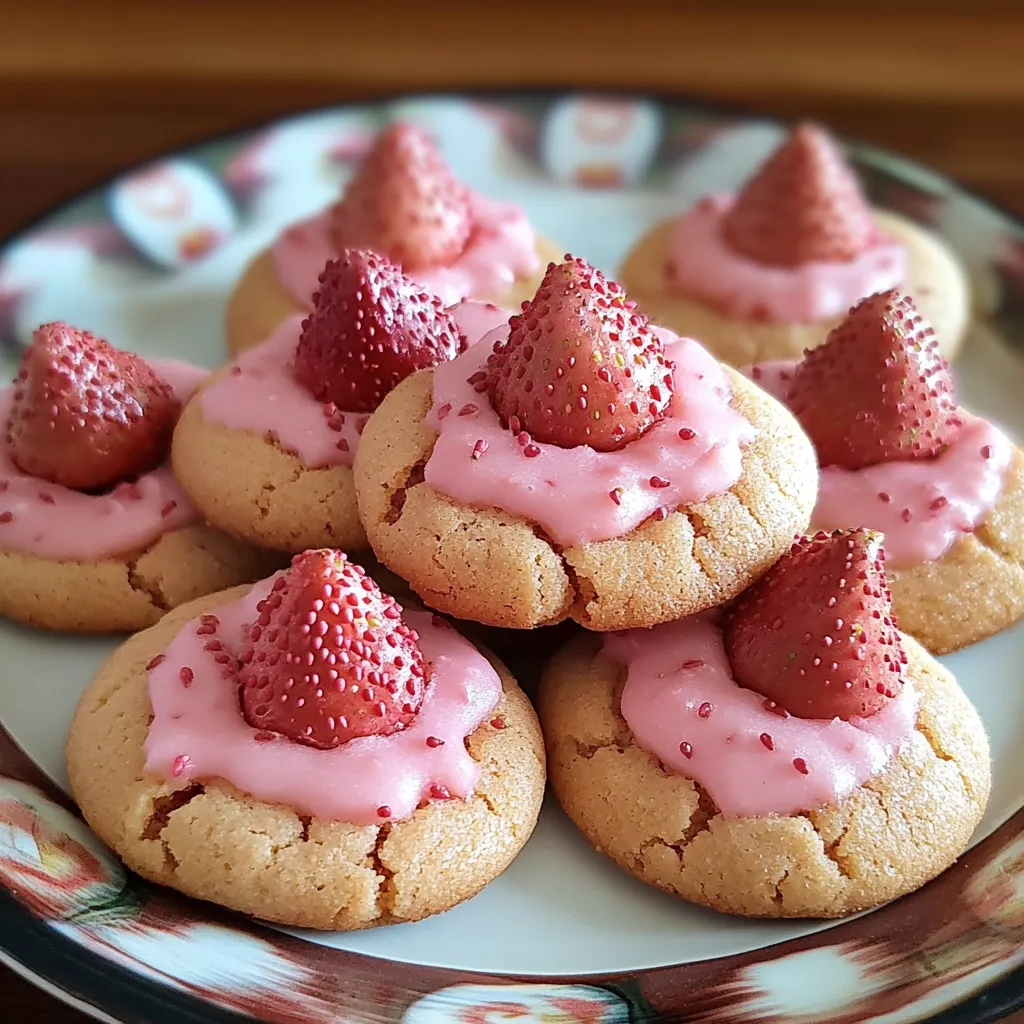
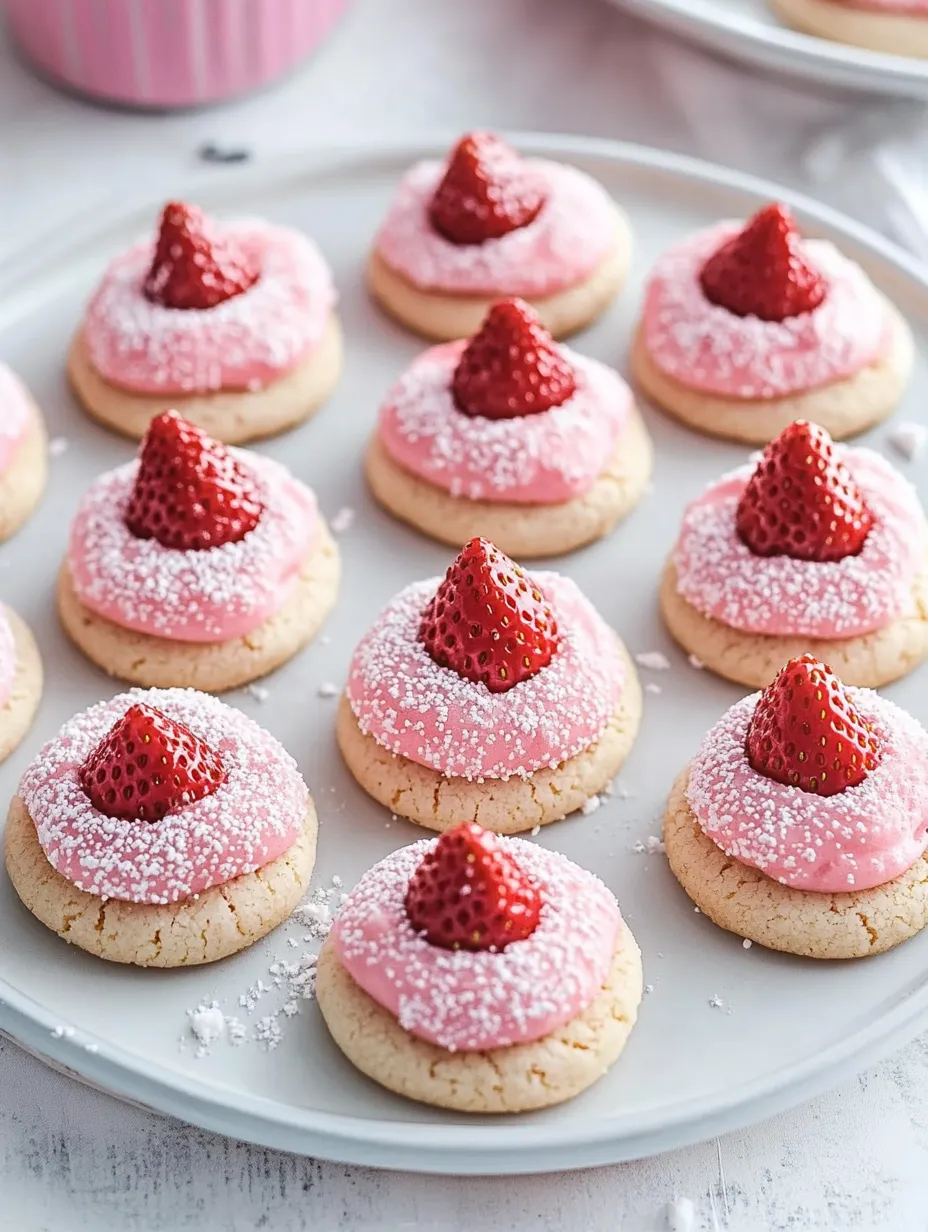
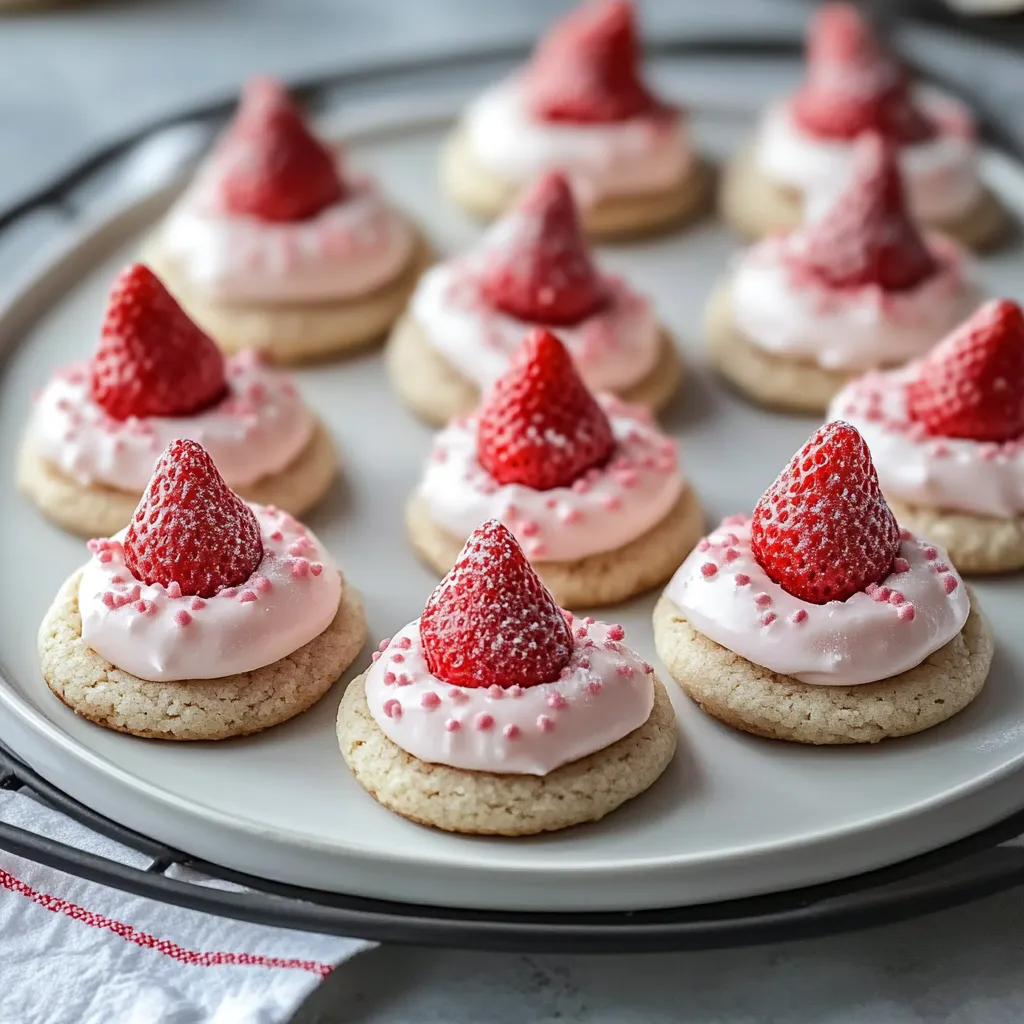
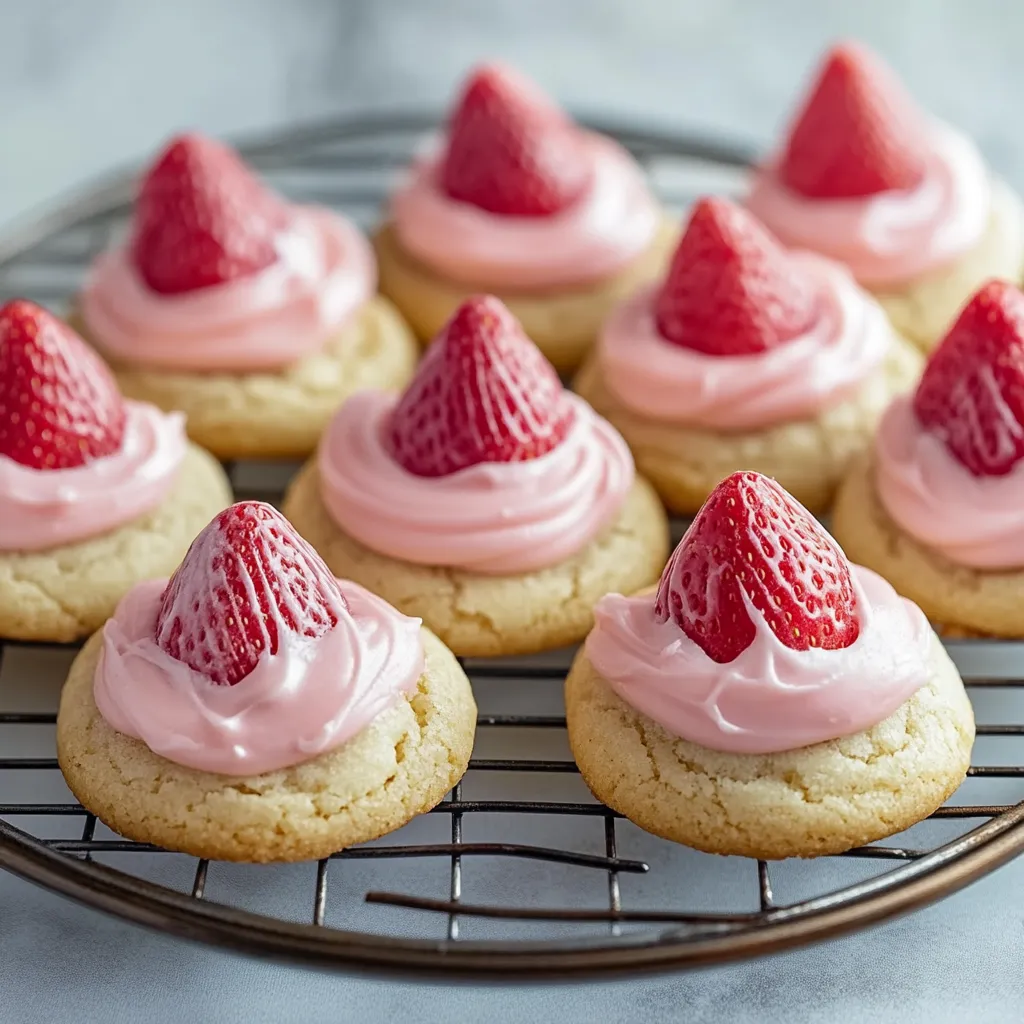
In my kitchen, few recipes bring as much joy as these Strawberry Kiss Cookies. The combination of buttery shortbread, sweet strawberry, and rich chocolate creates something magical - a cookie that's both nostalgic and sophisticated. The soft pink hue adds a touch of whimsy, while the chocolate kiss center makes each bite a perfect balance of flavors.
Last weekend, I taught my niece how to make these cookies. Watching her eyes light up as she pressed the chocolate kisses into warm cookies reminded me why this recipe has become such a treasured part of my baking repertoire.
Essential Ingredients and Selection Tips
- Butter: Use high-quality unsalted butter at room temperature. European-style butter with higher fat content creates an exceptionally tender cookie. I leave mine out for exactly one hour before baking
- Strawberry Gelatin: Don't substitute sugar-free versions; the regular gelatin contributes both flavor and structure. Store the opened packet in an airtight container if making multiple batches
- Flour: Use all-purpose flour, but measure it carefully. I prefer the spoon-and-level method for consistent results
- Chocolate Kisses: Keep them in the refrigerator until needed. Cold kisses hold their shape better when pressed into warm cookies
The foundation of perfect Strawberry Kiss Cookies begins with proper preparation. Bringing ingredients to room temperature and organizing your workspace sets you up for success. The dough comes together quickly once you start, so having everything ready makes the process smoother and more enjoyable.

The Art of Perfect Dough
Start by creaming your butter until it's light and fluffy - this usually takes 3-4 minutes with an electric mixer. Don't rush this step; properly creamed butter creates the tender crumb we're after. Add sugar gradually, allowing each addition to fully incorporate. The mixture should look almost white and feel light when ready.

Flour Integration
Add your dry ingredients gradually, mixing on low speed. Stop as soon as the flour disappears - overworking the dough develops gluten, making tough cookies. The dough should be soft but not sticky, holding its shape when rolled into balls.
Shaping Success
Roll dough portions about the size of a tablespoon into perfect spheres. This creates the most attractive finished cookie. When making the center indentation, use a gentle twisting motion with your thumb - this prevents cracking and creates a perfect nest for the chocolate kiss.
Baking Brilliance
Watch the cookies carefully during baking. They're done when the edges are just set but the centers still look slightly underbaked. This ensures a tender, melt-in-your-mouth texture. Let them cool on the baking sheet for exactly 5 minutes before adding the kisses.
Chocolate Kiss Technique
Press chocolate kisses into the centers while cookies are still warm but not hot. The residual heat secures the chocolate without melting it. If your kitchen is warm, chill the kisses briefly before using them.
Seasonal Adaptations
These cookies welcome seasonal variations. For spring, use strawberry kisses. Summer calls for white chocolate. Fall brings caramel-filled kisses, while winter welcomes dark chocolate or peppermint varieties.
Storage Strategy
Layer cookies between waxed paper in an airtight container. They keep at room temperature for 5 days, though they rarely last that long in my house. For gifting, package them in clear boxes with ribbon - their pretty pink color makes them naturally decorative.
Extended Final Thoughts
Creating perfect Strawberry Kiss Cookies is about understanding the delicate balance between technique and intuition. Each step builds on the last, from the properly creamed butter to the final dusting of powdered sugar. Through years of making these cookies, I've discovered that success lies not just in following the recipe, but in recognizing the small signs that indicate perfection - the right dough consistency, the perfect bake time for your oven, the ideal moment to add the kisses.
Personal Reflection
My journey with these cookies began during holiday baking sessions with my grandmother, where she taught me that the best cookies come from patience and attention to detail. What started as a simple thumbprint cookie evolved into this signature recipe that friends and family now request for every special occasion. Each batch carries memories of kitchen laughter, shared stories, and the joy of creating something beautiful to share.
Cultural and Historical Context
Thumbprint cookies trace their origins to Swedish Hallongrotta (raspberry caves), but this American variation showcases our love for combining classic techniques with modern twists. The addition of strawberry flavor and chocolate kisses represents mid-century American ingenuity, when home bakers began experimenting with new convenience products to create unique treats. These cookies embody the evolution of home baking - honoring traditional techniques while embracing contemporary ingredients and flavors.
Gifting Guidance
These cookies make exceptional gifts, but presentation matters. Stack them carefully in decorative tins lined with parchment paper, alternating directions to protect the chocolate kisses. For holiday gifting, I've found that metallic boxes with clear tops showcase their festive appearance beautifully while keeping them fresh during transport.
Special Occasion Adaptations
Each holiday offers opportunities for creative variations. Valentine's Day welcomes heart-shaped indentations instead of rounds. Easter calls for pastel-colored white chocolate kisses. Christmas brings opportunities for red and green sugar sprinkles before the powdered sugar dusting.
Troubleshooting Wisdom
If your cookies spread too much during baking, chill the dough balls for 15 minutes before indenting and baking. If the edges crack when making thumbprints, let the dough warm slightly at room temperature. These small adjustments make significant differences in the final appearance.

Temperature Notes
Your kitchen's temperature affects these cookies considerably. On warm days, keep the dough chilled between batches and work quickly when adding kisses. In winter, slightly shorter baking times might be needed as butter sets faster in cooler rooms.
Make-Ahead Magic
The dough can be prepared up to 48 hours in advance and refrigerated. Bring it back to cool room temperature before shaping. You can also freeze shaped, unbaked cookies for up to a month - just add an extra minute to the baking time when cooking from frozen.
The Joy of Teaching
These cookies are perfect for baking with children. Their simple yet engaging process - rolling balls, making thumbprints, adding kisses - provides natural opportunities to teach kitchen skills while creating sweet memories. The visible transformation during each step keeps young bakers engaged throughout the process.
Recipe FAQs
- → Can I use a different flavor of gelatin mix?
- While strawberry is the recommended flavor, you can experiment with other flavors like raspberry or cherry for a different twist.
- → Can I make the dough in advance?
- Yes, you can prepare the dough in advance and refrigerate it until ready to bake. Let it come to room temperature before shaping and baking.
- → Can I use a different type of chocolate for the center?
- While chocolate kiss candies are traditional, you can also use other chocolate candies or even a dollop of chocolate ganache or Nutella.
- → How should I store the cookies?
- Store the cookies in an airtight container at room temperature for up to 5 days. The chocolate centers may soften over time, but they will still be delicious.
- → Can I freeze the cookies?
- Yes, you can freeze the baked cookies without the chocolate centers for up to 3 months. Thaw and add the chocolate kisses before serving.
