
 Pin
Pin
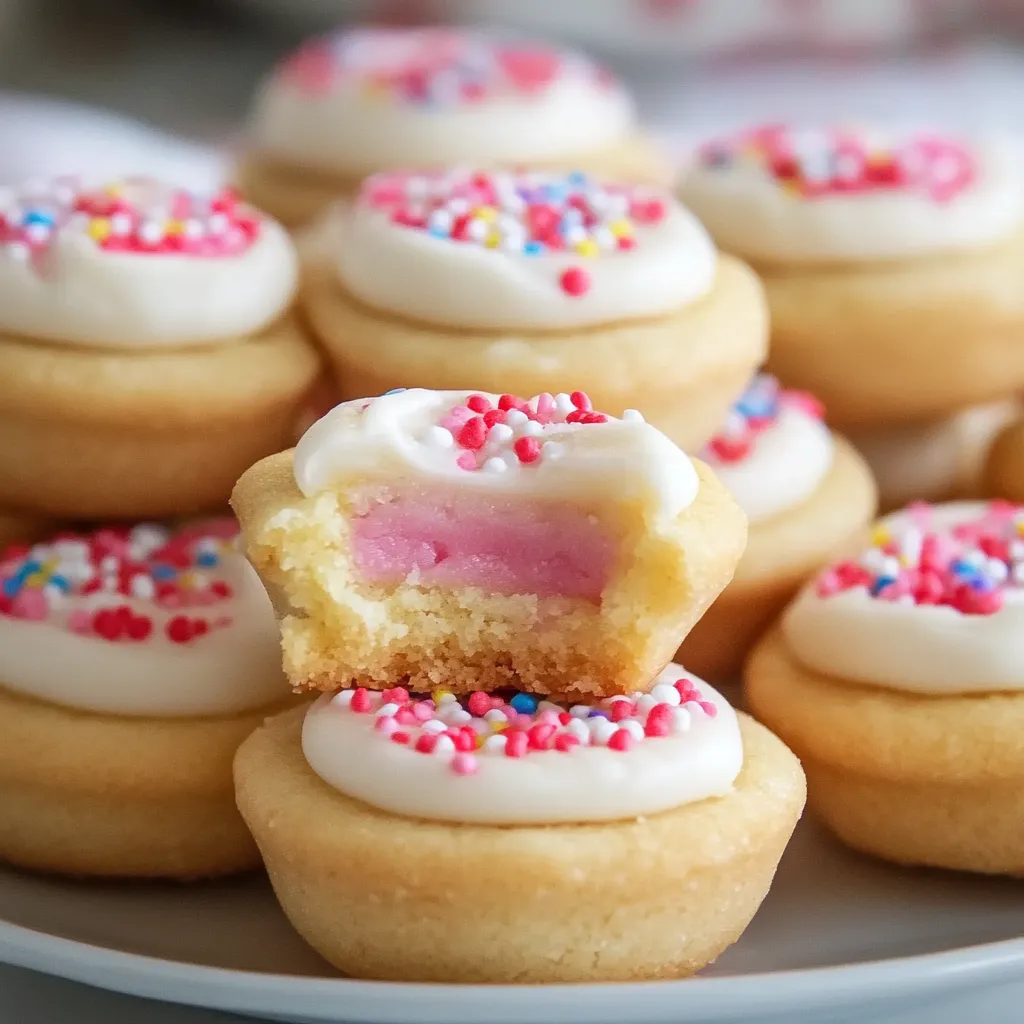
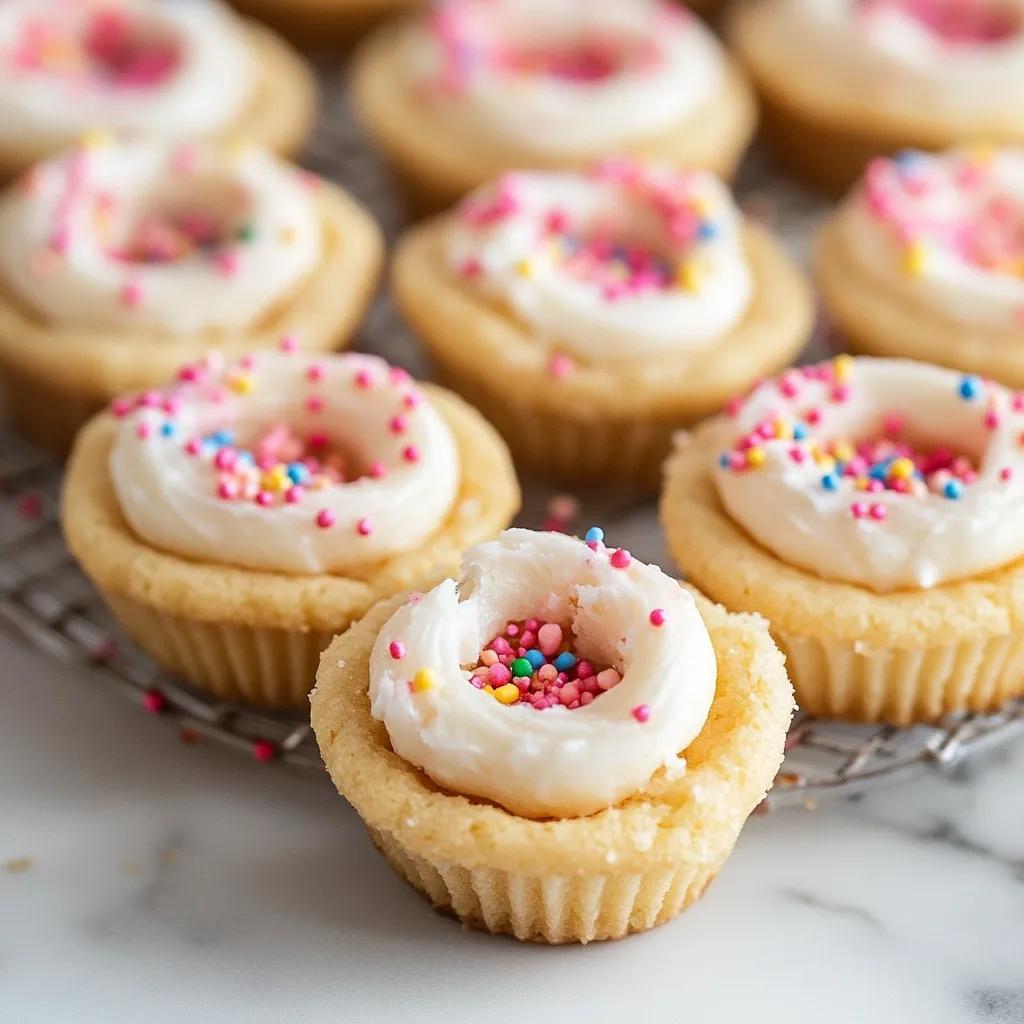
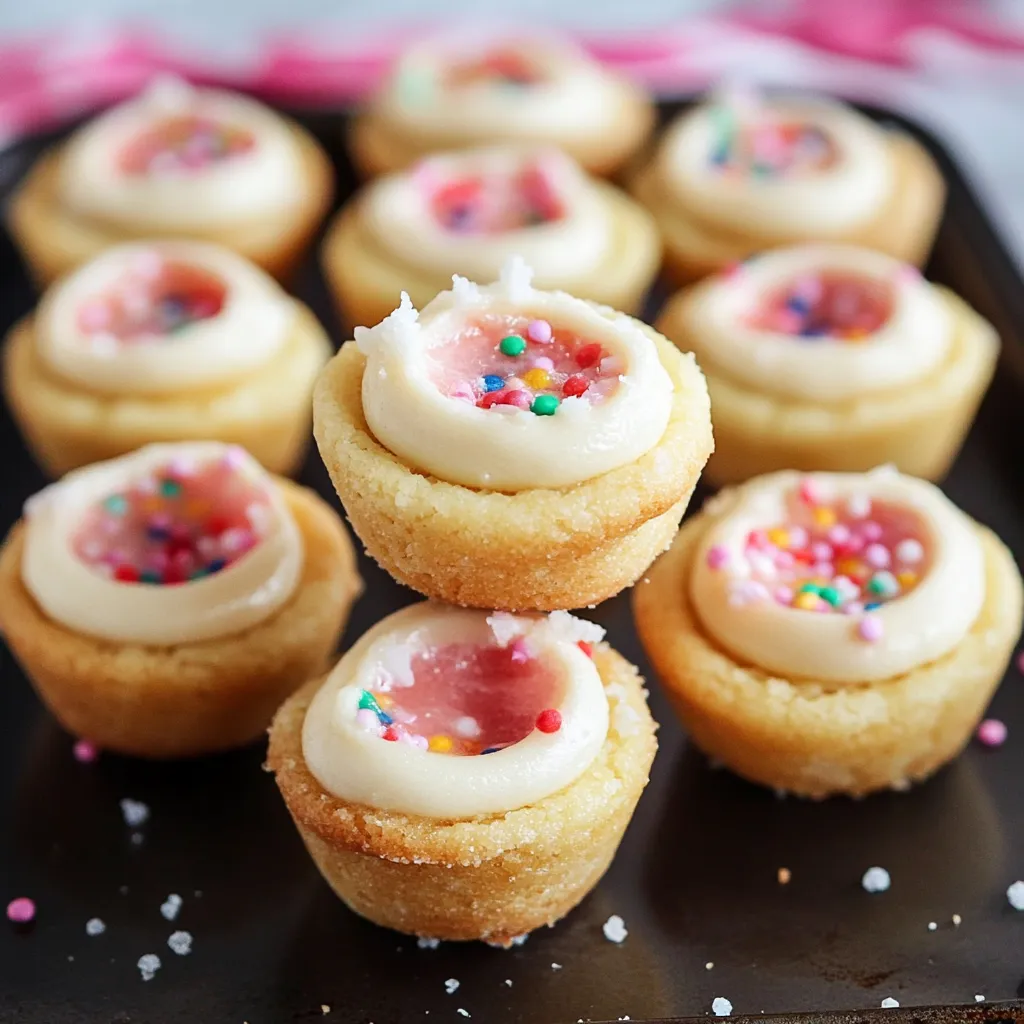
Transform classic sugar cookies into adorable mini cups that create the perfect vessel for creamy frosting. These bite-sized treats combine buttery cookie bases with silky frosting, creating customizable desserts that are perfect for parties and special occasions.
Through countless batches, I've learned that proper dough temperature and careful timing create the perfect cookie cup shape.
Essential Ingredients
- Butter: Room temperature (65-70°F), unsalted
- Granulated Sugar: For proper texture
- All-Purpose Flour: Measured correctly
- Large Eggs: Room temperature
- Pure Vanilla Extract: No imitation
- Heavy Cream: For silky frosting
- Sprinkles: For decoration
Detailed Instructions
- 1. Dough Preparation:
- Beat room temperature butter and granulated sugar until light and fluffy, about 3-4 minutes. Add eggs one at a time, then vanilla, mixing well after each addition. Combine dry ingredients separately, then add gradually to butter mixture. Mix just until dough forms - it should be soft but not sticky. Chill 30 minutes for easier handling.
- 2. Pan Preparation:
- Grease 36 mini muffin cups thoroughly with cooking spray or softened butter. For easiest removal, use paper liners. Preheat oven to 350°F with rack in center position.
- 3. Cookie Cup Formation:
- Use 1½-tablespoon cookie scoop (about 1 ounce) for consistent sizing. Roll each portion into ball, then flatten slightly to fit muffin cups. Press dough into cups, creating ¼-inch thick sides and bottom.
- 4. Baking Process:
- Bake 12-14 minutes until edges are light golden and centers are just set. Remove from oven and immediately reinforce centers with rounded measuring spoon. A slight indentation is perfect for holding frosting.
- 5. Shaping and Cooling:
- Let cookies cool in pan exactly 5 minutes - this allows them to set while staying pliable enough for removal. Transfer carefully to wire rack for complete cooling.
Storage and Serving Strategy
Let cups cool completely before frosting. For immediate serving, store at room temperature up to 3 days in airtight container. To freeze, pack unfrosted cups carefully in freezer-safe container with parchment between layers. Freeze up to 3 months.
Frosting Preparation
Beat softened butter until creamy. Gradually add sifted powdered sugar, alternating with heavy cream until achieving piping consistency - thick enough to hold shape but smooth enough to pipe. Transfer to piping bag fitted with star tip (or zip-top bag with ¼-inch corner cut).
Perfect Pairings
- Cold milk
- Hot chocolate
- Coffee or tea
- Fresh berries
- Ice cream for dessert cups
- Colorful sprinkles
Decorating Variations
- Seasonal sprinkles
- Food coloring in frosting
- Different piping tips
- Edible glitter
- Fresh fruit toppings
- Chocolate drizzle
These cookie cups prove that simple ingredients can create impressive results. Whether for special occasions or everyday treats, they're sure to bring smiles. Remember, attention to detail during preparation ensures perfect shape and texture every time.
Recipe FAQs
- → Can I make these ahead of time?
- Yes, make the cups up to 3 days ahead and store unfrosted. Fill just before serving.
- → How should I store these?
- Store in an airtight container at room temperature for up to 5 days.
- → Can I freeze the unfilled cups?
- Yes, freeze unfilled cups for up to 3 months in an airtight container.
- → What can I use instead of a bottle cap?
- Any round object about 1 inch in diameter works - like a small shot glass or measuring spoon.
- → Can I fill these with something else?
- Yes, try chocolate ganache, cream cheese frosting, or fruit curd as alternatives.