
 Pin
Pin
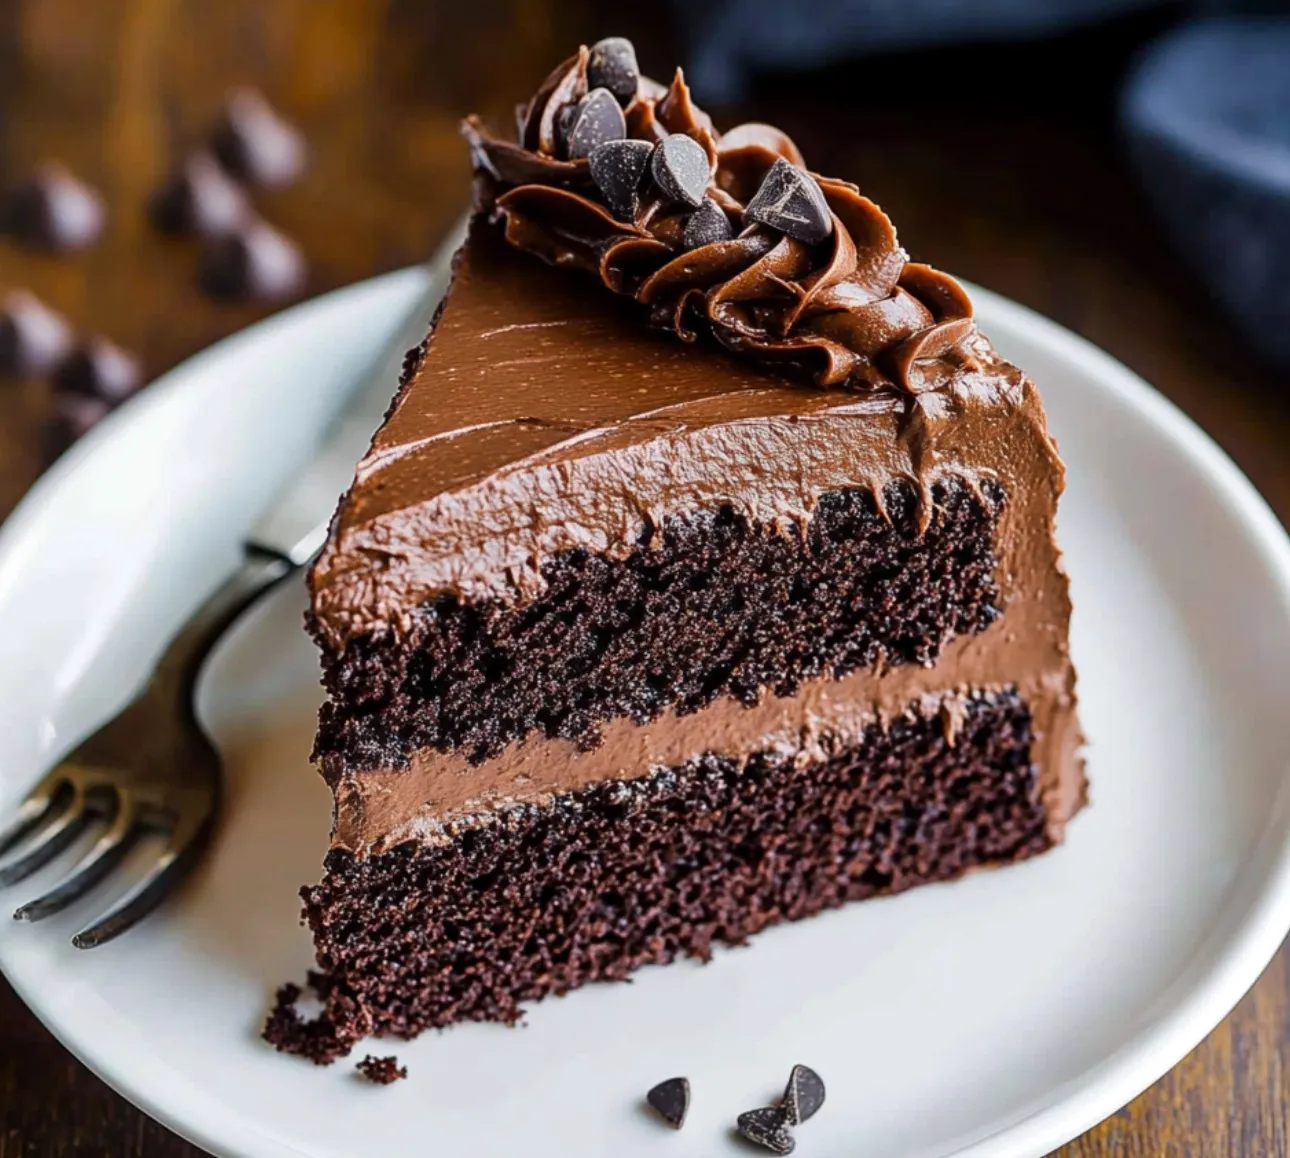
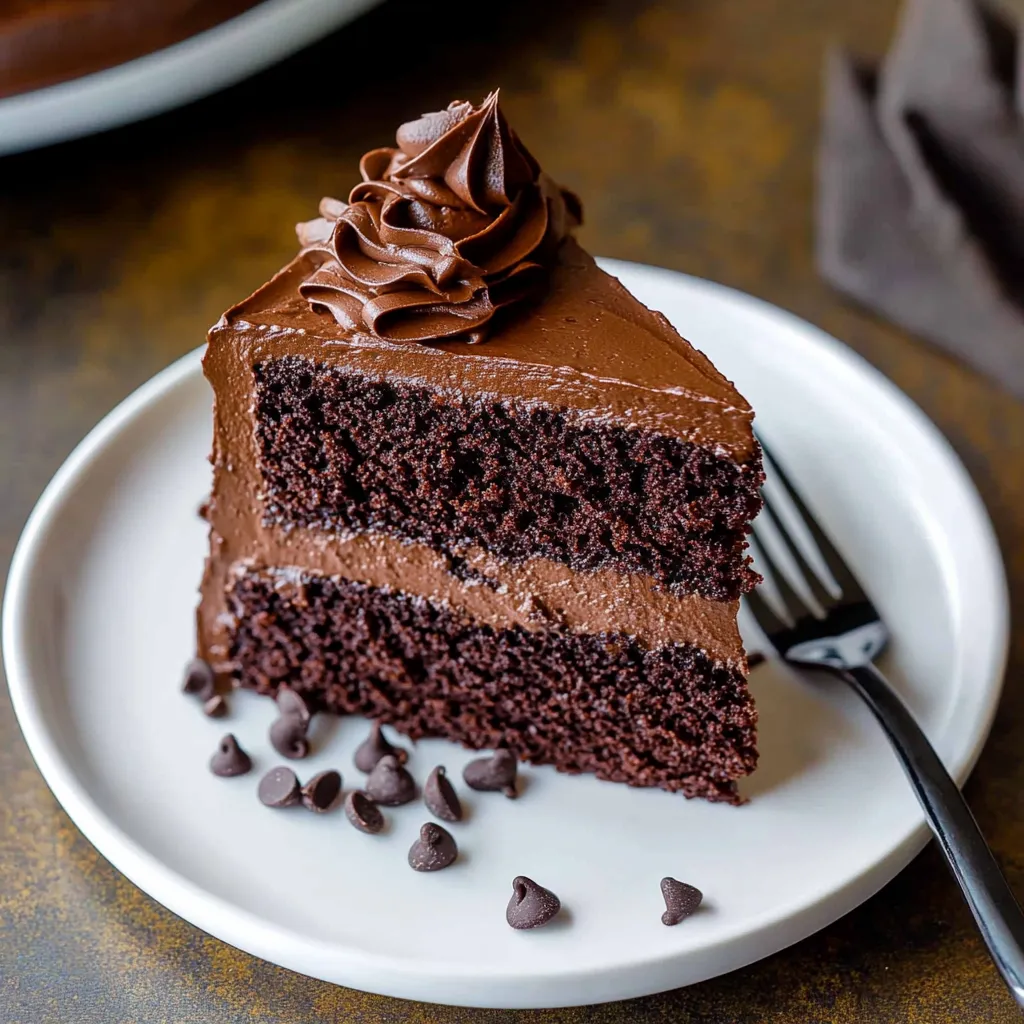
The indulgent aroma of deep, dark chocolate fills the kitchen as this Triple Chocolate Cake emerges from the oven. This isn't just any chocolate cake - it's a masterpiece of triple chocolate intensity, where each layer builds on the last to create an experience that true chocolate lovers dream about. The cake's reddish-brown crumb reveals its Devil's Food heritage, while its incredibly moist texture promises something even more special than the classic.
Last weekend, I made this for my nephew's birthday celebration. The look of pure joy on his chocolate-smeared face said everything about why this recipe has become my go-to chocolate cake. Even my sister, who usually passes on dessert, asked for seconds.
Essential Ingredients and Selection Tips
- Natural Cocoa Powder - Look for a high-quality unsweetened variety. The natural acids create that perfect reddish tint and tender crumb
- Oil - Use a neutral vegetable oil like canola or grapeseed. Unlike butter, it keeps the cake incredibly moist even when refrigerated
- Hot Coffee - Fresh-brewed coffee enhances the chocolate flavor without making the cake taste like coffee. The heat helps bloom the cocoa powder
- Sour Cream - Full-fat sour cream creates a denser, richer texture. I've found this ingredient makes the difference between a good cake and an exceptional one
Through years of baking, I've learned that room temperature ingredients aren't just a suggestion - they're crucial for that perfect, velvety crumb.
Detailed Instructions
- The Perfect Setup
- 1. Begin by positioning your oven rack in the center and preheating to 350°F. Prepare your cake pans meticulously - I grease them, line with parchment circles, then grease the parchment. This might seem excessive, but perfect release is worth the extra steps.
- Creating Your Canvas
- 2. Start with the dry ingredients. Whisk your flour, cocoa powder, baking soda, baking powder, and salt in a large bowl. Don't just dump and stir - use a whisk to break up any cocoa powder lumps. These little details make a huge difference in the final texture.
- Building the Base
- 3. In a separate bowl, whisk together your oil, eggs, buttermilk (or sour cream), and vanilla until well combined. The mixture should look smooth and uniform. If you're using sour cream, take an extra minute to ensure it's fully incorporated.
- The Magic Moment
- 4. Pour your wet ingredients into the dry ingredients, then whisk until just combined. Now comes the transformative step - add your hot coffee or water. Watch as the batter transforms into a thin, glossy pool of chocolate promise.
- Into the Oven
- 5. Divide the batter evenly between your prepared pans. Give each pan a gentle tap on the counter to release air bubbles. Slide them into your preheated oven and let the magic begin - about 24-26 minutes of anticipation.

My most memorable experience with this cake was when I accidentally used too-hot coffee and worried I'd ruined it. Instead, the cake turned out even more intensely chocolate-flavored. Sometimes mistakes lead to discoveries!
Perfect Timing
Understanding your cake's doneness cues is crucial. The surface should spring back when lightly pressed, and the edges should just start to pull away from the pan. Don't rely solely on the toothpick test - look for visual cues too.
Frosting Fundamentals
The chocolate buttercream needs proper preparation. Start with truly room temperature butter - it should indent easily when pressed. Add your cocoa powder to the butter before the powdered sugar; this ensures the smoothest possible texture.
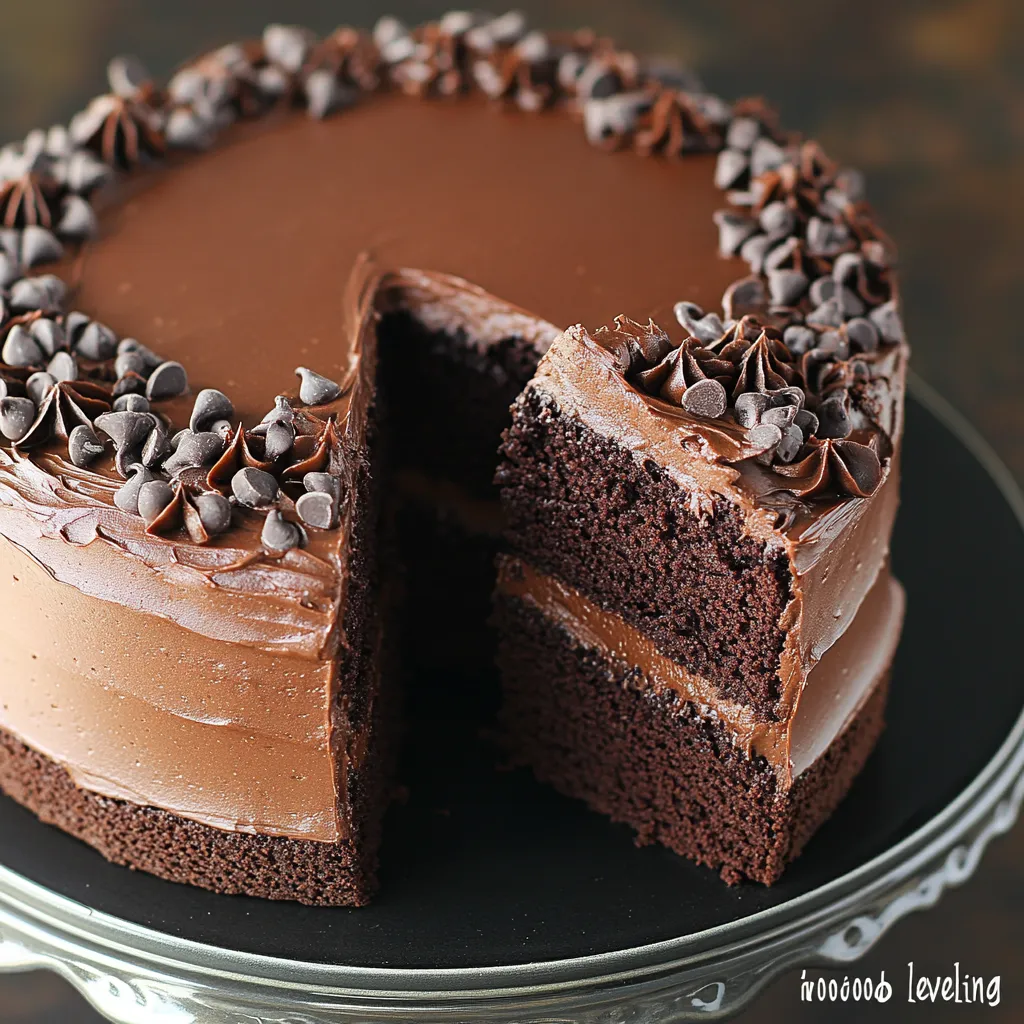
Mastering Assembly
When stacking your layers, take time to level each cake if needed. A flat surface creates a professional look and ensures your cake won't lean or slide. Chill the cake between crumb coat and final frosting for the cleanest finish.
Chef's Essential Tips
- Always bloom your cocoa powder with hot liquid - it intensifies the chocolate flavor
- Use coffee instead of hot water for a deeper chocolate taste
- For the silkiest frosting, sift your cocoa powder and powdered sugar before mixing
Through countless iterations of this recipe, I've learned that patience is key - especially when waiting for the layers to cool completely before frosting. There's nothing more disappointing than perfect layers ruined by hasty assembly.
The Art of Temperature and Storage
Understanding temperature and storage is crucial for this triple chocolate cake's longevity. At room temperature under a cake dome, it maintains freshness for 4 days. Refrigerated, it lasts a week, but always serve at room temperature for optimal texture and flavor. The buttercream softens perfectly, and the cake returns to its velvety state. For longer storage, wrap unfrosted layers in plastic wrap, then foil, while still slightly warm before freezing. This method locks in moisture for up to 3 months. I learned this technique after countless events where make-ahead preparation was essential.
Mastering the Chocolate Trifecta
The magic lies in balancing the three chocolate elements: deep cocoa-flavored cake, creamy chocolate buttercream, and intense chocolate chips. Each component plays a vital role in creating the perfect chocolate experience. Through testing, I've discovered that varying chocolate chip types creates subtle flavor differences. Semi-sweet chips provide classic appeal, while dark chocolate adds sophistication. For special occasions, I combine both types - 60% dark chocolate with semi-sweet chips - creating complex chocolate layers. This combination made its debut at my daughter's wedding, becoming an instant family favorite.
Final Thoughts
This Triple Chocolate Cake has become more than just a recipe in my collection; it's a celebration staple, a comfort food, and a testament to the power of good chocolate. Whether you're marking a special occasion or simply craving something decadently chocolate, this cake delivers every time. The combination of moist cake, silky frosting, and chocolate chips creates an experience that lingers in memory long after the last crumb is gone.
Recipe FAQs
- → Why add coffee?
- Deepens chocolate flavor without tasting like coffee
- → Can I make it ahead?
- Yes, layers can be frozen up to 3 months
- → Why natural cocoa powder?
- Works with the leavening agents for proper rise
- → Can I use different pans?
- Works in 9x13, bundt, or as cupcakes with adjusted time
- → Why room temperature ingredients?
- Ensures even mixing and better texture