
 Pin
Pin
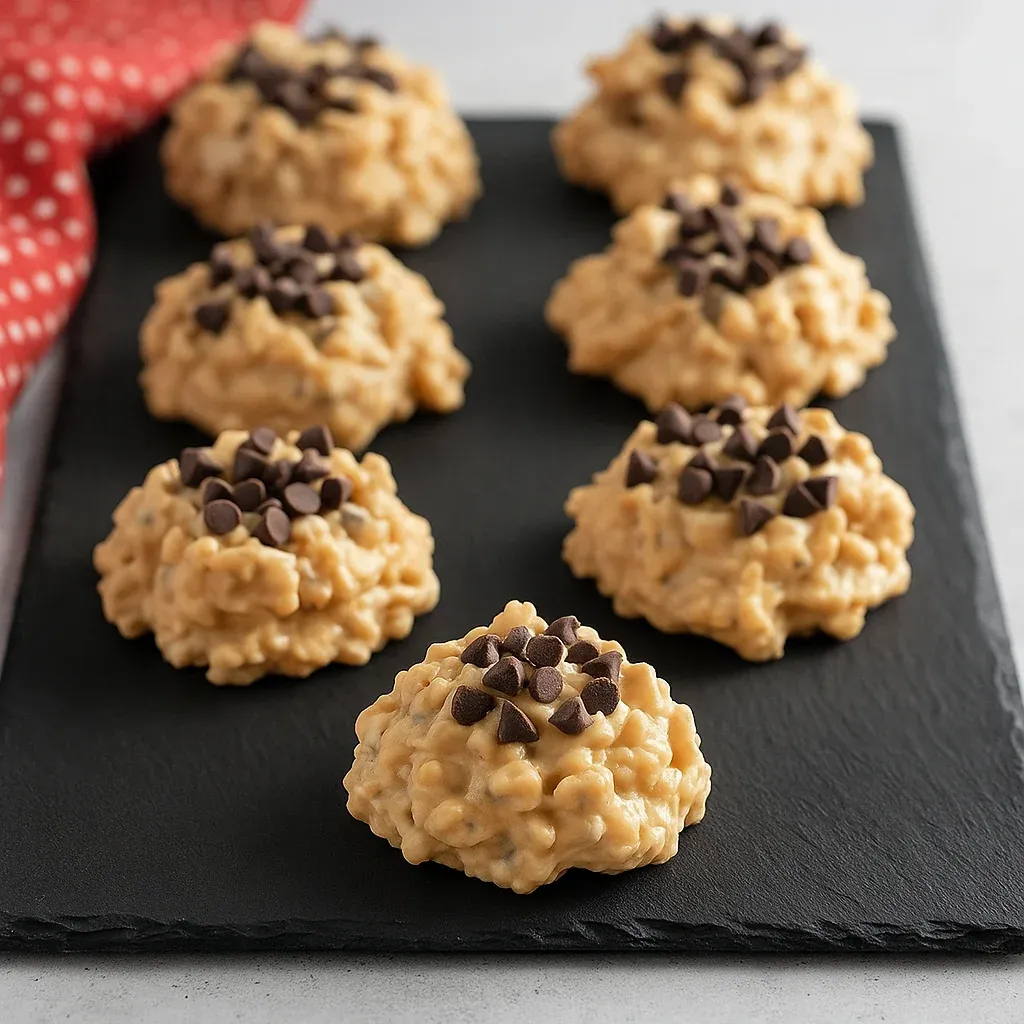
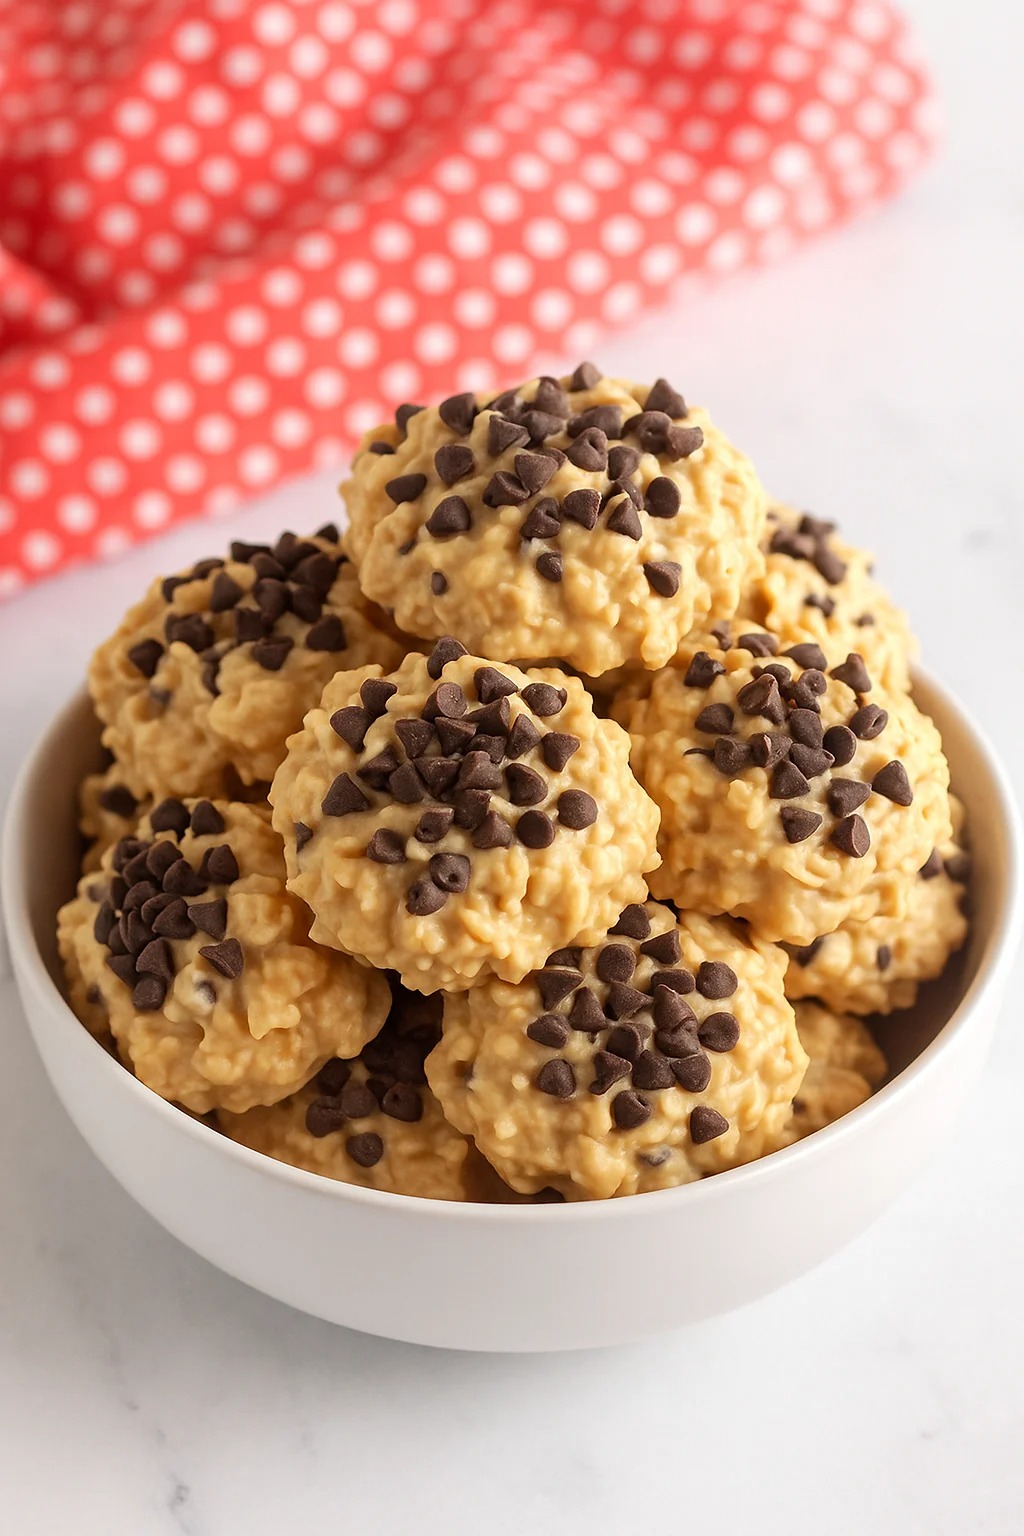
This creamy, crunchy Avalanche Cookies recipe transforms simple pantry staples into an irresistible no-bake treat that takes just minutes to prepare. These sweet bites combine the perfect balance of white chocolate, peanut butter, crispy cereal, marshmallows, and chocolate chips for a dessert that's always a crowd-pleaser.
I first made these cookies during a summer playdate when it was too hot to turn on the oven. The kids had so much fun helping measure and mix, and they became an instant favorite that we now include on every holiday cookie tray.
Ingredients
- White melting chocolate: creates the creamy base that holds everything together. Choose a quality brand specifically made for melting to avoid burning issues.
- Creamy peanut butter: adds rich nutty flavor that pairs perfectly with the white chocolate. The natural oils also help create the ideal texture.
- Rice Krispies cereal: provides the signature light crunch and adds visual appeal with its distinctive shape.
- Mini marshmallows: contribute soft pockets of sweetness and that classic gooey texture everyone loves.
- Mini chocolate chips: create delightful bursts of chocolate flavor that contrast beautifully with the white chocolate base.
Step-by-Step Instructions
- Prepare the Baking Sheet:
- Cover a large cookie sheet with parchment paper. This prevents sticking and makes cleanup incredibly easy. The smooth surface ensures your cookies will release perfectly after chilling.
- Melt the White Chocolate:
- Follow package instructions precisely as white chocolate can be temperamental. For microwave melting, use 30second bursts initially, stirring between each interval, then reduce to 15second bursts as it begins to melt. Stop heating when most pieces are melted and stir until completely smooth. The residual heat will melt any remaining pieces without risk of burning.
- Create the Base Mixture:
- In a large mixing bowl, combine the melted white chocolate with peanut butter, stirring until completely incorporated. This combination creates the creamy, flavorful foundation that binds all other ingredients. Make sure your bowl is spacious enough to accommodate all ingredients.
- Add the Texture Elements:
- Gently fold in the Rice Krispies, mini marshmallows, and three quarters of the chocolate chips. Work quickly but carefully to ensure even distribution without crushing the cereal or melting the chocolate chips. The mixture should be well blended but still maintain distinct textures.
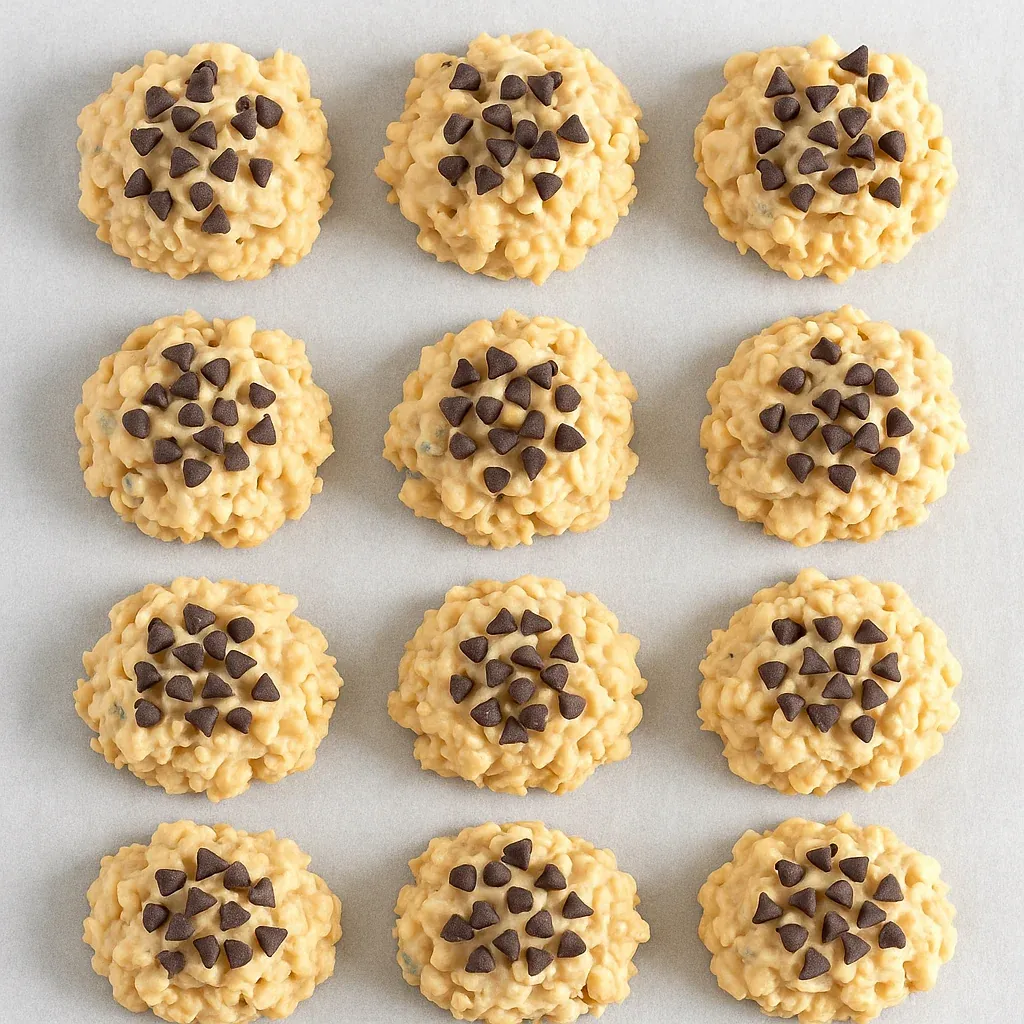
- Form the Cookies:
- Using a cookie scoop or tablespoon, portion the mixture onto the prepared baking sheet. While the mixture is still soft, slightly flatten the tops of each cookie and immediately sprinkle with remaining chocolate chips, pressing lightly so they adhere.
- Chill Until Set:
- Place the cookie sheet in the refrigerator for about 20 minutes until completely set. The cookies should feel firm to the touch and hold their shape when picked up. This cooling time is essential for proper texture development.
The mini marshmallows are my secret favorite part of these cookies. I love how they create little pillows of sweetness throughout each bite. My daughter always requests these for her classroom birthday treats because they're so unique compared to traditional cookies her friends bring.
Choosing White Chocolate
White chocolate selection makes a significant difference in this recipe. Look specifically for products labeled as "melting chocolate" or "almond bark" rather than standard white chocolate chips. Chips contain stabilizers that can prevent smooth melting and lead to a grainy texture. Good options include Ghirardelli white melting wafers, Wilton candy melts, or vanilla flavored almond bark which all melt beautifully and set with the perfect texture.
Creative Variations
These cookies welcome customization based on your preferences or dietary needs. For nut allergies, Biscoff cookie butter or sunflower seed butter make excellent substitutions while maintaining the creamy texture. Try swapping mini chocolate chips for chopped nuts, colorful sprinkles, or even crushed candy canes during the holidays. Adding a half teaspoon of cinnamon creates a warm, comforting flavor profile perfect for fall. For a chocolatey twist, try using cocoa flavored rice cereal which amplifies the chocolate notes from the mini chips.
Storage Tips
These Avalanche Cookies maintain their delightful texture when stored properly. Keep them in an airtight container at room temperature for up to five days. If stacking multiple layers, place wax paper between each layer to prevent sticking. While refrigeration is not necessary after the initial setting period, it can extend freshness during hot weather. These cookies also freeze beautifully for up to three months. Simply place in a freezer safe container with parchment between layers, and thaw at room temperature for about 30 minutes before serving.
Recipe FAQs
- → What type of white chocolate should I use?
Use melting white chocolate or a candy coating like white vanilla almond bark. Standard white chocolate chips may burn, so choose a brand designed for melting.
- → Can I substitute peanut butter in this recipe?
Yes, you can use almond butter, Nutella, Sunbutter, or Biscoff cookie butter as substitutes depending on dietary preferences or allergies.
- → How should I store these cookies?
Store the cookies in an airtight container at room temperature for up to five days. Use wax paper between layers to prevent sticking.
- → Are there any variations I can try?
Yes, try substituting chocolate rice cereal, adding cinnamon, or incorporating chopped nuts for different flavors and textures.
- → How long does it take to make these cookies?
The entire process takes approximately 30 minutes, including 10 minutes of prep time and 20 minutes of chilling.