 Pin
Pin
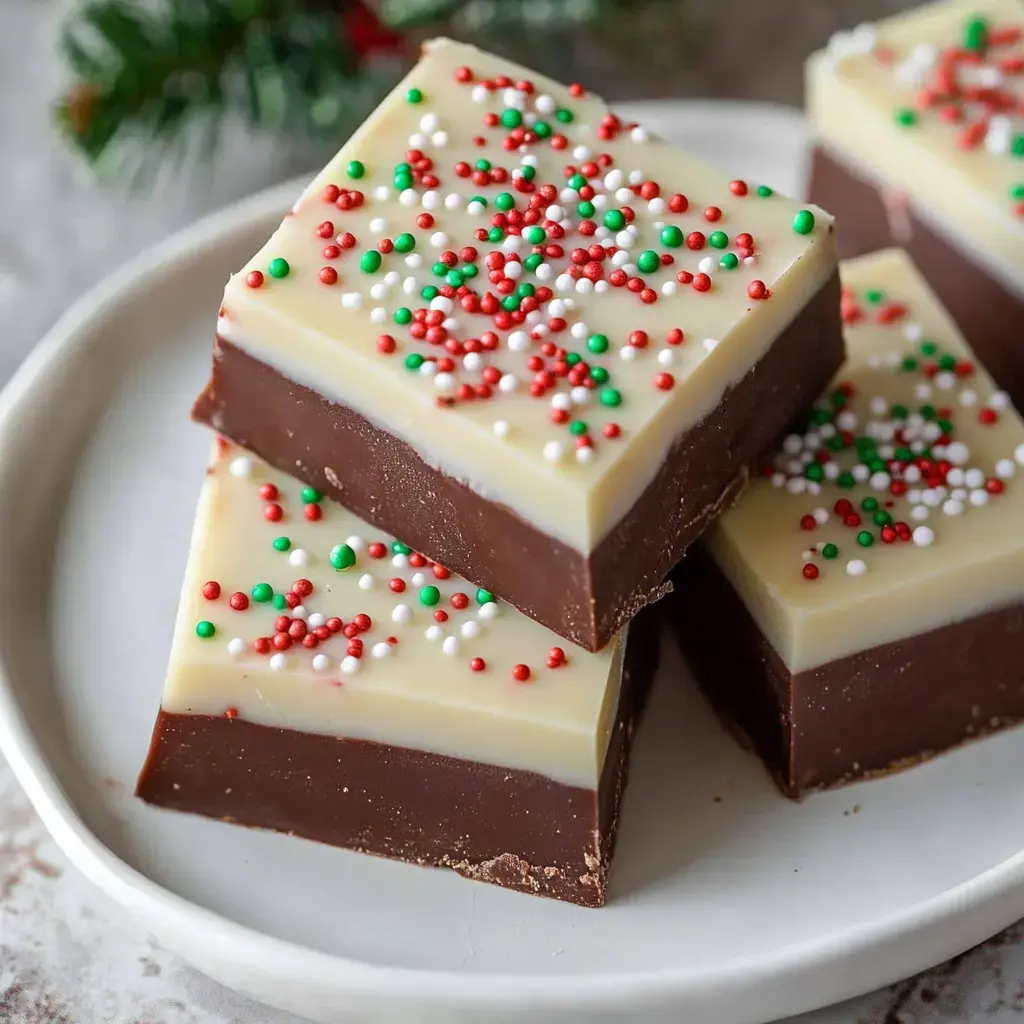
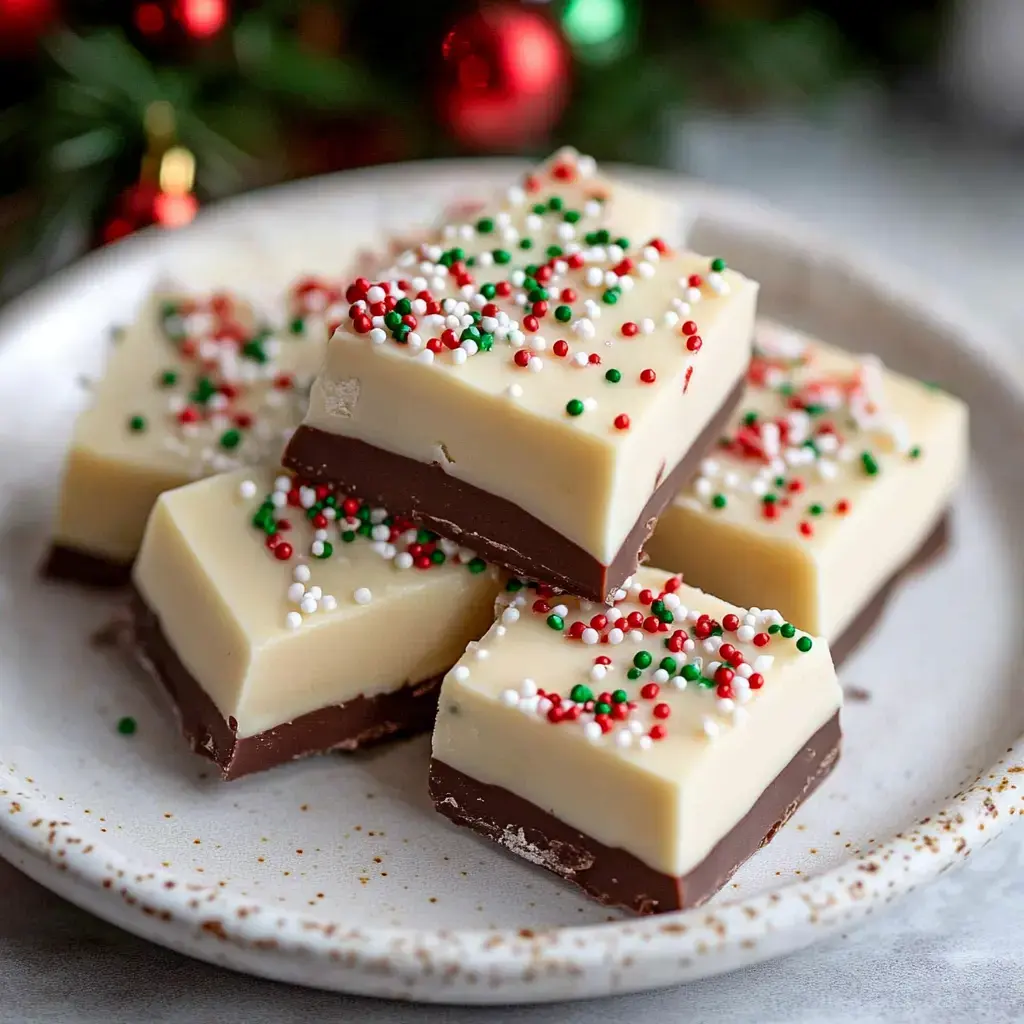
Want to create the simplest, tastiest Christmas fudge you've ever tried? This treat brings together smooth white and semi-sweet chocolate layers in delightful holiday squares. Topped with festive sprinkles, it's more than just fudge – it's a bite of Christmas cheer! And guess what? You don't need any candy-making skills to pull this off.
What Makes This Treat Special
Need a holiday dessert that's quick to make but looks impressive? You've found it! Using just a few simple ingredients and basic kitchen tools, you can create this beautiful two-layered fudge in minutes. It's great for giving as presents, adding to dessert trays, or enjoying while you're curled up watching holiday flicks.
Ingredients List
- Sweetened Condensed Milk: 2 cans (14 oz each) - the secret ingredient!
- Semi-Sweet Chocolate Chips: 3 cups - splurge on quality ones
- White Chocolate Chips: 3 cups premium quality - bargain brands won't melt properly
- Vanilla Extract: 2 teaspoons to boost flavor
- Christmas Sprinkles: Around 1/2 cup - pick colorful holiday varieties!
How To Make Christmas Fudge
- Prepare Your Baking Dish
- Start by taking an 8x8 baking dish and lining it with parchment paper. Let some paper hang over the sides to create handles for easy removal later. Lightly coat with cooking spray to make sure nothing gets stuck.
- Split Your Ingredients
- Divide the condensed milk into two separate bowls. Add white chocolate chips to one bowl and semi-sweet chips to the other. This starts your two-tone creation!
- Work On The Bottom Layer
- Begin with the semi-sweet mixture. Microwave it for 30 seconds, stir thoroughly, then continue heating in 15-second bursts until completely smooth. Add some vanilla to boost the flavor. Pour this mixture into your pan and spread it out evenly.
- Make The Top Layer
- Now tackle the white chocolate the same way. Heat gradually and stir often since white chocolate can burn easily. Once melted, mix in vanilla and most of your sprinkles. Carefully layer this on top of the dark chocolate base.
- Add Final Touches
- While everything's still soft, scatter your remaining sprinkles across the top. This adds the festive touch! Place the whole pan in your fridge for at least an hour until firm.
- Cut And Serve
- When fully set, use those parchment handles to lift the fudge out. Cut into squares to make about 36 pieces. Go ahead and sample one right away if you can't wait!
Wonderful For Gift-Giving
Want to become the star of your friend group this holiday season? Pack some fudge squares in cute containers or clear bags, add a ribbon, and watch people smile! Since it looks so impressive but took minimal effort, everyone will think you spent hours in the kitchen.
Fun For Kids Too
This fudge is awesome to make with children! They can help measure stuff, mix the chocolate with your supervision, and go crazy with sprinkles. Just know your kitchen might end up with sprinkles everywhere, but that's part of the fun. Sometimes the best memories come from messy moments!
Storage Tips
Your fudge will stay yummy in the refrigerator for up to two weeks (if nobody eats it all first!). Store it in a sealed container and put wax paper between layers if you're stacking pieces. Want to prep early? You can freeze it for up to three months and just thaw it overnight in the fridge when you're ready to eat.

Tips For Beautiful Layers
Want to know the trick to those stunning layers? Don't rush! Make sure your first chocolate layer is spread evenly, and let it firm up slightly before adding the white chocolate on top. This keeps the colors from mixing and creates that wow effect when you slice into it.
Customization Ideas
Don't be afraid to switch things up! Try different colored sprinkles for other celebrations, use milk chocolate instead, or add a tiny bit of peppermint extract for a holiday twist. The basic recipe is so foolproof, you really can't go wrong. Make it your way and start a tradition your family will love!
Summary
Love this? Try mint bark next. Or make sweet nut brittle. Both make good gifts.
Recipe FAQs
- → Need different chocolate?
Dark works great. Milk's more sweet. Mix kinds maybe. Fresh chips best. Watch how they melt.
- → How long to chill?
Hour at least cold. Better overnight. Needs set good. Worth the wait. Makes cutting clean.
- → Want nuts in it?
Any kind works. Chop em small. Add when warm. Toast em first. Don't add too much.
- → Skip milk stuff?
Plant milk works. Special chocolate too. Might set different. Still tastes good. Worth trying right.
- → How keep it good?
Box it up tight. Keep it cold. Two weeks fresh. Stack with paper. If it lasts that long!
- → Getting too soft?
More chill time. Keep it cold stored. Cut when firm. Work quick serving. Worth good wait.
- → Taking it places?
Pack it cold good. Box with sides firm. Keep ice near. Drive careful like. Worth good packing.
- → Need it faster?
Can't rush set time. Quick melt works. Have stuff ready. Still needs chill. Worth the wait.
- → Making big batch?
Double works fine. Need more pans. More chill time. Keep stuff cold. Makes good gifts.
- → Want more flavor?
Add some mint. Try nuts maybe. Different sprinkles. Even salt bits. Don't hide chocolate.
- → Not smooth setting?
Melt slower way. Mix real good. Watch heat close. Strain if lumpy. Patient works best.
- → Layers mixing up?
Let first set bit. Work quick top. Keep level good. Gentle when pour. Worth taking time.
