
 Pin
Pin
This Boston Cream Fudge transforms the beloved flavors of Boston Cream Pie into a delectable no-bake treat that satisfies both vanilla and chocolate cravings in one bite. The marbled layers create a beautiful dessert that looks as impressive as it tastes, without requiring any special baking skills.
I first made this fudge for a holiday gift exchange when I was short on time but wanted something homemade and special. The recipients were so impressed by the marbled layers and rich flavor that it's now my signature holiday treat that friends request every year.
Ingredients
- Granulated sugar: provides the sweet foundation and proper crystallization for perfect fudge texture
- Unsalted butter: adds richness and creates the melt in your mouth quality
- Heavy cream: creates that signature creamy consistency that makes fudge irresistible
- Light corn syrup: prevents unwanted sugar crystallization for smooth fudge
- White baking chocolate: forms the vanilla base layer choose high quality for best flavor
- Marshmallow cream: stabilizes the fudge and gives it that perfect soft bite
- Vanilla extract: enhances the cream flavor use pure extract for best results
- Unsweetened cocoa powder: creates the chocolate layer use Dutch processed for richer color
- Semi sweet chocolate chips: for the ganache topping look for ones that melt smoothly
- Vegetable oil: thins the chocolate coating for perfect dipping consistency
How To Make Boston Cream Fudge
- Prepare The Pan:
- Line an 8x8 inch baking pan with parchment paper leaving overhang for easy removal. Lightly spray with cooking spray to ensure nothing sticks. This preparation step is crucial for perfectly shaped pieces later.
- Create The Fudge Base:
- Combine sugar, butter, heavy cream, and corn syrup in a heavy bottomed saucepan over medium heat. Stir constantly until the mixture reaches a rolling boil which should take about 3 minutes. Continue stirring and boiling for another 4 to 5 minutes until the candy thermometer shows 235 to 240°F. This precise temperature ensures the perfect fudge consistency.
- Add White Chocolate And Flavoring:
- Remove from heat and immediately stir in the chopped white chocolate until completely melted and smooth. Then fold in the marshmallow cream and vanilla extract until fully incorporated. The mixture should be glossy and thick. Work quickly as the mixture will begin to set as it cools.
- Create Layered Effect:
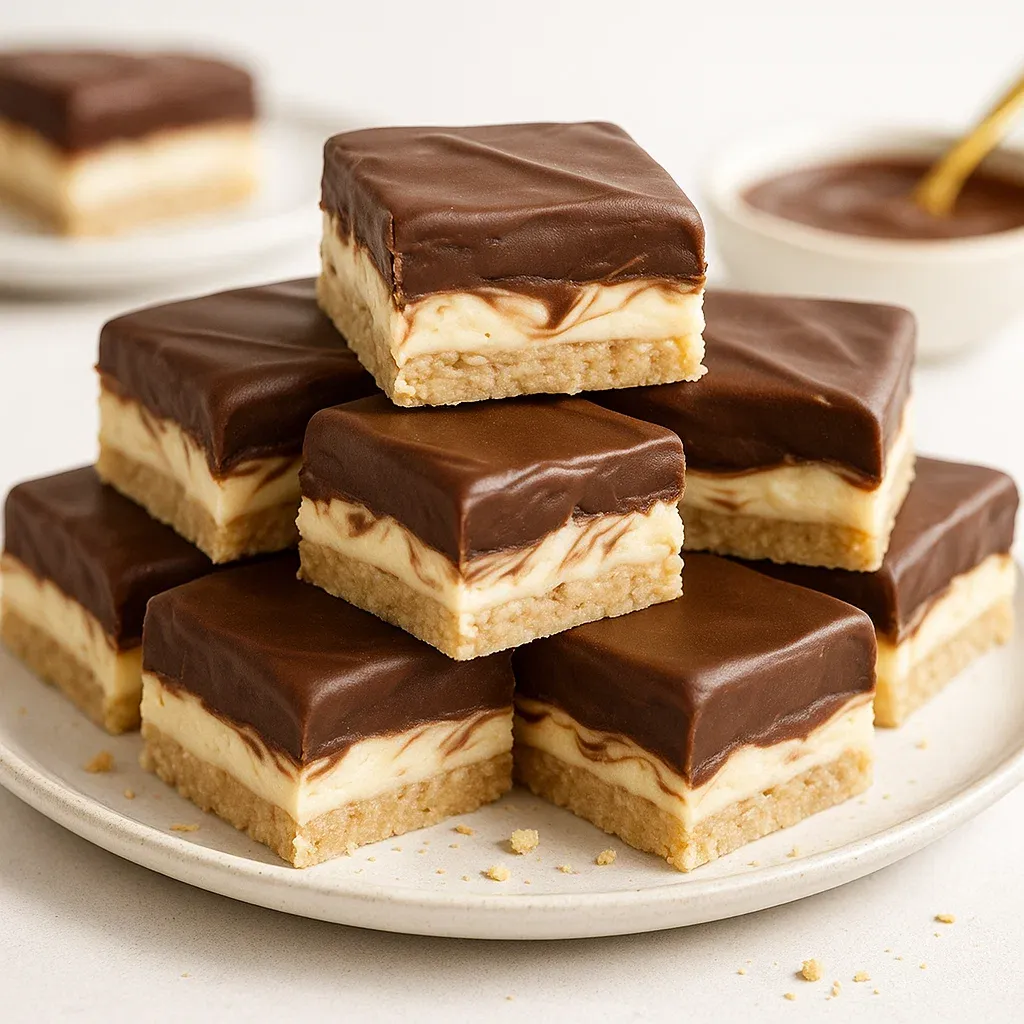
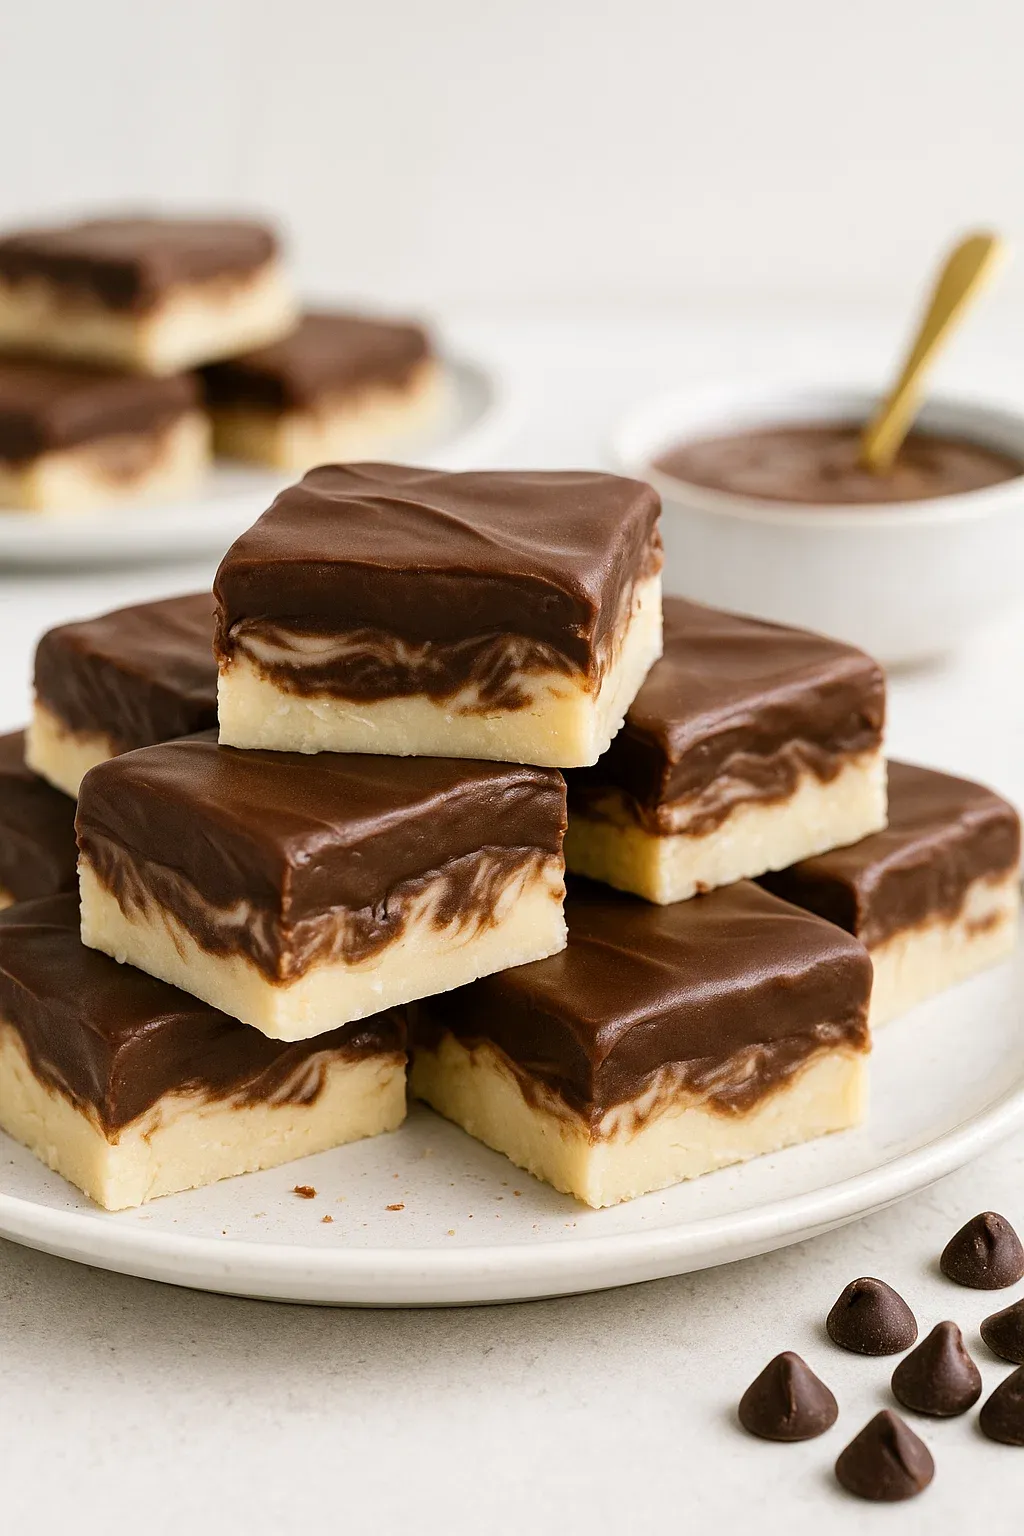
- Pour three quarters of the white fudge mixture into your prepared pan and spread evenly. Add cocoa powder to the remaining quarter and whisk thoroughly until no streaks remain. This creates your chocolate layer that mimics the classic Boston cream filling.
- Marble The Layers:
- Carefully spoon the chocolate mixture over the white layer. Using a toothpick or skewer, gently swirl the two layers together with just a few passes. Avoid overmixing as you want distinct layers with beautiful marble patterns that show when sliced.
- Setting The Fudge:
- Allow the fudge to cool at room temperature for about an hour before covering with foil and refrigerating for another hour. The gradual cooling process helps develop the perfect texture. Once completely set, remove from the pan using the parchment paper handles.
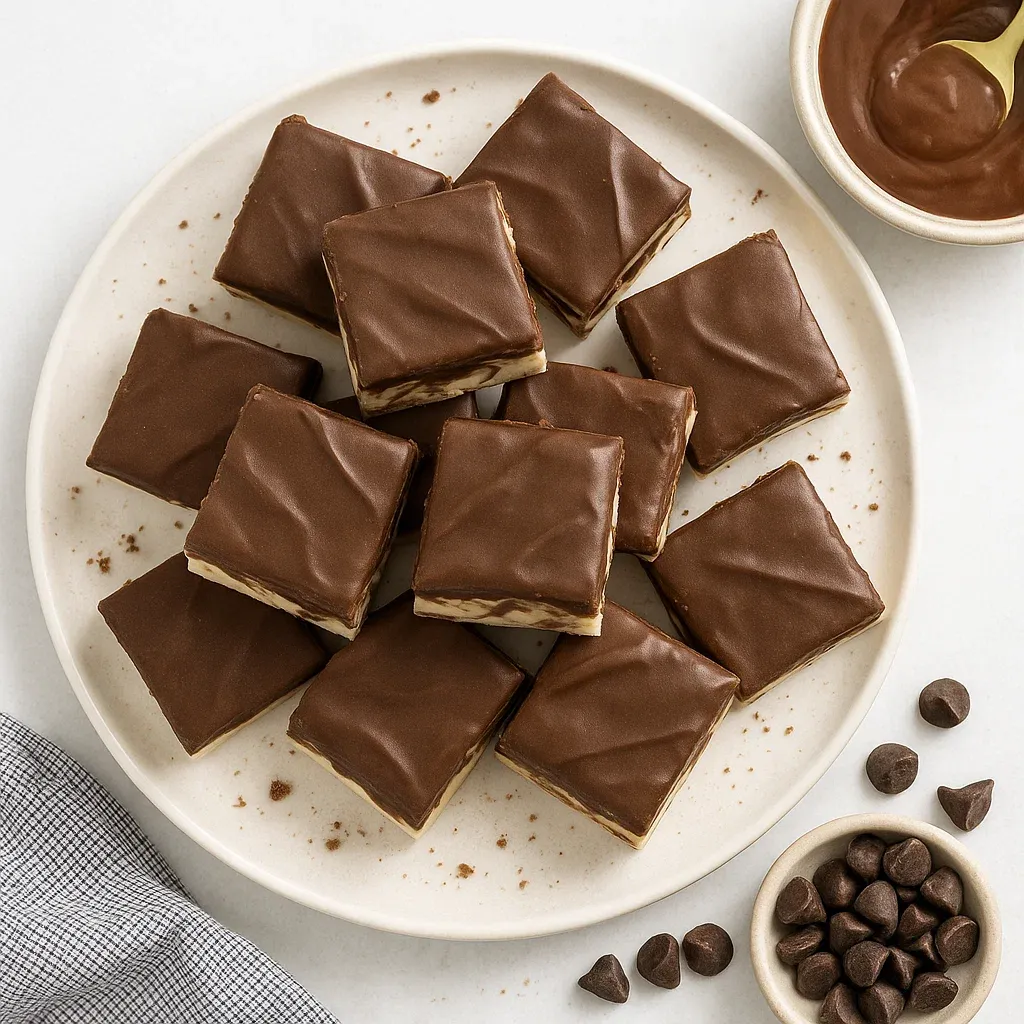
- Add Chocolate Topping:
- Cut the fudge into squares. Melt chocolate chips with oil in the microwave using short intervals and stirring between each. Dip the top of each fudge square into the melted chocolate, allowing excess to drip off. Place on parchment paper to set completely before serving or storing.
The marshmallow cream is truly the secret ingredient in this recipe. While some fudge recipes use condensed milk, the marshmallow cream gives this fudge an incredibly smooth, creamy texture that perfectly mimics the custard filling in traditional Boston Cream Pie. My grandmother taught me this trick years ago, and I've never made fudge without it since.
Storage Tips
For the freshest fudge, store pieces in an airtight container at room temperature for up to one week. Place parchment paper between layers to prevent sticking. For longer storage, refrigerate for up to three weeks. The fudge can also be frozen for up to three months—just wrap individual pieces tightly in plastic wrap, then place in a freezer bag. Allow frozen fudge to thaw overnight in the refrigerator before serving.
Substitution Options
If you prefer a stronger vanilla flavor, substitute vanilla bean paste for the extract using the same amount. For a dairy free version, coconut cream can replace heavy cream, and plant based butter alternatives work well in place of butter. No marshmallow cream available? Try using 7 ounces of melted marshmallows mixed with 2 tablespoons of corn syrup instead. For a darker chocolate layer, increase the cocoa powder to 2 tablespoons or use dark cocoa powder for more intensity.
Serving Suggestions
Serve this fudge as part of a dessert platter alongside fresh berries and coffee for an elegant after dinner treat. For special occasions, place individual pieces in mini cupcake liners and arrange on a tiered stand. This fudge pairs beautifully with coffee, tea, or dessert wines like port. For a truly decadent experience, warm a piece slightly before serving and top with a small dollop of whipped cream for an elevated dessert that mimics the classic Boston Cream Pie experience.
The History Behind Boston Cream Fudge
This creative confection draws inspiration from the famous Boston Cream Pie, which was created in 1856 at the Parker House Hotel in Boston. The original dessert featured cake layers with custard filling and chocolate glaze—all elements represented in this fudge version. Boston Cream Pie itself was revolutionary as one of the first American desserts to incorporate chocolate as a glaze rather than a main ingredient. This fudge pays homage to that classic by reimagining the flavor combination in a new form that maintains the essence of the original while being much simpler to prepare.
Recipe FAQs
- → How do I prevent the fudge from burning?
To prevent burning, stir the mixture constantly while cooking and avoid leaving the stovetop. Use medium heat and adjust the temperature if necessary.
- → How do I create the marbled effect?
After adding the cocoa-flavored fudge layer over the white layer, use a toothpick or skewer to swirl the two layers gently. Avoid over-swirling for a clean marbled look.
- → Can I set the fudge at room temperature?
Yes, if your kitchen is cool, you can allow the fudge to set on the counter instead of chilling it in the refrigerator.
- → What should I do if the chocolate mixture isn’t fully melted?
If small pieces remain unmelted in the chocolate mixture, simply stir them in. The residual heat will melt them completely.
- → Can I use salted butter instead of unsalted butter?
Yes, but it may slightly alter the balance of sweetness and saltiness. If you use salted butter, reduce or omit any additional salt.