
 Pin
Pin
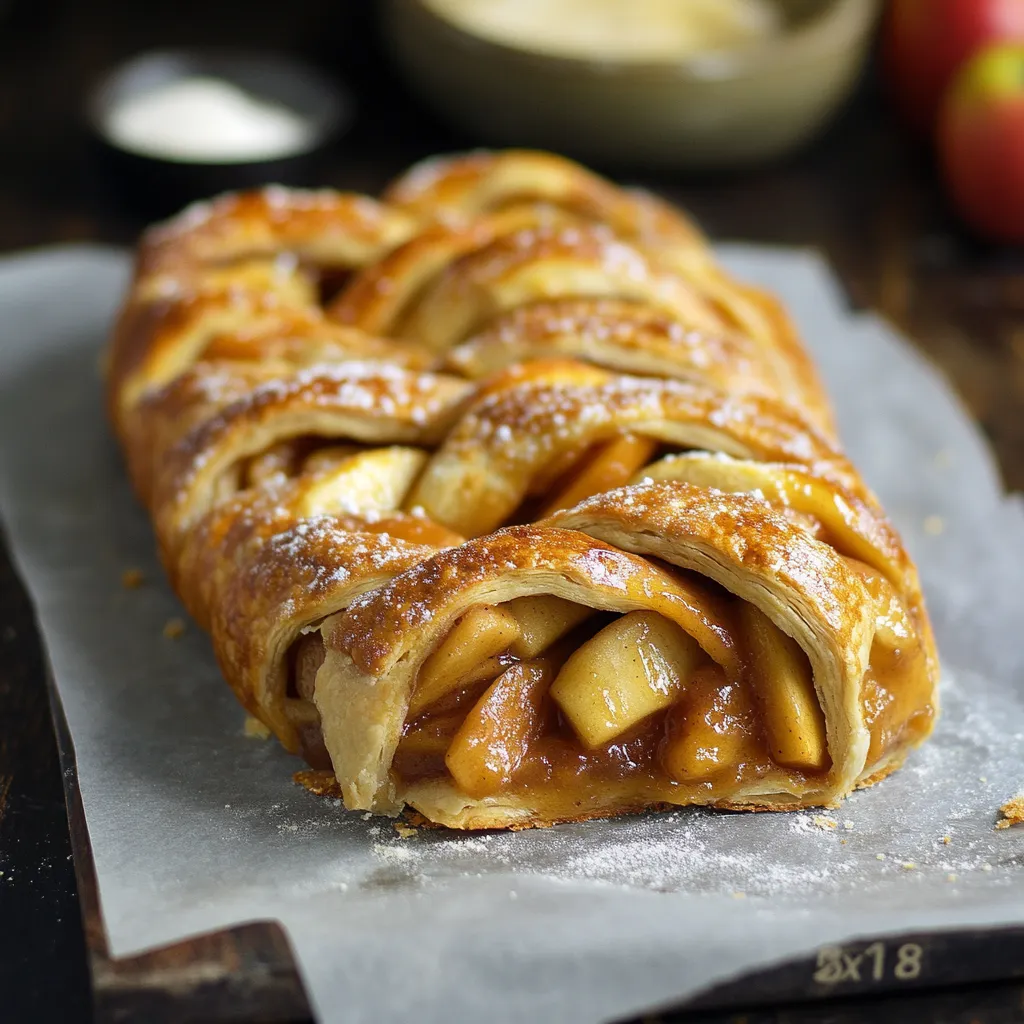
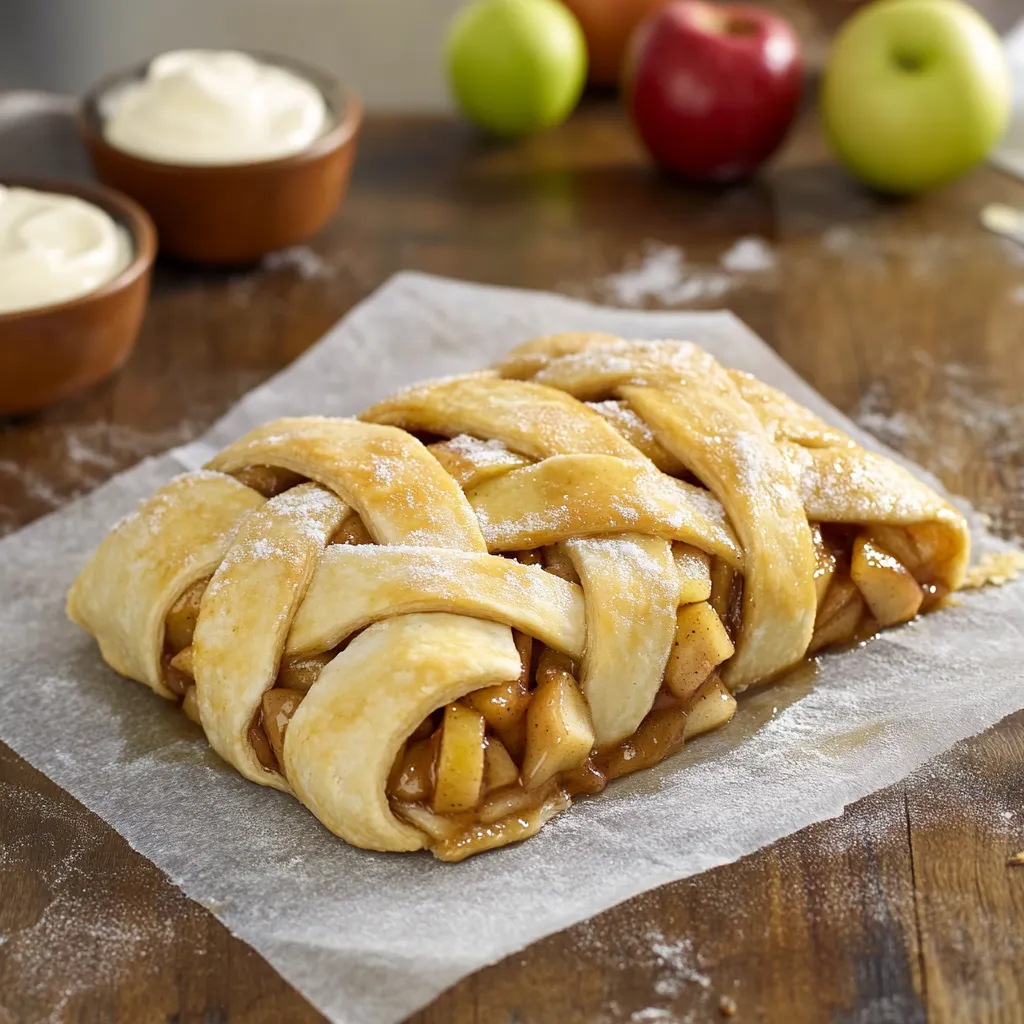
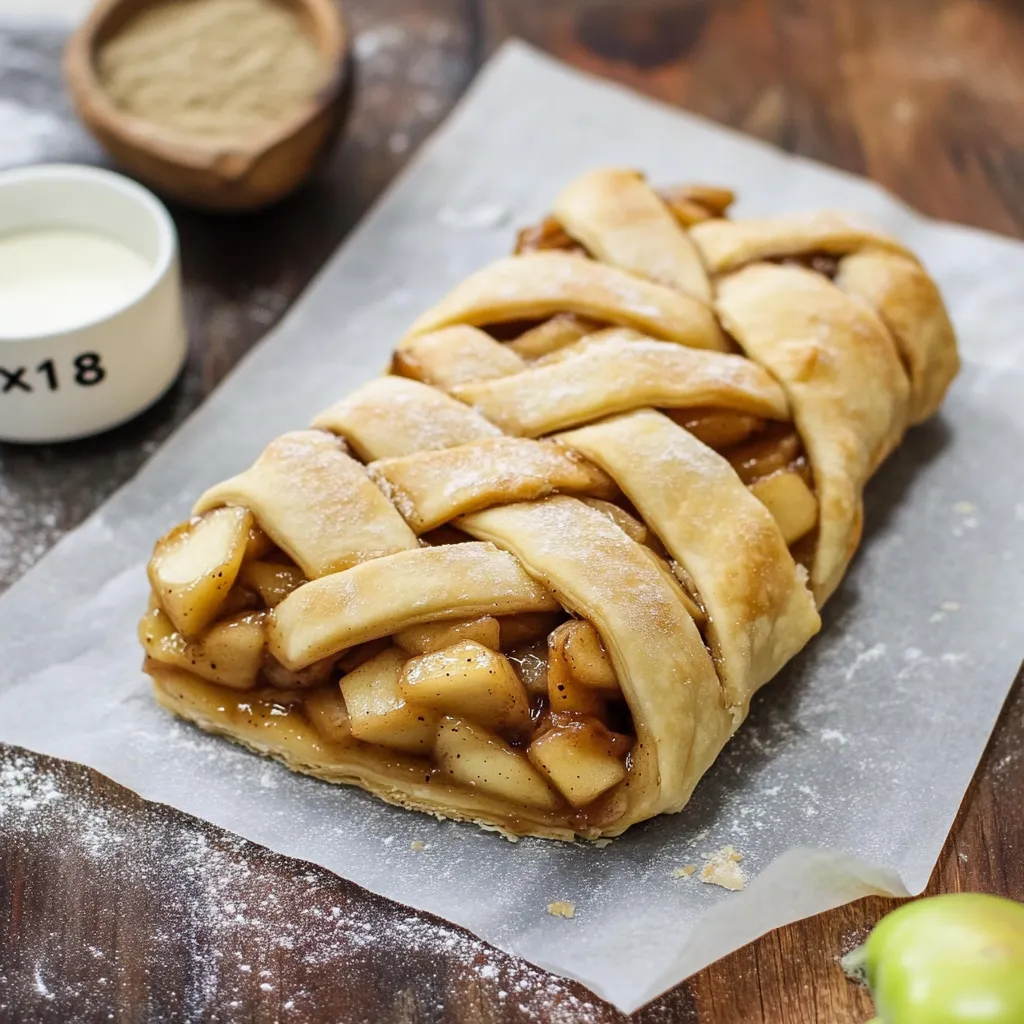
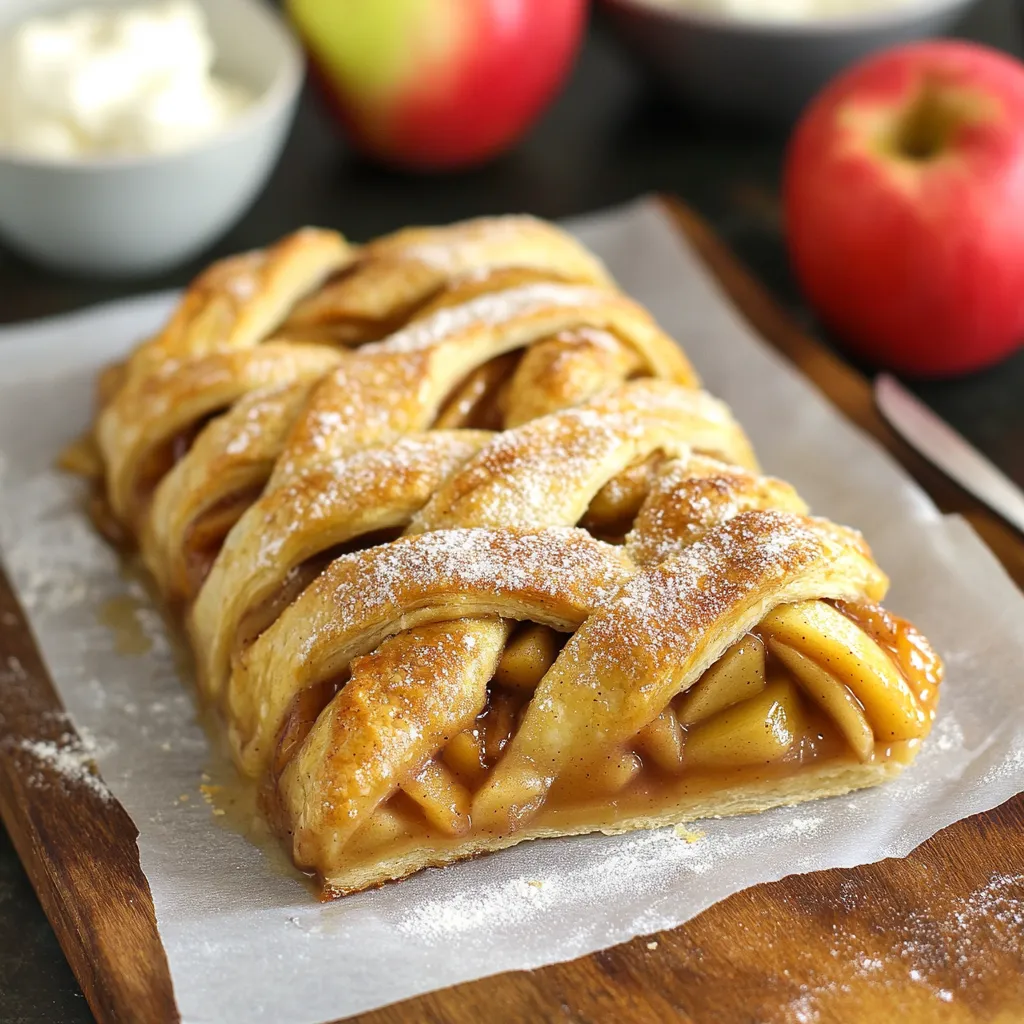
A braided apple pie transforms the traditional apple pie into an elegant masterpiece that's equally delicious and visually stunning. The flaky, buttery crust weaves together to showcase a spiced apple filling, creating an irresistible combination of textures and fall flavors that make every bite memorable. This recipe strikes the perfect balance between classic comfort and modern presentation.
I've made this pie countless times for family gatherings, and it never fails to draw gasps of admiration when I place it on the table. My niece even requested it instead of a traditional birthday cake last fall - that's how special this dessert has become in our family.
Essential Ingredients and Selection Tips:
- Apples - Choose firm, tart-sweet varieties like Honeycrisp or Granny Smith. The firm texture holds up during baking, while their natural acidity balances the sweetness
- Cornstarch AND flour - This dynamic duo creates the perfect texture; cornstarch thickens without cloudiness, while flour adds stability
- Brown sugar - Adds depth and a subtle caramel note that perfectly complements the apples
- Butter - Use unsalted to control the salt content; the quality of your butter directly impacts the richness of your filling
- Coarse sugar - Don't skip this for topping; it adds an delightful crunch and beautiful sparkle
Detailed Step-by-Step Instructions:
- Creating the Perfect Filling
- Start with room temperature butter for even melting
Cut apples into consistent 1/4-inch slices for uniform cooking
Stir gently but frequently during cooking to prevent sticking
Watch for the moment when apples start releasing their juices - this is when you'll add your thickeners - Mastering the Braid
- Keep your dough cold but pliable; if it starts feeling too soft, pause and refrigerate for 15 minutes
Use a ruler to ensure even strips when cutting
Work quickly but carefully when braiding to prevent the dough from warming
Don't panic if some filling escapes - this adds to the rustic charm - Achieving the Perfect Bake
- Position your oven rack in the middle position for even heating
Rotate the baking sheet halfway through for uniform browning
Look for golden brown color and bubbling filling as doneness indicators
Cool completely on a wire rack to prevent a soggy bottom
Last fall, I discovered that adding a tiny pinch of cardamom to the spice mixture elevates the entire flavor profile. My grandmother, who's been baking pies for over 60 years, now swears by this addition and says it reminds her of the pies her mother used to make in their farmhouse kitchen.
The ritual of peeling and slicing apples for this pie has become a cherished autumn tradition in our home. The warming aroma of spiced apples never fails to draw family members into the kitchen, each hoping to claim the first slice.
The science of thickening pie fillings fascinates me - I've learned through trial and error that giving the filling time to cool completely results in cleaner slices and better texture overall.
Chef's Helpful Tips:
- Flash-freeze the assembled pie for 15 minutes before baking to help maintain the braid pattern
- Brush the egg wash in all the nooks and crannies for the most beautiful golden finish
- Save the apple peels and cores to make a quick apple-infused tea
This braided apple pie has taught me that sometimes the most cherished recipes come from giving a traditional favorite a fresh twist. While it may look complex, the process of creating this pie is surprisingly therapeutic, and the result is always worth the extra effort. The joy on people's faces when they see and taste this pie makes every careful braid and precise slice worthwhile.
Perfect Pairings and Serving Suggestions:
While vanilla ice cream is a classic companion, I've discovered some unexpected pairings that elevate this pie to new heights. A drizzle of warm salted caramel sauce creates an indulgent contrast of temperatures and textures. For a unique twist, try serving it with a slice of sharp cheddar cheese - this sweet-savory combination is a beloved tradition in New England that's truly worth trying. My brother-in-law, who initially raised an eyebrow at this suggestion, now won't eat his apple pie any other way.
Seasonal Adaptations:
As the seasons change, I love adapting this recipe to showcase different flavor profiles. In early fall, when the first apples appear at our local orchard, I keep the spicing minimal to let their fresh, crisp flavor shine through. By mid-winter, I tend to increase the warming spices and add a touch more brown sugar, creating a more complex, cozy flavor that's perfect for snowy days. During the holidays, a splash of bourbon in the filling adds sophisticated warmth that always garners rave reviews at family gatherings.
Troubleshooting Common Challenges:
Through years of making this pie, I've encountered and solved various issues that might arise. If your dough becomes too warm while braiding, don't hesitate to pause and refrigerate it for 15 minutes - cold dough is always easier to work with. If your filling seems too wet, add an extra teaspoon of cornstarch to prevent soggy bottom crust. For those times when the braid doesn't look picture-perfect, remember that rustic charm often tastes better than perfection. My most imperfect pies have consistently received the most compliments, perhaps because they clearly show the human touch that went into their creation.
Making It Your Own:
The beauty of this recipe lies in its adaptability. I've seen home bakers add their unique touches - from mixing in dried cranberries for tartness to incorporating toasted nuts for crunch. One memorable variation came from my aunt, who added thinly sliced pears to her apple mixture, creating a subtle complexity that had everyone asking for the recipe. Don't be afraid to experiment with different apple varieties or spice combinations until you find your perfect blend.
The Art of Apple Selection:
The success of your pie largely depends on choosing the right apples. I've learned to look for apples that feel heavy for their size, indicating high juice content. When mixing varieties, I aim for a combination of textures and flavors - perhaps firm Granny Smiths for structure, paired with sweeter Honeycrisps for depth of flavor. Avoid apples with soft spots or bruising, as these areas can become mushy during baking. My local orchardist taught me to gently press the apple's bottom - if it yields even slightly, it's past its prime for baking.
Preparation Planning:
Organization is key when tackling this recipe. I've developed a rhythm that makes the process flow smoothly. The night before, I gather all my ingredients and equipment, ensuring nothing is missing at a crucial moment. I also like to prepare my egg wash and measure out dry ingredients in advance. This prep work transforms what might seem like a daunting project into a peaceful baking session. The methodical nature of peeling and slicing apples becomes almost meditative when you're not rushing.
Creating Special Memories:
This pie has become more than just a dessert in our family - it's a catalyst for creating memories. My teenage daughter now joins me in the kitchen, learning the art of braiding dough and selecting spices. We've shared stories, laughter, and occasional mishaps (like the time we forgot to set the timer and relied on our noses to save the pie). These moments in the kitchen, working side by side, have become as precious as the pie itself.
The Evolution of Tradition:
While this braided version might seem like a departure from traditional apple pie, I've found it honors the essence of this classic dessert while adding its own special touch. The familiar aromas of butter, apples, and cinnamon still fill the kitchen, but the presentation brings an element of surprise that makes it feel special. Several of my friends have adopted this recipe for their own family gatherings, each adding their own twist to create new traditions.
Storage and Reheating Tips:
Proper storage ensures every slice remains as delightful as the first. If you're planning to serve the pie within two days, storing it at room temperature under a pie dome maintains the perfect crust texture. For longer storage, wrap individual slices in parchment paper before freezing - this makes it easy to thaw just what you need. To reheat, place a slice in a 300°F oven for 10-15 minutes, which restores the flakiness of the crust. A quick stroke of genius from my pastry chef friend: place a few apple slices in the oven alongside the pie while reheating to recreate that fresh-baked aroma.
Beyond Dessert:
Don't limit this pie to just the dessert course. I've served it for brunch alongside sharp cheese and hot coffee, where it holds its own as a sophisticated offering. Leftover slices (if you're lucky enough to have any) make a decadent breakfast when warmed slightly and served with a dollop of Greek yogurt. The balance of protein from the yogurt with the pie's natural sweetness creates a surprisingly satisfying morning meal that even my nutrition-conscious sister approves of.
Recipe FAQs
- → Can I use homemade pie crust instead?
- Yes, you can substitute your favorite homemade pie crust recipe for the store-bought version.
- → Why mix different types of apples?
- Using multiple apple varieties creates better flavor and texture balance in the filling.
- → Can I make this ahead of time?
- Yes, you can prepare the filling a day ahead and refrigerate until ready to assemble.
- → Why do you need to cool the filling?
- Cooling prevents the butter in the crust from melting too quickly, helping maintain the braid structure.
- → How should I store leftovers?
- Store covered at room temperature for up to 2 days, or refrigerate for up to 4 days.