 Pin
Pin
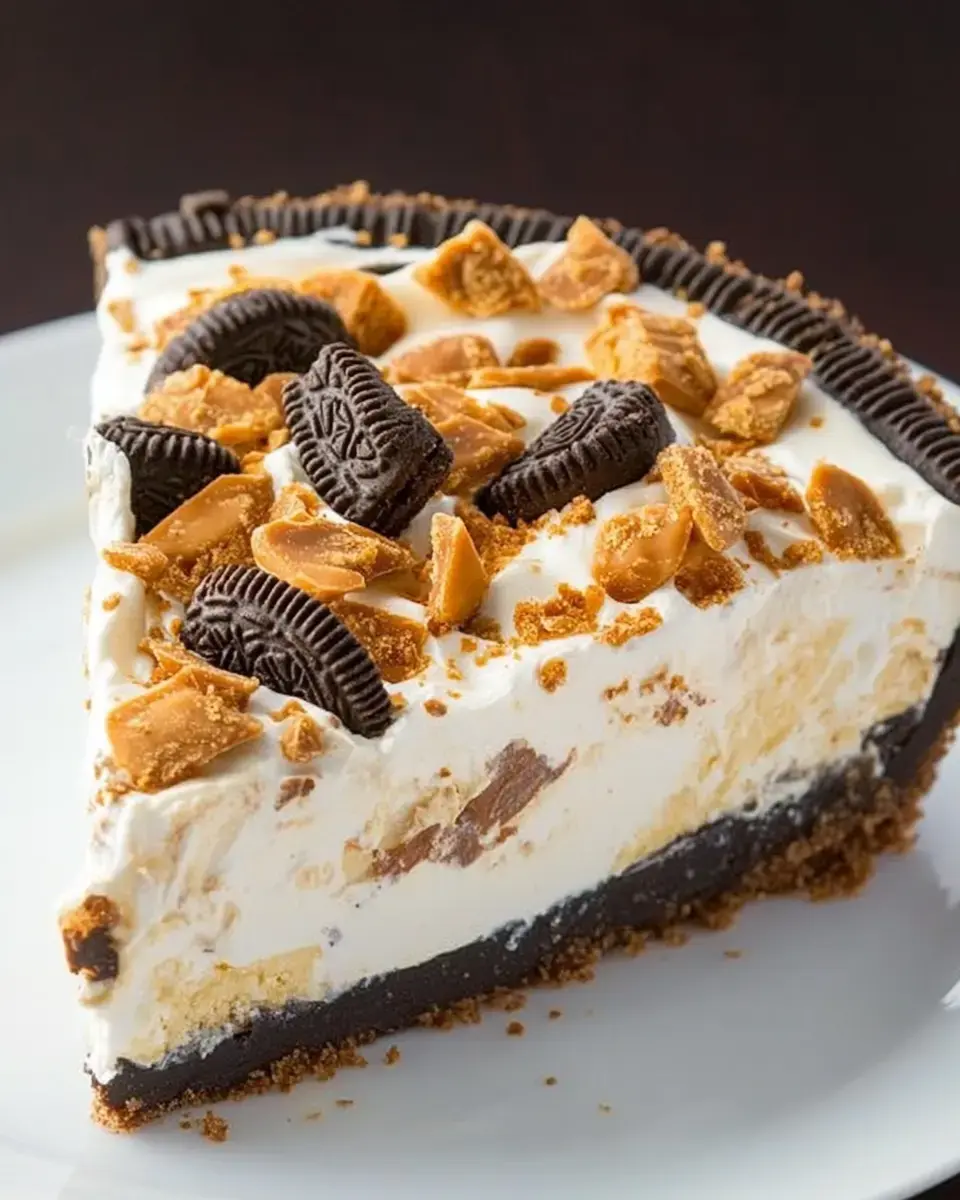
Meet your new favorite dessert: Butterfinger Pie. This no-bake creation combines the irresistible flavors of Butterfinger candy bars with a creamy filling nestled in a rich Oreo cookie crust. Perfect for any occasion, this pie is simple to make and guaranteed to impress. Whether you're hosting a party or treating yourself, this creamy and crunchy dessert is sure to become a favorite.
Why You'll Love Butterfinger Pie
Butterfinger Pie is the ultimate treat for peanut butter and candy bar lovers. The combination of a creamy, fluffy filling with crunchy Butterfinger pieces and the rich Oreo crust makes every bite irresistible. Since it's a no-bake recipe, you don't have to worry about turning on the oven. It's quick, simple, and perfect for those who want a show-stopping dessert without the fuss. This recipe is versatile, easy to customize, and sure to be a crowd-pleaser.
Ingredients for Butterfinger Pie
- Oreo Cookies: Crushed into fine crumbs for a rich and sturdy pie crust.
- Butter: Melted to hold the crust together.
- Heavy Whipping Cream: Whipped to stiff peaks for a light and creamy texture.
- Vanilla Extract: Adds a subtle sweetness to the whipped cream.
- Powdered Sugar: Sweetens the whipped cream layer.
- Cold Milk: Used to mix with instant vanilla pudding for a creamy filling.
- Instant Vanilla Pudding: Creates the base for the smooth and luscious filling.
- Butterfinger Bits: Adds a crunchy, peanut buttery texture throughout the pie. Use pre-chopped pieces or chop your own candy bars.
How to Make the Oreo Crust
- Prepare the Crust
- Crush Oreo cookies into fine crumbs using a food processor or by placing them in a zip-top bag and crushing with a rolling pin. Combine crumbs with melted butter and mix until fully incorporated. Press the mixture into a 9-inch pie plate, ensuring it is even and firm. Set aside.
Making the Filling
- Whip the Cream
- Using a stand mixer or hand mixer, whip heavy cream with vanilla extract until stiff peaks form. Divide the whipped cream into two portions: one for the filling and one for the topping.
- Sweeten the Cream
- Stir powdered sugar into one portion of the whipped cream to sweeten it. Set this aside for the topping.
- Prepare the Pudding
- In a separate bowl, whisk cold milk into the instant vanilla pudding mix until smooth and thick. Fold in the unsweetened portion of whipped cream until no streaks remain. Stir in chopped Butterfinger bits, reserving some for garnish.

Assemble and Freeze
- Assemble the Pie
- Pour the pudding and whipped cream mixture over the prepared Oreo crust, smoothing it out evenly. Spread or pipe the sweetened whipped cream over the top of the filling. Sprinkle reserved Butterfinger bits over the top as garnish.
- Freeze
- Cover the pie with plastic wrap and freeze for 6-12 hours or until completely set. This step allows the pie to firm up for easy slicing and serving.
Serving and Storing Butterfinger Pie
To serve, remove the pie from the freezer and allow it to sit at room temperature for 20-30 minutes to soften slightly. Slice into pieces and enjoy. Store any leftovers covered with plastic wrap or in an airtight container in the freezer for up to one month. This make-ahead dessert is perfect for busy days or special occasions, ensuring you always have a delightful treat ready to impress.
Summary
This no-bake frozen pie combines crushed Oreos, vanilla pudding, fresh whipped cream, and plenty of Butterfinger pieces for an indulgent dessert. Perfect for making ahead and great for special occasions.Recipe FAQs
- → How long can I keep this pie in the freezer?
- This pie can be stored in the freezer for up to 2 months if wrapped well. Make sure to cover it tightly with plastic wrap and foil to prevent freezer burn.
- → Can I use different candy bars instead of Butterfingers?
- Yes, you can substitute Butterfingers with other candy bars like Snickers, Heath bars, or Reese's cups. Just make sure to chop them into small pieces before adding to the pudding mixture.
- → Why do I need to let it sit out before serving?
- Letting the pie sit at room temperature for 20-30 minutes allows it to soften slightly, making it easier to cut and giving it the perfect creamy texture for eating.
- → Can I use store-bought whipped cream?
- While homemade whipped cream is recommended for the best texture and taste, you can use store-bought whipped topping. Keep in mind it may change the final texture of the pie.
- → What if I don't have a deep pie plate?
- You can use a springform pan instead of a deep pie plate. Any extra filling can be saved and enjoyed as a separate dessert treat.
