
 Pin
Pin
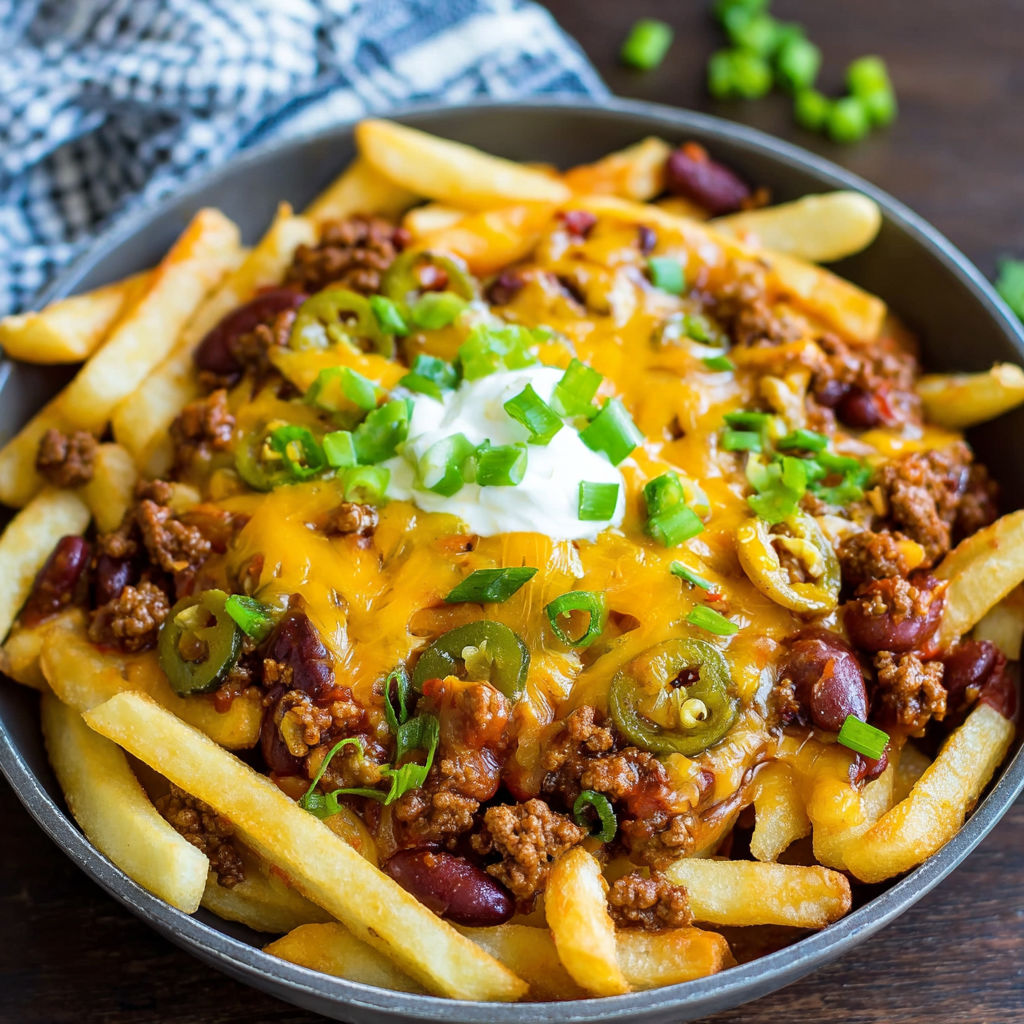
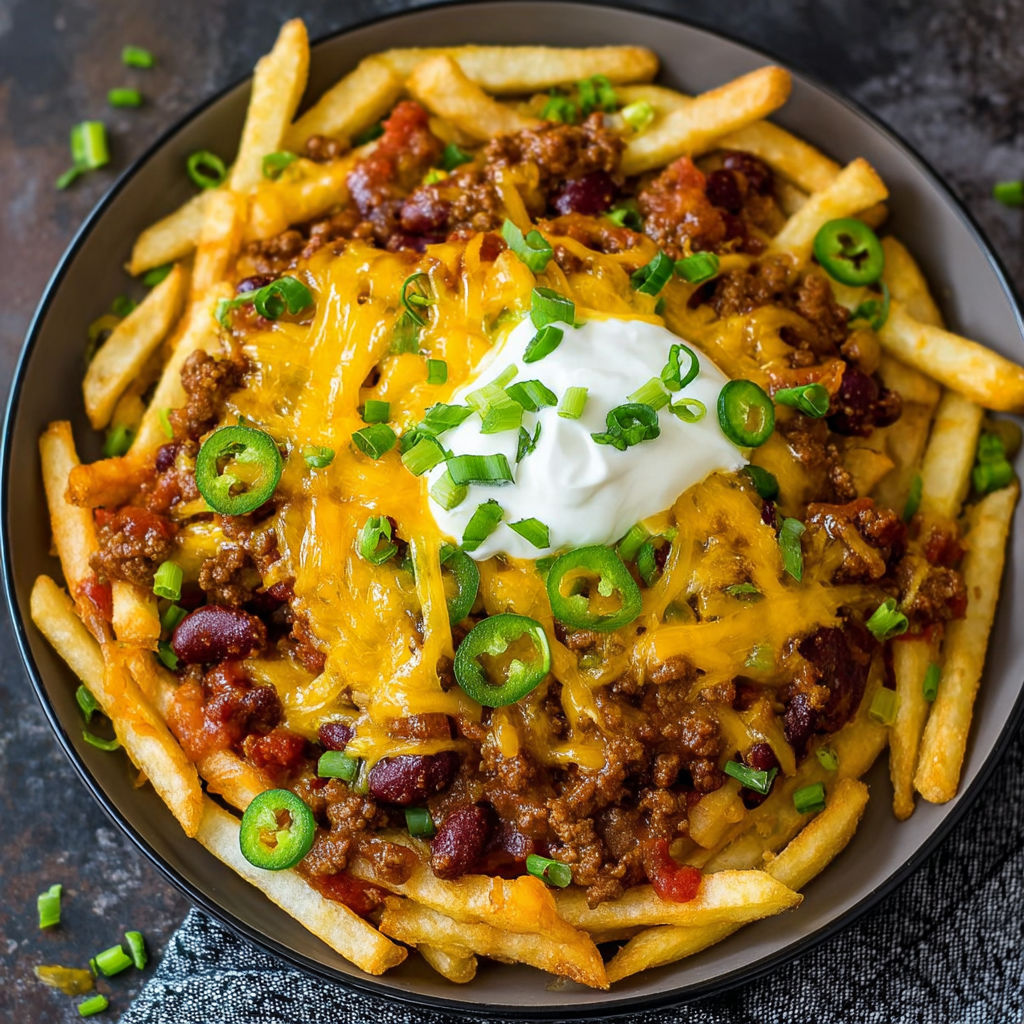
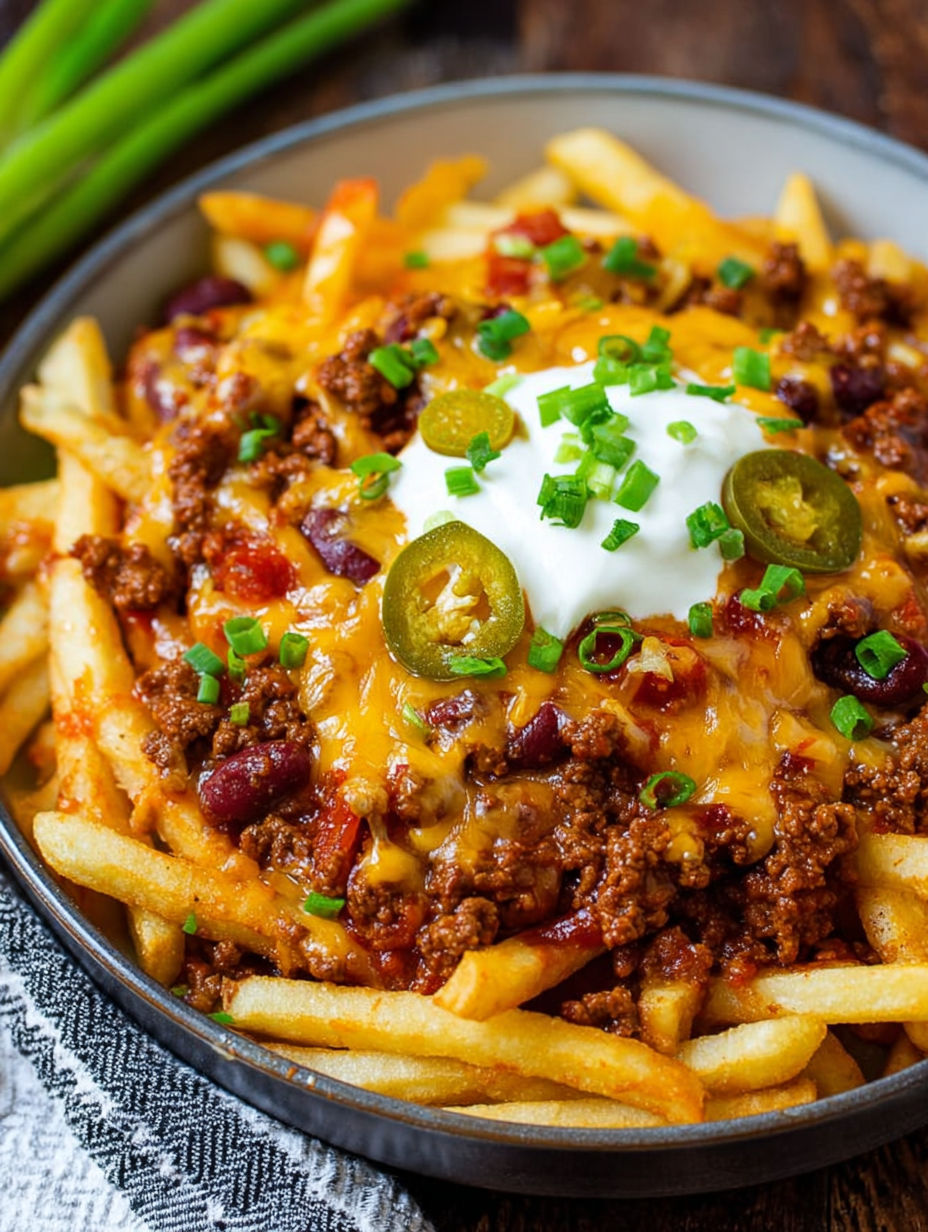
This hearty homemade chili cheese fries recipe transforms ordinary frozen fries into an extraordinary comfort food experience that rivals any restaurant version. The combination of crispy golden fries topped with savory beef chili and melted cheese creates the perfect balance of textures and flavors that will satisfy even the most intense cravings.
I first made these chili cheese fries during a football playoff game when friends unexpectedly stopped by. The smell of simmering chili filled my kitchen, and everyone devoured them so quickly I had to make a second batch. Now they're requested at every gathering I host.
Ingredients
- Frozen French fries. The foundation of this dish saves tremendous time. Look for thick cut or steak fries which hold up better under toppings.
- Ground beef. Opt for 85/15 lean to fat ratio for the perfect balance of flavor and less grease.
- Onion and garlic. These aromatics build the flavor base for your chili. Choose firm onions with tight skin.
- Chili beans. These provide texture and protein. The pre seasoned variety adds extra flavor depth.
- Diced tomatoes. Use fire roasted for enhanced smoky notes.
- Tomato sauce. Creates the perfect consistency without making the fries soggy.
- Chili powder. The signature flavor profile. Fresh spices make a noticeable difference.
- Cumin. Adds earthy warmth that complements the beef beautifully.
- Smoked paprika. Delivers subtle smokiness without using a grill.
- Cheddar cheese. Splurge on block cheese and grate it yourself for superior melting.
- Sour cream. The cooling contrast balances the spicy chili perfectly.
- Green onions. Provides fresh crunch and color to the finished dish.
- Jalapeños. Optional but recommended for heat lovers.
How To Make Chili Cheese Fries
- Prepare the fries.
- Arrange frozen fries in a single layer on a baking sheet, ensuring they don't overlap. This guarantees maximum crispiness as each fry gets direct heat exposure. Bake according to package directions until they develop a golden exterior with a fluffy interior.
- Brown the beef.
- Heat a large skillet over medium heat until you can feel warmth hovering your hand above it. Add ground beef and break it into small crumbles using a wooden spoon. Cook until no pink remains and the meat develops a caramelized brown color around the edges which intensifies the flavor.
- Create the flavor base.
- Add diced onions and minced garlic to the browned meat. Sauté until onions become translucent and aromatic, about 3 minutes. This step builds the foundation of flavor for your chili.
- Build the chili.
- Incorporate beans, tomatoes, sauce and all seasonings into the meat mixture. Stir thoroughly to combine, making sure the spices evenly coat all ingredients. Simmer gently for 15 minutes, allowing the flavors to meld while the liquid reduces slightly to create a thick texture that will cling to the fries.
- Assemble and melt.
- Arrange the crispy fries on a serving platter or in individual oven safe dishes. Ladle the hot chili generously over the fries, then shower with shredded cheese. Place under the broiler just until the cheese bubbles and develops light golden patches, approximately 2 minutes.
- Garnish and serve.
- Top with dollops of sour cream, sprinkle with fresh green onions, and add jalapeños if desired. Serve immediately while everything is hot and cheese is at peak meltiness.
My absolute favorite part of this recipe is watching the cheese melt under the broiler and form that perfect stretchy pull when you grab your first bite. My husband always tries to claim the corner pieces where the cheese gets extra crispy around the edges. We've had many playful disputes over who gets these prized sections!
Make Ahead Options
The chili component of this recipe actually improves with time as the flavors meld together. You can make the chili up to three days ahead and store it in an airtight container in the refrigerator. When ready to serve, simply reheat the chili while your fries bake, then assemble as directed. This makes entertaining much less stressful and allows you to focus on enjoying time with your guests rather than cooking.
Homemade Fries Variation
While frozen fries provide convenience, homemade fries elevate this dish to restaurant quality. Cut 4 large russet potatoes into half inch strips. Soak in cold water for 30 minutes to remove excess starch, then pat completely dry. Toss with 2 tablespoons of vegetable oil and spread on a baking sheet. Bake at 425°F for 30 minutes, flipping halfway through. The extra effort results in fries with exceptionally crispy exteriors and fluffy interiors that stand up beautifully to the hearty toppings.
Creative Serving Ideas
Transform this dish into an interactive experience by creating a chili cheese fry bar. Arrange the crispy fries on a large platter, place the hot chili in a slow cooker to keep warm, and offer an array of toppings in small bowls. Guests can customize their portions with cheese, sour cream, green onions, jalapeños, diced avocado, crumbled bacon, or hot sauce. This approach works perfectly for casual gatherings and ensures everyone gets exactly what they want.
The Perfect Cheese Blend
While cheddar cheese is traditional, experimenting with cheese combinations can create unique flavor profiles. Try mixing sharp cheddar with monterey jack for better melting properties and a milder flavor. For a southwestern twist, pepper jack adds pleasant heat throughout. Smoked gouda introduces complex flavors that complement the beef chili beautifully. Whatever combination you choose, always grate cheese from a block rather than using pre shredded varieties, which contain anti caking agents that prevent proper melting.
Recipe FAQs
- → Can I make these chili cheese fries ahead of time?
The chili can be made 1-2 days ahead and refrigerated. Prepare the fries fresh and assemble just before serving for the best texture and flavor.
- → What type of fries work best for this dish?
Thick-cut or steak fries hold up best under the chili and cheese. If using homemade fries, cut them slightly thicker and double-fry for extra crispiness.
- → How can I make a vegetarian version?
Substitute the ground beef with plant-based meat alternative, or use extra beans, lentils, and chopped mushrooms for a hearty vegetarian chili base.
- → What cheese alternatives work well?
While cheddar is traditional, try pepper jack for heat, monterey jack for meltability, or a cheese sauce for even coverage. Dairy-free cheese also works for a vegan option.
- → Can I freeze leftover chili?
Yes! The chili freezes excellently for up to 3 months. Cool completely before freezing in airtight containers. Thaw overnight in the refrigerator and reheat thoroughly before serving.
- → What are some good additional toppings?
Try diced avocado, fresh pico de gallo, pickled jalapeños, black olives, cilantro, hot sauce, or a dollop of guacamole for extra flavor and texture.