 Pin
Pin
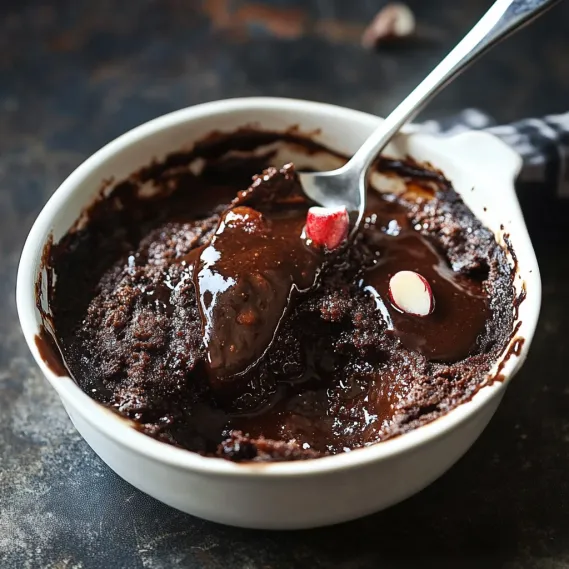
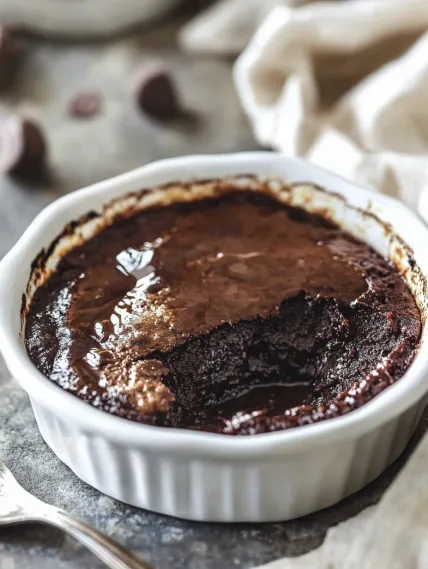
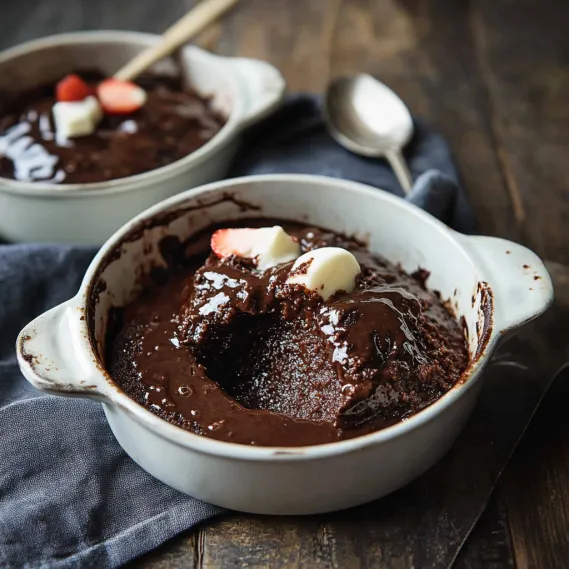
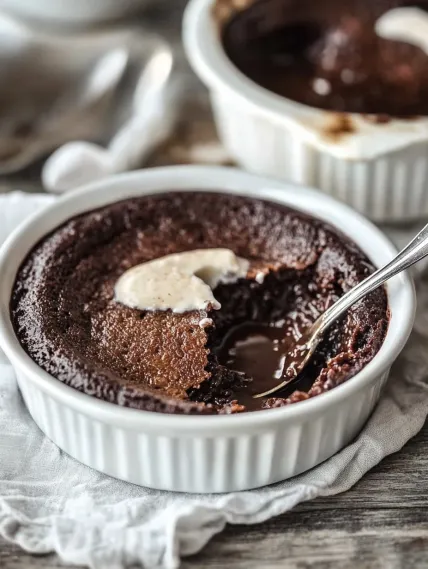
This magical chocolate self-saucing pudding creates two delicious layers in one baking dish – a moist, tender chocolate cake floating above a velvety chocolate sauce that forms all on its own. The contrast between the cakey top and the silky sauce beneath creates a warm, comforting dessert that satisfies deep chocolate cravings with minimal effort. Ready in under an hour with ingredients you likely already have in your pantry, this dessert delivers impressive results whether for a casual family night or entertaining guests. The moment you break through the slightly crisp surface to reveal the hidden sauce beneath, you'll understand why this humble pudding has remained a beloved classic.
I first made this dessert for a last-minute dinner with friends when I had no time for a grocery run. What surprised me most was how impressed everyone was with what seemed like kitchen magic – one simple batter transforming into two distinct layers! My friend's seven-year-old declared it "even better than restaurant dessert" and now requests it whenever they visit. The beauty of this pudding is that it genuinely impresses while requiring minimal effort.
Essential Ingredients and Selection Tips
- Cocoa Powder: Use unsweetened cocoa powder for the best chocolate flavor. Dutch-processed cocoa creates a richer, darker result, though regular cocoa works perfectly too.
- Brown Sugar: Provides depth and moisture to the sauce. Light or dark brown sugar both work well, depending on how rich you want the flavor.
- Butter: Melted butter creates tenderness in the cake layer. Unsalted butter gives you better control over the final taste.
- Milk: Adds moisture to the batter. Whole milk provides the best richness, but any milk works.
- Boiling Water: The crucial element that creates the magical sauce. Make sure it's truly boiling for the best results.
I've discovered through multiple tests that the ratio of water to sugar in the topping makes all the difference. Using slightly more water creates a properly pourable sauce rather than a thick sludge, which I find much more satisfying when serving.
Detailed Cooking Instructions
- Step 1: Prepare Your Baking Dish
- Preheat your oven to 170°C (335°F) and generously butter a 1.5-liter baking dish. The size and shape matter - too large, and your sauce will be thin; too small, and it might overflow. A dish approximately 25cm x 20cm (10" x 8") with sides at least 5cm (2") high works perfectly.
- Step 2: Create The Simple Batter
- In a large bowl, whisk together 1 cup plain flour, 2½ teaspoons baking powder, ⅓ cup white sugar, ¼ cup cocoa powder, and a pinch of salt. In a separate bowl, combine ½ cup milk, 50g melted butter, 1 egg, and 1 teaspoon vanilla extract. Pour the wet ingredients into the dry and mix until just combined to form a thick batter, then spread evenly into your prepared baking dish.
- Step 3: Add The Magic Topping
- In a small bowl, mix 1 cup brown sugar and ¼ cup cocoa powder, then sprinkle this mixture evenly over the batter. Gently shake the dish to distribute the sugar mixture in an even layer. The sugar and cocoa will work their magic during baking to create your sauce.
- Step 4: Apply The Transformation Element
- Pour 1¼ cups boiling water over the back of a spoon onto the sugar-cocoa topping, trying to distribute it evenly across the entire surface. This step might seem strange, but the hot water is what creates the sauce beneath the cake as it bakes. Don't stir – the layers need to remain separate.
- Step 5: Bake To Perfection
- Bake for 30 minutes until the top is set and springy when lightly touched. The surface should be slightly crackly, similar to brownies, but the cake should still feel soft underneath. Let stand for just 2-3 minutes, then serve immediately while the sauce is still flowing beneath the cake layer.

My first attempt at this pudding was nearly ruined when I stirred the water into the topping, destroying the separation of layers. I've since learned that resisting the urge to mix is crucial for achieving that magical two-texture result.
The Secret To Perfect Wok Technique
High heat is essential for authentic fried rice. My grandmother taught me to heat the wok until smoking before adding oil. Keep ingredients moving constantly to achieve that elusive "wok hei" flavor. Never overcrowd the pan—cook in batches instead. This technique transformed my fried rice into restaurant-quality perfection.

Making The Most Of Leftovers
This dish excels at transforming leftovers into something exciting. I've used roast chicken, holiday ham, and even Thanksgiving turkey with great success. Cut meat into uniform pieces that distribute evenly throughout. Leftover grilled steak adds incredible depth with its smoky edges. Even roasted vegetables bring delightful caramelized sweetness.
Balancing Flavors And Textures
Special fried rice succeeds through balanced components. Char siu provides richness, prawns add sweetness, eggs contribute silkiness, while vegetables offer freshness. The sequence matters—aromatics first build flavor, eggs midway remain distinct, vegetables maintain crispness. Adding spring onions last preserves their brightness for that authentic restaurant finish.
Customization For Dietary Needs
This dish adapts easily to dietary restrictions. For vegetarians, I omit meat, double eggs and add extra vegetables. Low-carb diners enjoy my cauliflower rice version that carries flavors beautifully. For gluten-sensitive guests, tamari replaces soy sauce while ensuring chicken powder is certified gluten-free. Everyone enjoys this beloved dish regardless of restrictions.
Perfect Pairings For Serving
While this pudding is delightful on its own, pairing it with the right accompaniments elevates it from simple to spectacular. A scoop of vanilla ice cream creates the perfect hot-cold contrast as it melts into the warm pudding. For dinner parties, I serve it with lightly whipped cream and fresh berries, which provide a bright, acidic counterpoint to the rich chocolate. During fall and winter, I've paired it with poached pears and a drizzle of caramel sauce for a sophisticated dessert that still feels comforting. Coffee lovers in my family appreciate it alongside a small espresso, which enhances the chocolate flavors beautifully. For large gatherings, I set up a pudding bar with various toppings like crushed nuts, chocolate shavings, and fresh mint leaves, allowing guests to customize their serving.
Flavor Variations To Try
While the classic chocolate version remains my go-to, I've experimented with several variations that have become favorites in my household. For a mocha version, simply add 1 tablespoon of instant espresso powder to the batter. Orange-chocolate fans will love the addition of 1 tablespoon of orange zest to the cake mixture. For special occasions, I sometimes add 2 tablespoons of Baileys or Kahlúa to the batter and an extra tablespoon to the sauce ingredients. My most decadent adaptation includes folding ⅓ cup of chocolate chips into the batter before baking, creating pockets of melted chocolate throughout the cake layer. These variations follow the same basic technique but offer delightful twists on the original flavor profile.
Make-Ahead Options
While this pudding is best served fresh from the oven, there are a few make-ahead tricks I've discovered for busy entertainers. The dry ingredients for both the batter and topping can be mixed separately and stored in airtight containers up to a week in advance. You can even butter your baking dish ahead of time and keep it covered in the refrigerator. When guests arrive, simply mix the wet ingredients, combine with the pre-measured dry mixture, assemble, and bake. The pudding takes only 10 minutes of active preparation when organized this way, making it perfect for entertaining. For truly last-minute solutions, I've made the entire pudding up to the baking stage, refrigerated it for up to 2 hours, then added an extra 5 minutes to the baking time with excellent results.

This chocolate self-saucing pudding has saved countless dinner parties and family gatherings when I needed a quick but impressive dessert. What I love most is watching people's faces as they dig in and discover the hidden sauce beneath the cake – that moment of delight never gets old. The combination of simple ingredients, minimal effort, and magical results makes this humble pudding a staple in my dessert repertoire, proving that sometimes the most satisfying treats are also the most straightforward.
Recipe FAQs
- → Why is my sauce too watery?
- If your sauce is too watery, it may be that the pudding needed a few more minutes in the oven. The sauce thickens as it cooks. Also, check that you used the correct measurements for the cocoa powder and sugar in the topping, as these ingredients help create the proper sauce consistency.
- → Can I make this pudding ahead of time?
- This pudding is best served fresh from the oven after standing for just a few minutes. The longer it sits, the more the sauce gets absorbed into the cake. If you need to make it ahead, you can prepare the batter and topping separately, then combine and add the hot water just before baking.
- → Can I use dark chocolate instead of cocoa powder?
- This recipe is specifically designed for cocoa powder, not melted chocolate. Substituting would significantly change the chemistry of how the sauce forms. For the best results, stick with unsweetened cocoa powder as called for in the recipe.
- → What's the best way to reheat leftovers?
- Reheat individual portions in the microwave for 20-30 seconds or until just warm. The chocolate will become melty again, though you won't get as much distinct sauce as when it's freshly made. You can also add a tablespoon of hot water before reheating to help recreate more sauce.
- → Can I make this in individual ramekins instead of one large dish?
- Yes! Divide the batter between 6 ramekins, then sprinkle each with the cocoa-sugar mixture and carefully pour hot water over each. Reduce the baking time to about 15-20 minutes. The individual puddings are done when the tops spring back when lightly touched.
- → Why didn't my sauce layer form properly?
- The most common reason is pouring the hot water too forcefully, which can mix it with the batter instead of allowing it to sit on top and gradually sink down. Pour the water gently over the back of a spoon to disperse it evenly without disturbing the layers too much.
