
 Pin
Pin
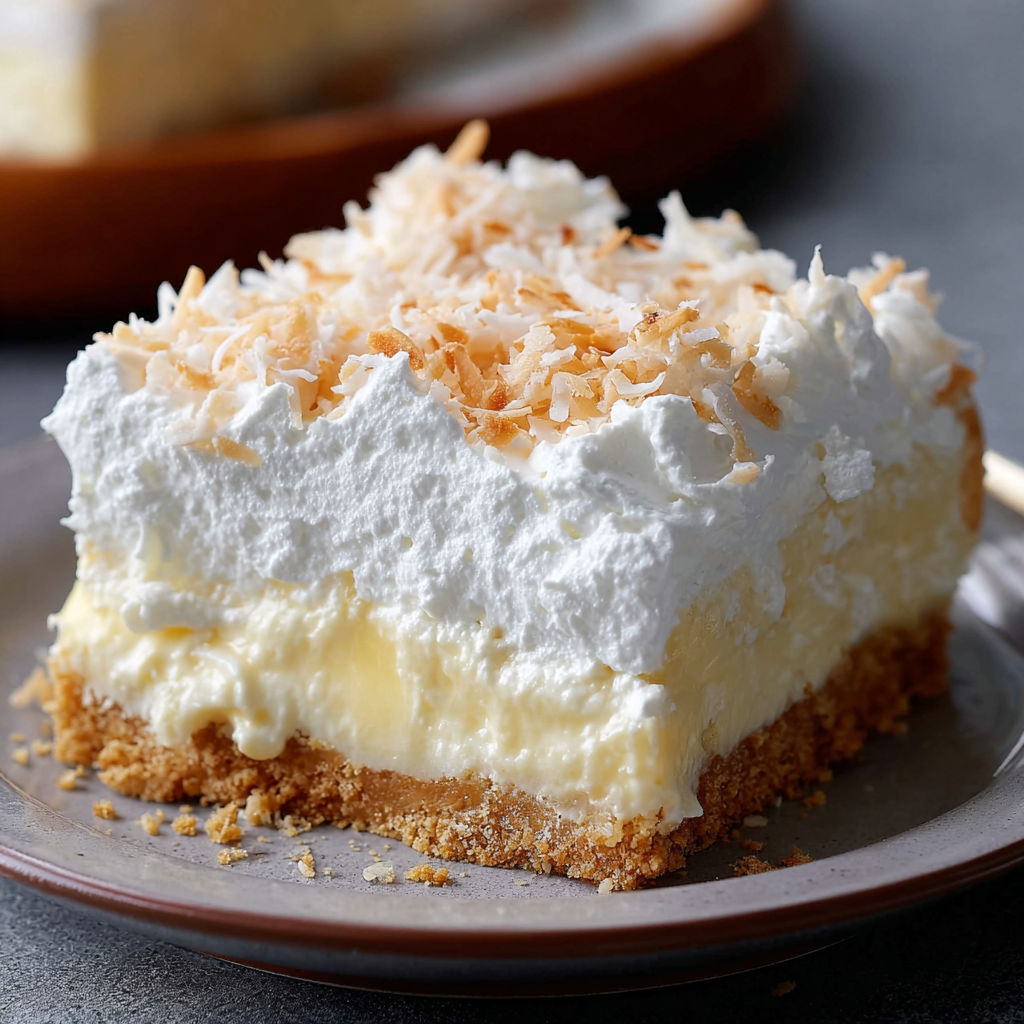
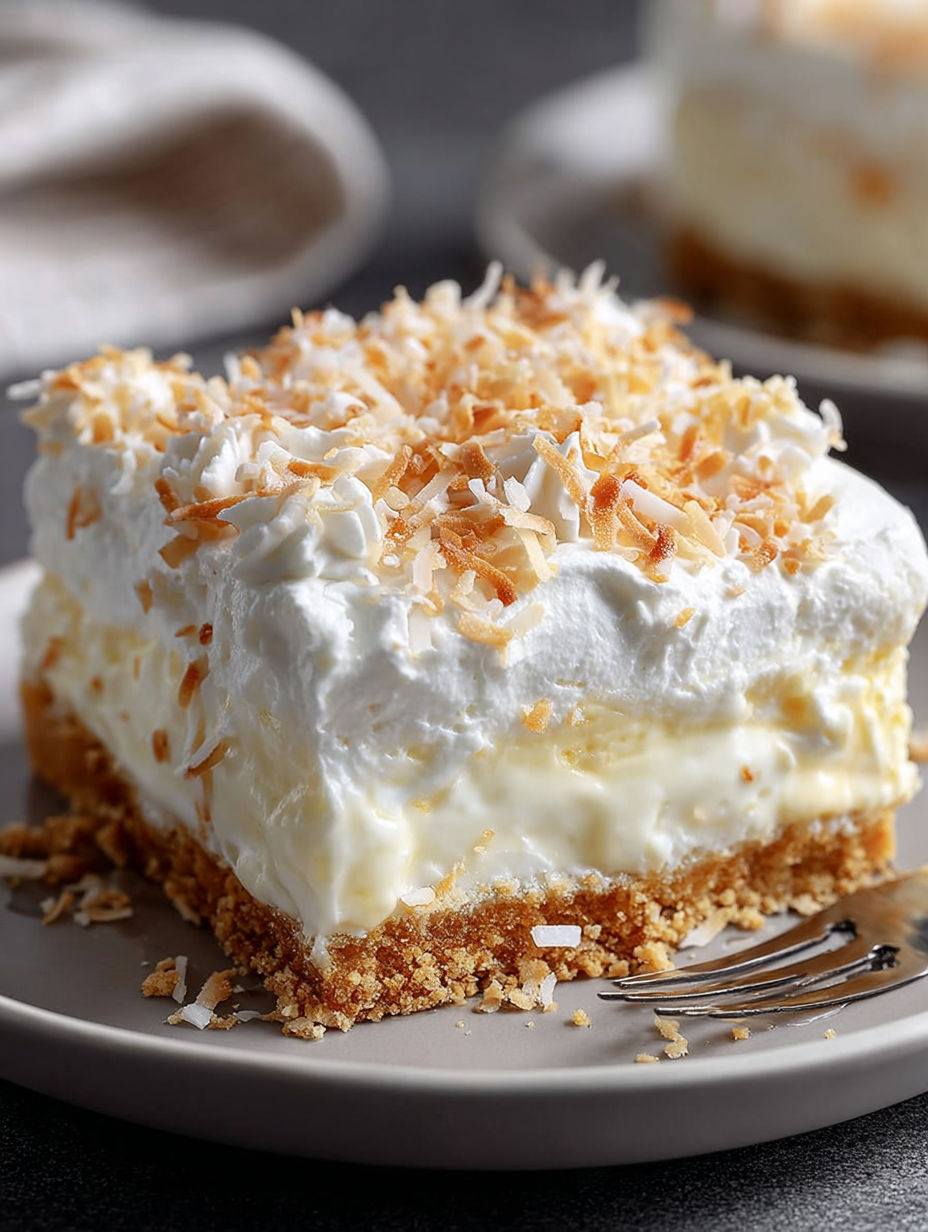
This creamy coconut dessert transforms ordinary ingredients into layers of sweet paradise that will transport you to a tropical getaway. The combination of buttery graham cracker crust, silky cream cheese, and luscious coconut creates a dessert that's simultaneously light and indulgent.
I first created this coconut cream lush when hosting a summer dinner party during a heatwave. The cool, refreshing layers were such a hit that my neighbors now request I bring it to every potluck and barbecue in our community.
Ingredients
- Graham cracker crumbs provide the perfect crunchy foundation. Look for honey graham crackers for extra flavor.
- Unsalted butter binds the crust together. Quality butter makes a noticeable difference in taste.
- Cream cheese creates that signature tangy layer. Always use full-fat for the best texture and flavor.
- Powdered sugar blends seamlessly without any graininess in the cream cheese mixture.
- Whipped topping lightens the texture throughout the dessert. Choose a high-quality brand.
- Coconut cream delivers intense tropical flavor. Look for cans with at least 90% coconut extract.
- Shredded sweetened coconut adds wonderful texture. Toast it lightly for enhanced flavor.
- Vanilla extract balances the coconut. Use pure rather than imitation for best results.
- Heavy whipping cream creates the cloudlike topping. The higher the fat content the better it whips.
- Granulated sugar sweetens the final layer without making it too cloying.
How To Make Coconut Cream Lush Delight
- Prepare the foundation
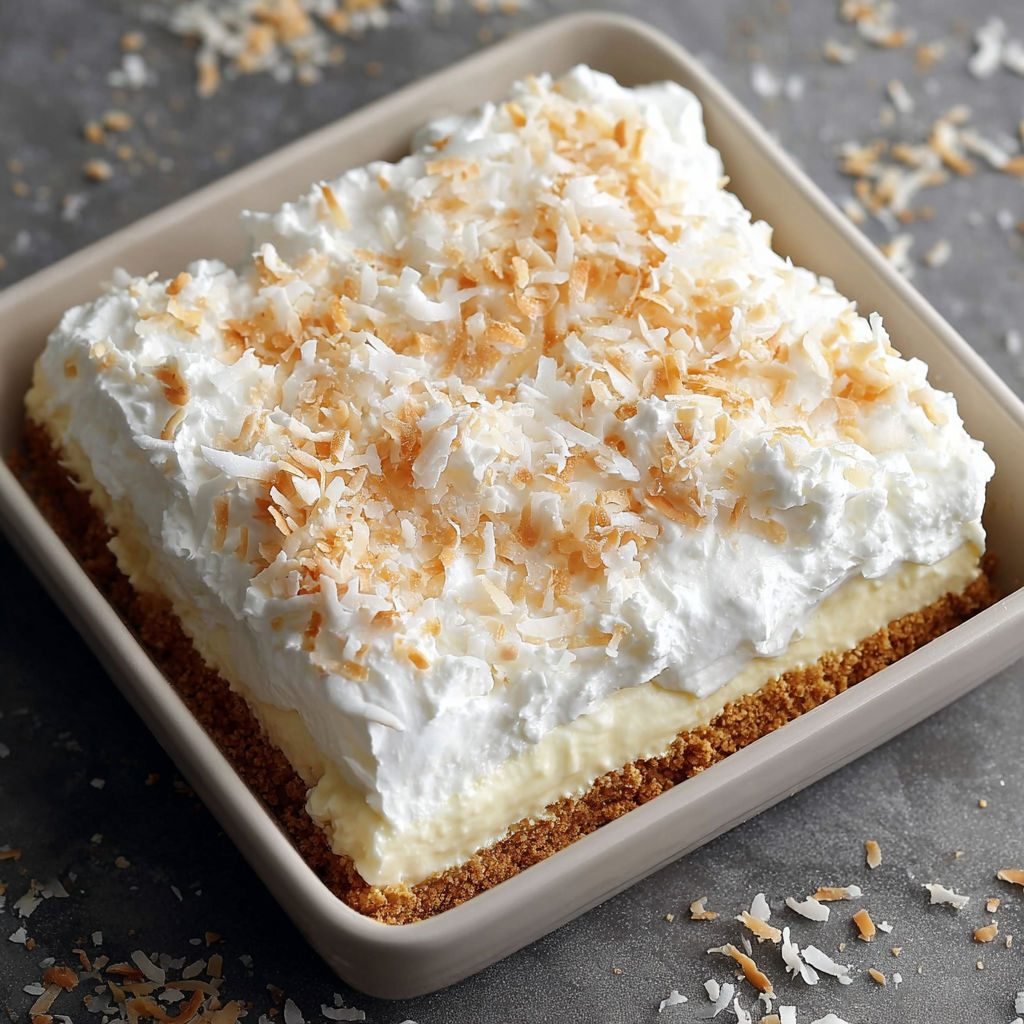
- Combine graham cracker crumbs with melted butter until every crumb is moistened. Press firmly into your baking dish using the bottom of a measuring cup for even compression. Bake until just golden and fragrant around 10 minutes. Allow to cool completely before adding other layers to prevent melting.
- Create the cream cheese layer
- Beat room temperature cream cheese until absolutely smooth with no lumps whatsoever about 2-3 minutes. Add powdered sugar gradually while continuing to beat. This prevents clumping and ensures silky texture. Fold in whipped topping with a gentle hand using a rubber spatula. Use sweeping motions from bottom to top to maintain airiness.
- Build the coconut layer
- Mix coconut cream until smooth before adding shredded coconut. The vanilla extract enhances the tropical flavor profile tremendously. Spread this mixture with particular care to create an even layer that reaches all corners of the dish.
- Finish with cloud-like topping
- Whip cold heavy cream starting on low speed then increasing gradually. Add sugar only after soft peaks begin forming. Continue until stiff peaks hold their shape when the beater is lifted. Gently incorporate remaining whipped topping with the same folding technique used earlier. Spread this final layer with artistic swoops and swirls.
- Chill thoroughly
- Allow your creation to set in the refrigerator for at least 4 hours. Overnight chilling delivers even better flavor melding between the layers. Cutting becomes cleaner after thorough chilling.
The coconut cream layer is absolutely magical when made with quality ingredients. I discovered this recipe during a beach vacation in Florida where a local bakery served something similar. My version has evolved over a dozen iterations to achieve the perfect balance of coconut flavor without overwhelming sweetness.
Making It Ahead
This dessert actually improves with time in the refrigerator as flavors meld together beautifully. Prepare up to 48 hours before serving for optimal taste. The layers set more distinctly with longer chilling time making for cleaner slices and more visually impressive presentation. Cover tightly with plastic wrap pressing it directly onto the surface of the top layer to prevent any air exposure.
Flavor Variations
The beauty of this layered dessert lies in its adaptability. For a tropical twist fold chopped mango or pineapple into the coconut layer. Consider adding a tablespoon of rum extract to the cream cheese mixture for sophisticated flavor notes. Chocolate lovers can sprinkle mini chocolate chips between layers or drizzle chocolate ganache over individual servings. During holiday season incorporate crushed peppermint into the topping layer for festive appeal.
Serving Suggestions
Cut into squares using a knife warmed under hot water and wiped clean between cuts for pristine edges. Garnish with toasted coconut flakes fresh berries or mint leaves for a professional presentation. Pair with a shot of espresso for the perfect contrast to the dessert's sweetness. This recipe serves beautifully on individual dessert plates for dinner parties or can be presented family style for casual gatherings.
Recipe FAQs
- → Can I make this dessert ahead of time?
Yes, this dessert is actually perfect for making ahead! It needs at least 4 hours to set properly, but can be made up to 2 days in advance and kept refrigerated. The flavors will continue to meld and develop, making it even better the next day.
- → Can I use unsweetened coconut instead of sweetened?
Yes, you can substitute unsweetened shredded coconut, but you may want to add 1-2 tablespoons of additional sugar to the coconut layer to maintain the right level of sweetness. Toasting the unsweetened coconut before using can also enhance its flavor.
- → What can I substitute for whipped topping?
If you prefer not to use store-bought whipped topping, you can substitute with homemade whipped cream. For each 115g of whipped topping, whip about 120ml of heavy cream with 1 tablespoon of powdered sugar until stiff peaks form.
- → Can I make this dessert in a different sized pan?
Yes, you can adapt this to different pan sizes. An 8-inch or 9-inch square pan works well, as does a 9-inch round springform pan. Adjust ingredient quantities proportionally if using a significantly different sized pan. Baking time for the crust will remain approximately the same.
- → How do I know when my coconut cream lush is set properly?
The dessert is properly set when the top layer feels firm to the touch and a knife inserted and removed comes out clean. The layers should be distinctly visible when cut, and the dessert should hold its shape when sliced. Minimum setting time is 4 hours, but overnight refrigeration yields the best results.
- → Can I freeze this dessert?
Yes, this dessert freezes well. Cover tightly with plastic wrap and aluminum foil to prevent freezer burn. Freeze for up to 2 months. Thaw overnight in the refrigerator before serving. Note that the texture may change slightly after freezing, but the flavor will remain delicious.