
 Pin
Pin
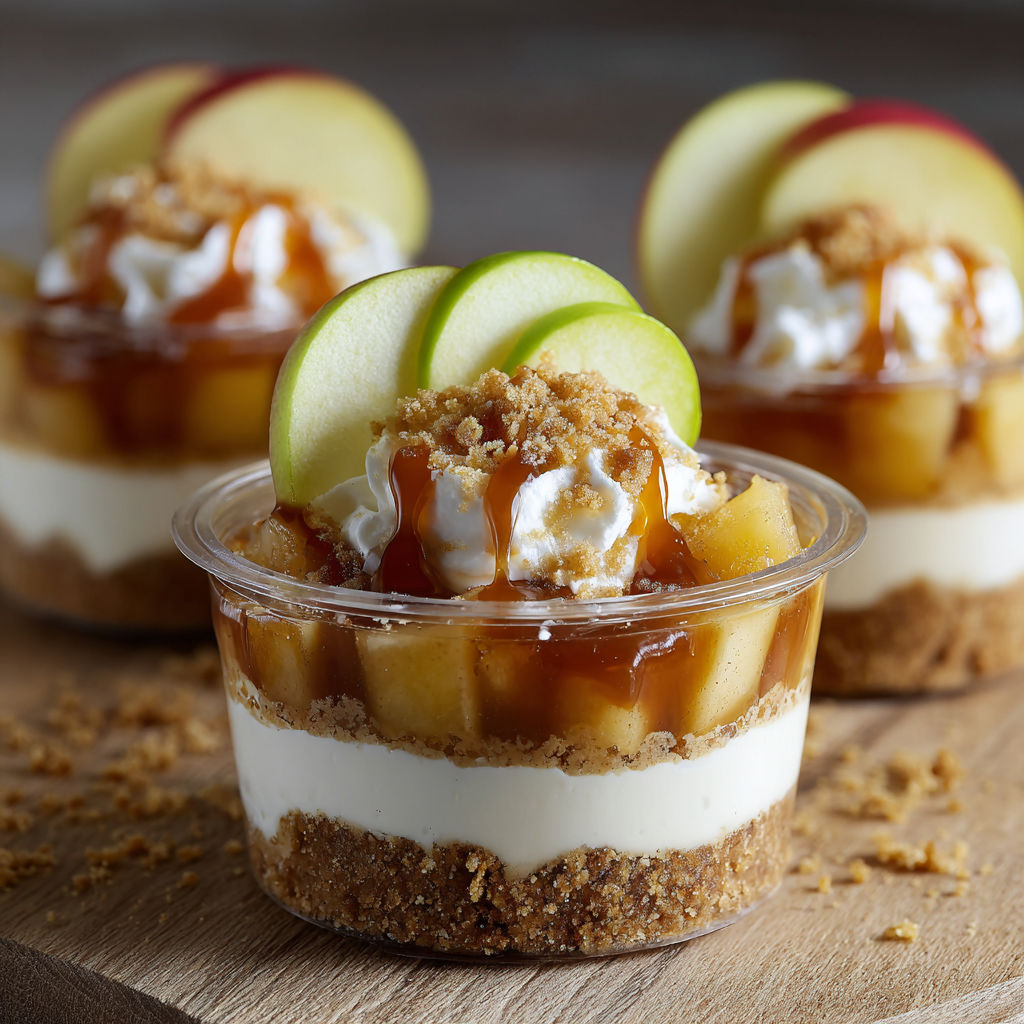
This decadent caramel apple dessert cups recipe combines the classic autumn flavors of spiced apples and rich caramel with a creamy cheesecake layer, all atop a buttery graham cracker base. The individual servings create an impressive presentation that belies how simple they are to prepare.
I first made these dessert cups for my daughter's fall birthday party, and they've become our signature dessert whenever we host guests. The combination of warm spices and cool, creamy filling creates that perfect comfort food feeling that everyone craves.
Ingredients
- Apple Layer
- 4 medium apples peeled cored and diced These create the star flavor profile choose firm varieties like Honeycrisp or Granny Smith that hold their shape when cooked
- 30 grams unsalted butter Adds richness to the apples as they cook
- 28 grams brown sugar Provides depth of caramelized flavor and complements the apples naturally
- 1 teaspoon ground cinnamon The essential warming spice that makes these taste like autumn
- 0.25 teaspoon ground nutmeg Adds complexity and enhances the other spices
- 1 teaspoon freshly squeezed lemon juice Brightens the flavor and prevents browning
- Cheesecake Filling
- 225 grams cream cheese softened Full fat provides the best texture and flavor let it come fully to room temperature
- 240 millilitres heavy whipping cream Creates a light mousse-like texture chill thoroughly before whipping
- 60 grams powdered sugar Dissolves seamlessly into the cream cheese mixture
- 1 teaspoon vanilla extract Use real vanilla for the best flavor profile
- Base Layer
- 150 grams graham cracker crumbs or crushed cookies Creates the foundation with a subtle sweetness and texture
- 56 grams melted butter Binds the crumbs together use unsalted for better control
- 12 grams granulated sugar Adds sweetness and helps the base firm up when chilled
- Garnish
- 120 millilitres caramel sauce Store-bought works perfectly or make your own for extra flavor
- Whipped cream additional graham crumbs apple slices or assorted candies These finish the presentation with visual appeal
How To Make Caramel Apple Dessert Cups
- Prepare the apple layer:
- Cook the diced apples in butter over medium heat allowing them to soften for about 2 minutes before adding the brown sugar cinnamon nutmeg and lemon juice. Continue cooking for 5-7 minutes until the apples are tender but still hold their shape. The mixture should be fragrant with bubbling caramelized juices. Transfer to a bowl and cool completely this prevents melting the cream layer when assembling.
- Create the cheesecake filling:
- Begin by whipping the well-chilled heavy cream in a cold metal bowl until stiff peaks form this usually takes 3-4 minutes with an electric mixer. In a separate bowl beat the softened cream cheese until completely smooth with no lumps then add the powdered sugar and vanilla extract continuing to beat until incorporated. Using a rubber spatula gently fold the whipped cream into the cream cheese mixture using a figure-eight motion to maintain as much air as possible.
- Prepare the graham cracker base:
- Mix the graham cracker crumbs melted butter and granulated sugar in a bowl until the mixture resembles wet sand. Test by squeezing a small amount in your palm it should hold together firmly. If it seems too dry add a little more butter one teaspoon at a time.
- Assemble the dessert cups:
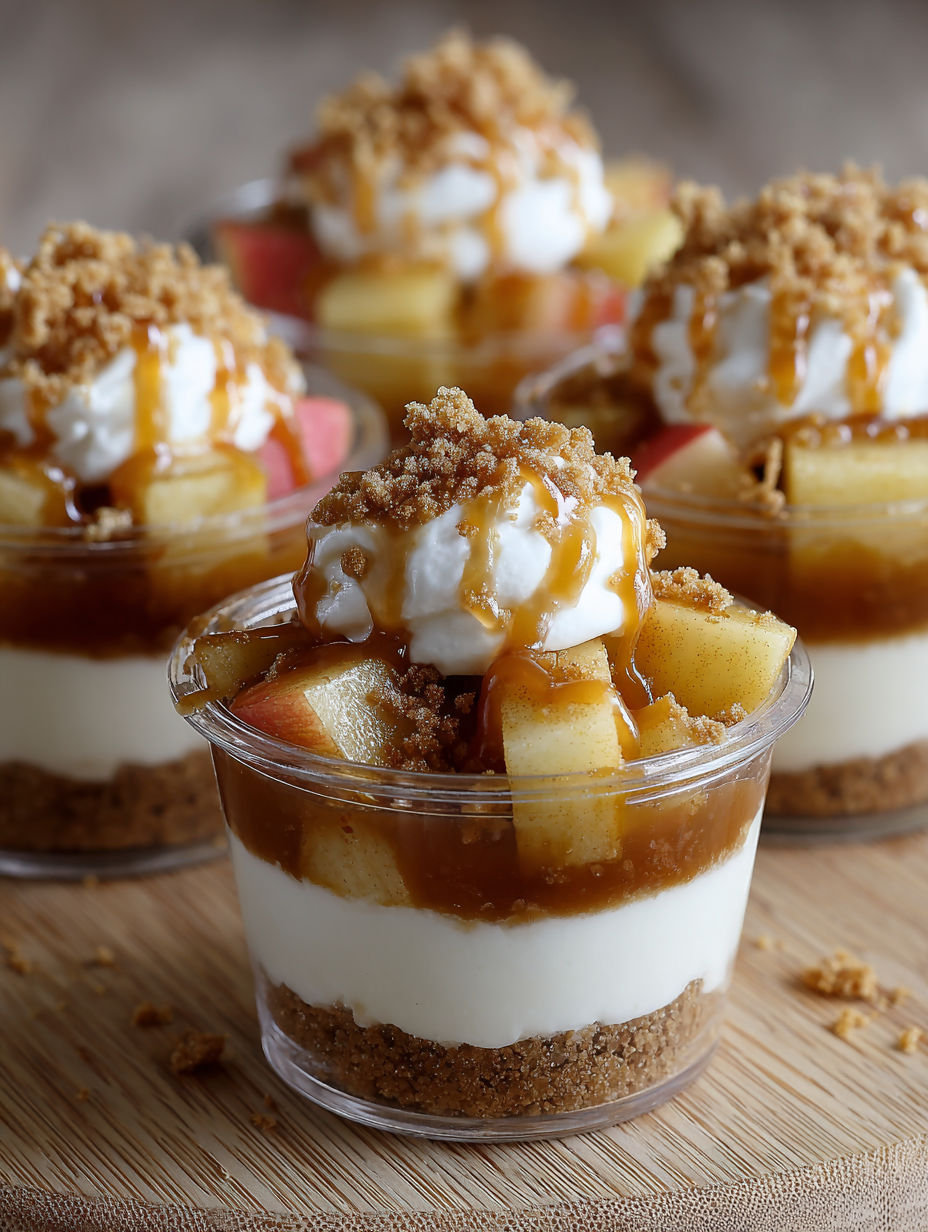
- Start with approximately 2 tablespoons of graham cracker mixture at the bottom of each serving cup pressing firmly to create an even layer. Follow with about 3 tablespoons of the cheesecake filling smoothing it with the back of a spoon. Add a generous layer of the cooled spiced apples about 2 tablespoons per cup. Drizzle with approximately 1 tablespoon of caramel sauce allowing it to drip down the sides. For larger cups repeat these layers once more.
- Garnish and serve:
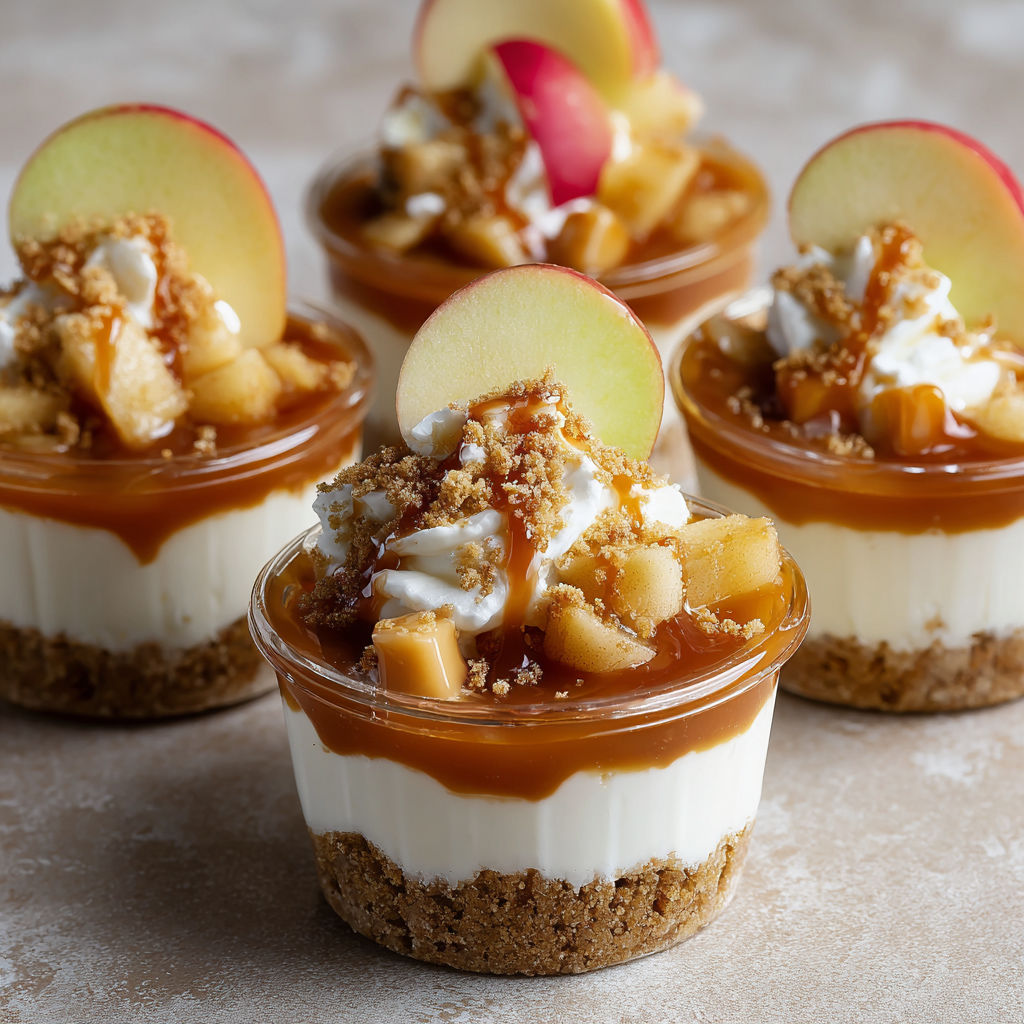
- Top each dessert cup with a dollop of whipped cream and sprinkle with additional graham cracker crumbs. Add a small apple slice or candy decoration if desired. Refrigerate the cups for at least one hour before serving to allow the layers to set and flavors to meld.
My absolute favorite part of this recipe is the moment the warm spiced apples hit the caramel sauce. The aroma that fills my kitchen instantly transports me to childhood memories of autumn apple picking with my family. We'd come home with bushels of apples and my grandmother would spend the afternoon making her famous apple desserts that inspired this recipe.
Make-Ahead and Storage Tips
These caramel apple dessert cups can be fully assembled and stored in the refrigerator for up to 2 days. For the best presentation add the final garnishes just before serving. The cheesecake layer and apple mixture can be prepared separately up to 3 days ahead and stored in airtight containers in the refrigerator making this an excellent option for entertaining.
Ingredient Substitutions
For a lighter version substitute Greek yogurt for half of the cream cheese and use light whipping cream. The texture will be slightly less rich but still delicious. Gluten-free graham crackers or cookies work perfectly for the base layer if needed. For a dairy-free version coconut cream can replace the heavy whipping cream and dairy-free cream cheese alternatives work well though the texture will be slightly different.
Serving Suggestions
These dessert cups shine when served in clear glass containers that showcase the beautiful layers. For an elegant dinner party presentation use stemmed glasses or martini glasses. For casual gatherings mason jars create a rustic feel. During fall months serve alongside hot apple cider or spiced tea. For summer gatherings pair with a scoop of vanilla ice cream on the side.
The History Behind This Treat
The combination of apples and caramel has roots dating back centuries with variations appearing in French English and American culinary traditions. The modern caramel apple emerged in the 1950s when Kraft Foods employee Dan Walker developed the idea of coating apples in caramel for Halloween treats. This dessert cup version takes those classic flavors and transforms them into an elegant deconstructed form that's easier to eat than a traditional caramel apple while maintaining all the beloved flavors.
Recipe FAQs
- → Can I prepare these caramel apple dessert cups in advance?
Yes! These dessert cups can be prepared up to 24 hours in advance. Simply assemble all layers, cover tightly with plastic wrap, and refrigerate. Add any whipped cream or fresh garnishes just before serving for the best presentation and texture.
- → What can I substitute for graham crackers in the base?
You can easily substitute graham crackers with digestive biscuits, gingersnaps, vanilla wafers, shortbread cookies, or even crushed pretzels for a sweet-salty combination. Just ensure they're finely crushed and mixed well with the butter to create a base that holds together.
- → What type of apples work best for this dessert?
Firm apples that hold their shape when cooked work best. Granny Smith provides a nice tartness that balances the sweet caramel, while Honeycrisp, Braeburn, or Jonagold offer a sweeter profile while still maintaining texture. Avoid softer varieties like McIntosh that might break down too much during cooking.
- → Can I make this dessert dairy-free?
Yes, you can adapt this recipe for dairy-free diets. Substitute the butter with vegan butter or coconut oil, use dairy-free cream cheese alternative, and replace heavy cream with full-fat coconut cream (refrigerated and solid portion only). For the caramel, look for dairy-free options or make your own using coconut cream.
- → How should I store leftover dessert cups?
Store any leftover dessert cups covered in the refrigerator for up to 3 days. The graham cracker base may soften slightly over time, but the flavors will continue to develop nicely. These desserts don't freeze well due to the creamy texture and fresh apple components.
- → Can I serve these in different containers?
Absolutely! While clear glass cups showcase the beautiful layers, you can serve these in ramekins, small mason jars, wine glasses, or even disposable clear plastic cups for parties. Just adjust the portion sizes according to your container's volume.