
 Pin
Pin
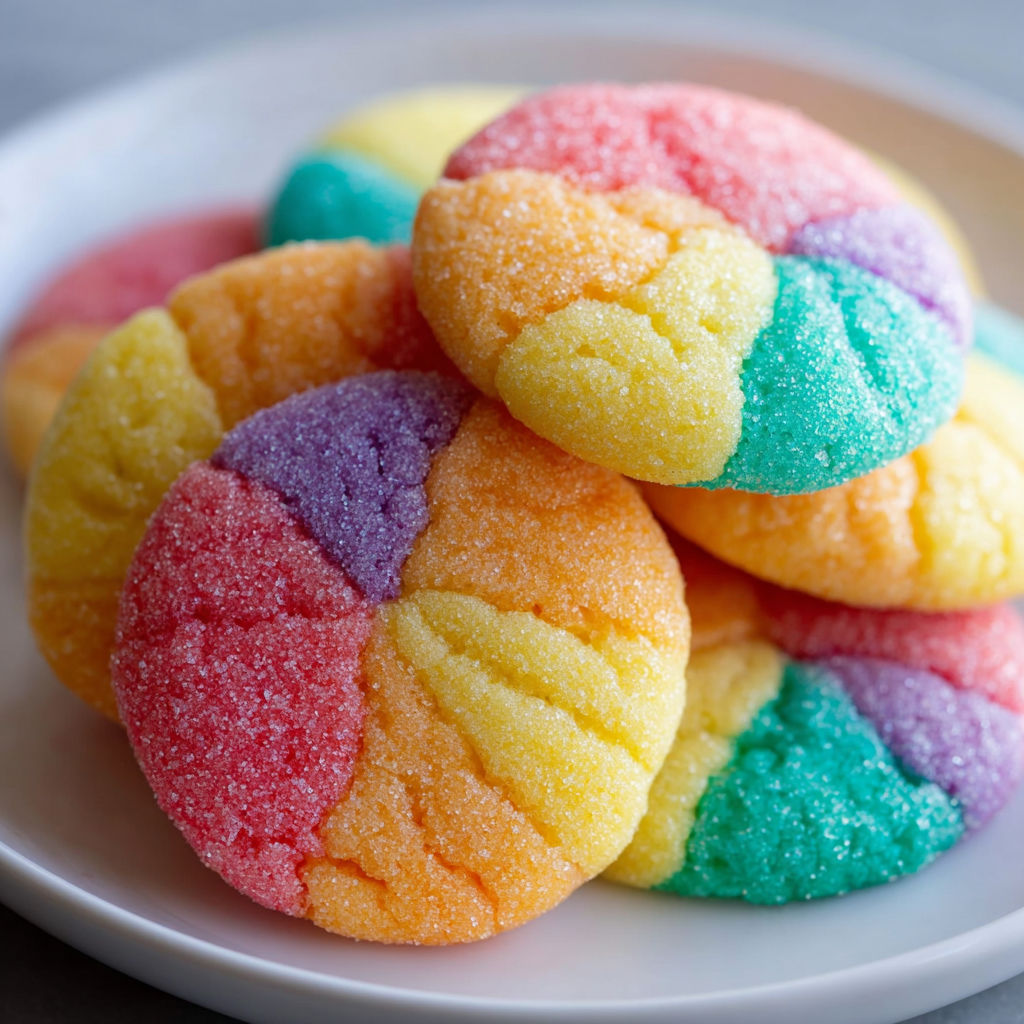
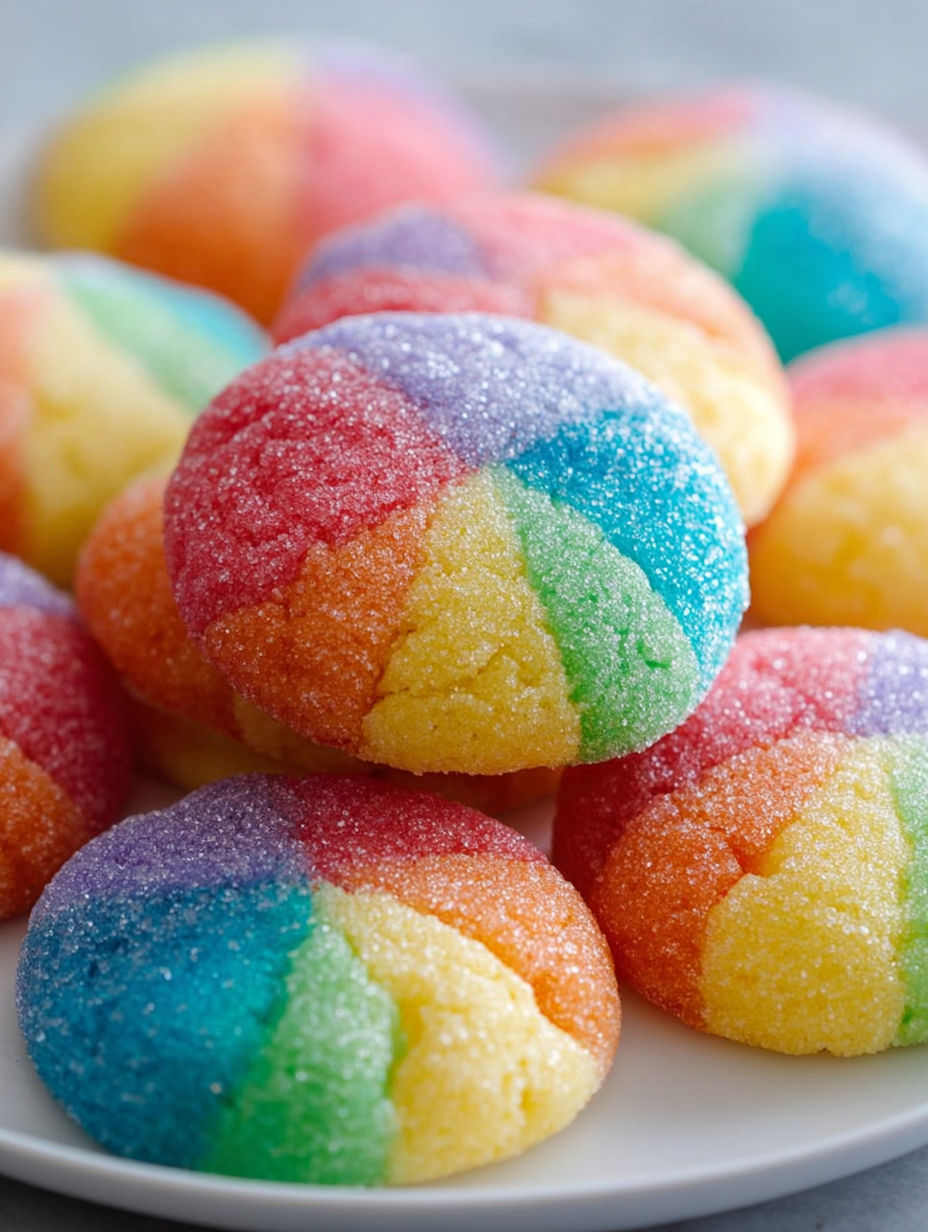
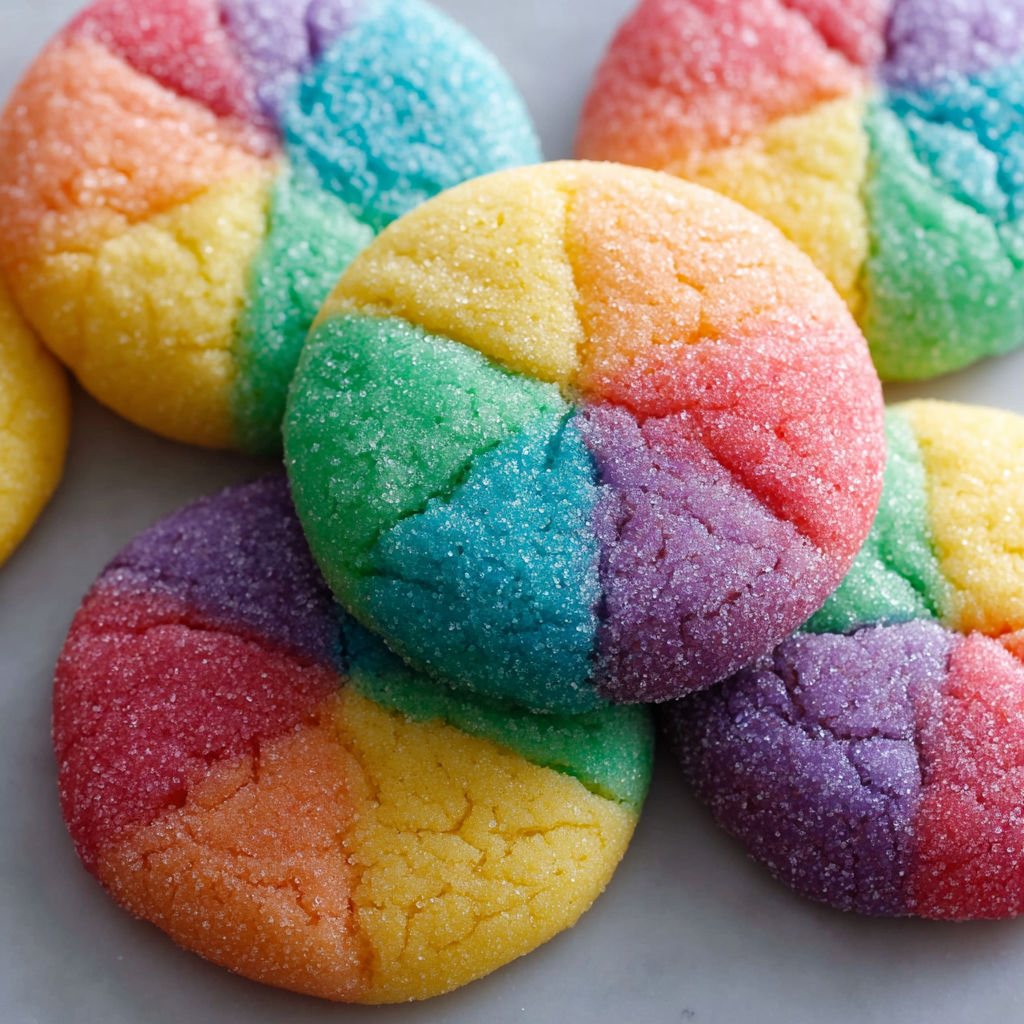
These Rainbow Jello Sugar Cookies transform ordinary sugar cookies into a vibrant treat that brings instant joy to any dessert table. The secret ingredient? Flavored jello powders that infuse each cookie with both brilliant color and subtle fruit flavors while maintaining that perfect sugar cookie texture.
These cookies have become my signature potluck contribution after I first made them for my daughter's school bake sale. The rainbow of colors disappeared faster than any other treat on the table and now my kitchen turns into a color factory at least once a month by popular demand.
Ingredients
- Unsalted butter makes these cookies tender and allows you to control the salt level
- Granulated sugar provides the classic sweetness and creates that perfect crackly exterior
- Large egg binds everything together and adds richness
- Vanilla extract provides a warm aromatic base that complements all the fruit flavors
- All purpose flour gives structure while maintaining softness
- Baking soda and baking powder work together for the perfect rise and texture
- Fine salt enhances all flavors and balances sweetness
- Flavored jelly powders are the magic ingredient providing both vibrant color and fruity flavor
- Extra granulated sugar for rolling creates a sparkling crisp exterior and beautiful finish
I recommend splurging on pure vanilla extract rather than imitation for the best flavor foundation. The quality makes a noticeable difference in these cookies where the vanilla needs to harmonize with the fruit flavors.
How To Make Rainbow Jello Sugar Cookies
- Cream the butter and sugar
- Begin by thoroughly beating softened butter with sugar until the mixture becomes notably lighter in both color and texture. This typically takes 3 to 4 minutes of mixing. This crucial step incorporates air into the dough which creates the foundation for perfectly textured cookies.
- Add wet ingredients
- Beat in the egg and vanilla extract until fully incorporated. The mixture should be smooth and uniform before moving to the next step. Take care not to overmix once the egg is added to avoid incorporating too much air.
- Combine dry ingredients
- In a separate bowl whisk together the flour baking soda baking powder and salt. This ensures even distribution of the leavening agents which leads to consistent cookies.
- Form dough
- Gradually add the dry ingredients to the wet mixture beating just until combined. The dough should be soft but not sticky. Overmixing at this stage can develop too much gluten resulting in tough cookies.
- Create colored portions
- Divide the dough into four equal portions. Add a different flavor of jelly powder to each portion kneading until the color is completely uniform throughout the dough. This may take a few minutes per color but thorough mixing ensures beautiful vibrant cookies.
- Form and coat cookies
- Roll each colored dough into uniform balls approximately 2.5cm in diameter. Then roll each ball in granulated sugar until completely coated. The sugar creates a beautiful sparkly exterior and enhances the crisp edge texture.
- Bake to perfection
- Space cookies at least 5cm apart on prepared baking sheets. Bake until the edges are just set and lightly golden about 8 to 10 minutes. The centers should still appear slightly soft when removed from the oven as they will continue cooking on the hot baking sheet.
- Cool properly
- Allow cookies to rest on the baking sheet for 5 minutes before transferring to a cooling rack. This short resting period allows them to set up enough to move without breaking.
The strawberry red cookies are always the first to disappear in my house. Something about that sweet berry flavor paired with the buttery cookie base creates pure magic. My niece once declared them "the most beautiful cookies in the world" and insisted we make a double batch of just the red ones for her birthday instead of cake.
Cookie Storage Tips
These Rainbow Jello Sugar Cookies maintain their soft centers and flavor for 5 to 7 days when stored properly. The key is allowing them to cool completely before placing in an airtight container. I recommend placing sheets of parchment paper between layers to prevent color transfer and maintain their appearance. For extended freshness store at room temperature rather than refrigerating which can dry them out.
Flavor Variations
The beauty of this recipe lies in its versatility. While traditional rainbow colors create a festive appearance you can easily customize the palette for any occasion. Try red and green for Christmas blue and white for Hanukkah school colors for graduation parties or pastels for baby showers. The flavor possibilities extend beyond traditional jello packets experiment with tropical flavors exotic options or even sugar free jello for a slightly reduced sugar version.
Gifting and Presentation Ideas
These colorful cookies make thoughtful homemade gifts that impress without requiring advanced baking skills. For maximum visual impact arrange cookies in clear cellophane bags tied with coordinating ribbons allowing the rainbow colors to shine through. Create cookie stacks alternating colors for a striking presentation or arrange them in color wheel order on a serving platter for parties. I often package these in decorative tins for teacher appreciation gifts adding a note explaining the different flavors.
Recipe FAQs
- → Can I use different jello flavors than those suggested?
Absolutely! Feel free to use any jello flavors that appeal to you. Just keep in mind that the flavor will impact both the taste and color of the cookies. For a rainbow effect, try to select flavors with distinct colors.
- → How long will these cookies stay fresh?
When stored in an airtight container at room temperature, these cookies will maintain their soft texture and flavor for up to 5 days. For longer storage, you can freeze them for up to 3 months.
- → Can I make the dough ahead of time?
Yes! The cookie dough can be prepared and refrigerated for up to 3 days before baking. You can also roll the dough into balls, coat with sugar, and freeze on a tray before transferring to a freezer bag for storage up to 3 months. Bake from frozen, adding 2-3 minutes to the baking time.
- → Why did my cookies spread too much during baking?
Excessive spreading usually happens when the butter is too warm or melted. Make sure your butter is softened but not melty. If your dough seems too soft after mixing, refrigerate it for 30 minutes before forming into balls. Also, ensure your baking trays are cool between batches.
- → Can I make these cookies without an electric mixer?
While an electric mixer makes the process easier, you can make these cookies by hand. Use a wooden spoon to cream the butter and sugar until light and fluffy (this will require some effort), then proceed with the remaining steps as directed.
- → How do I know when the cookies are done baking?
The cookies are ready when the edges are just turning golden but the centers still look slightly underdone. They'll continue to set as they cool on the baking tray. Overbaking will result in crispier, less chewy cookies.