
 Pin
Pin
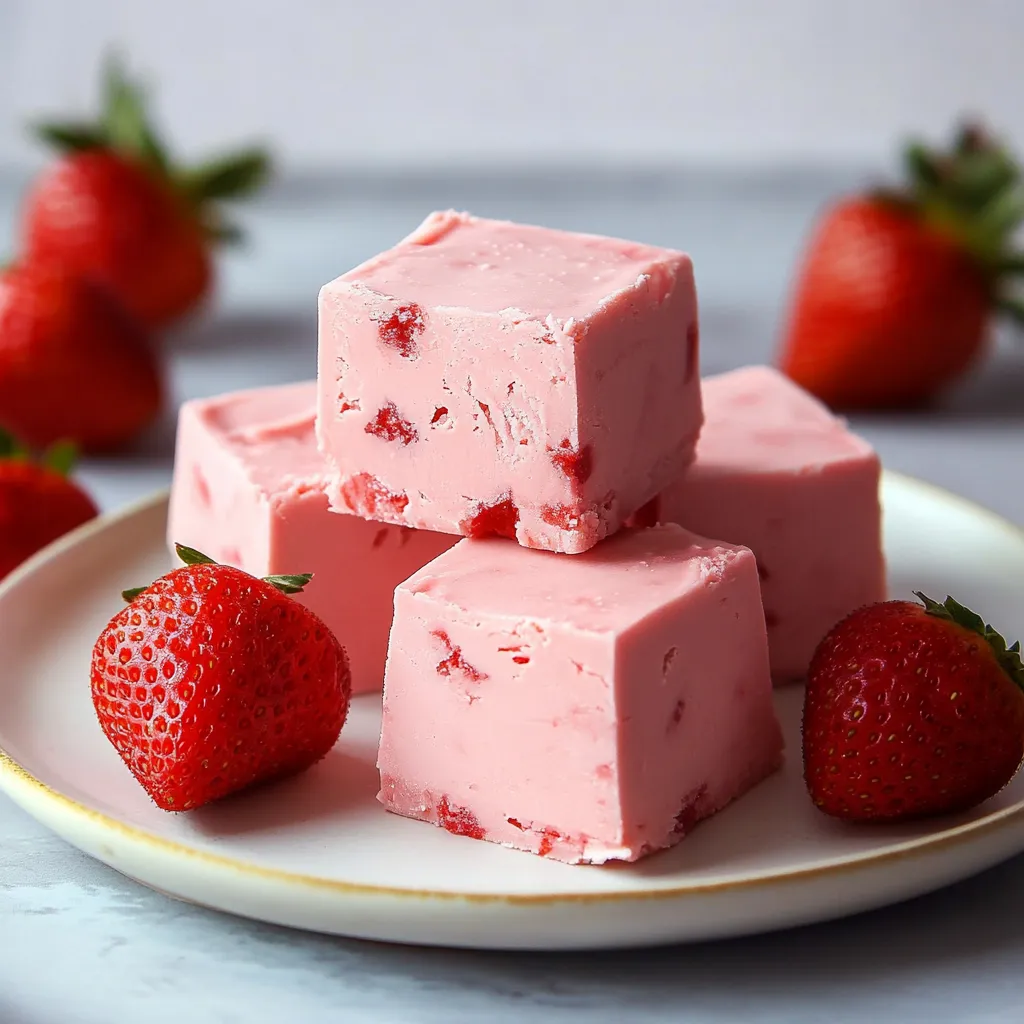
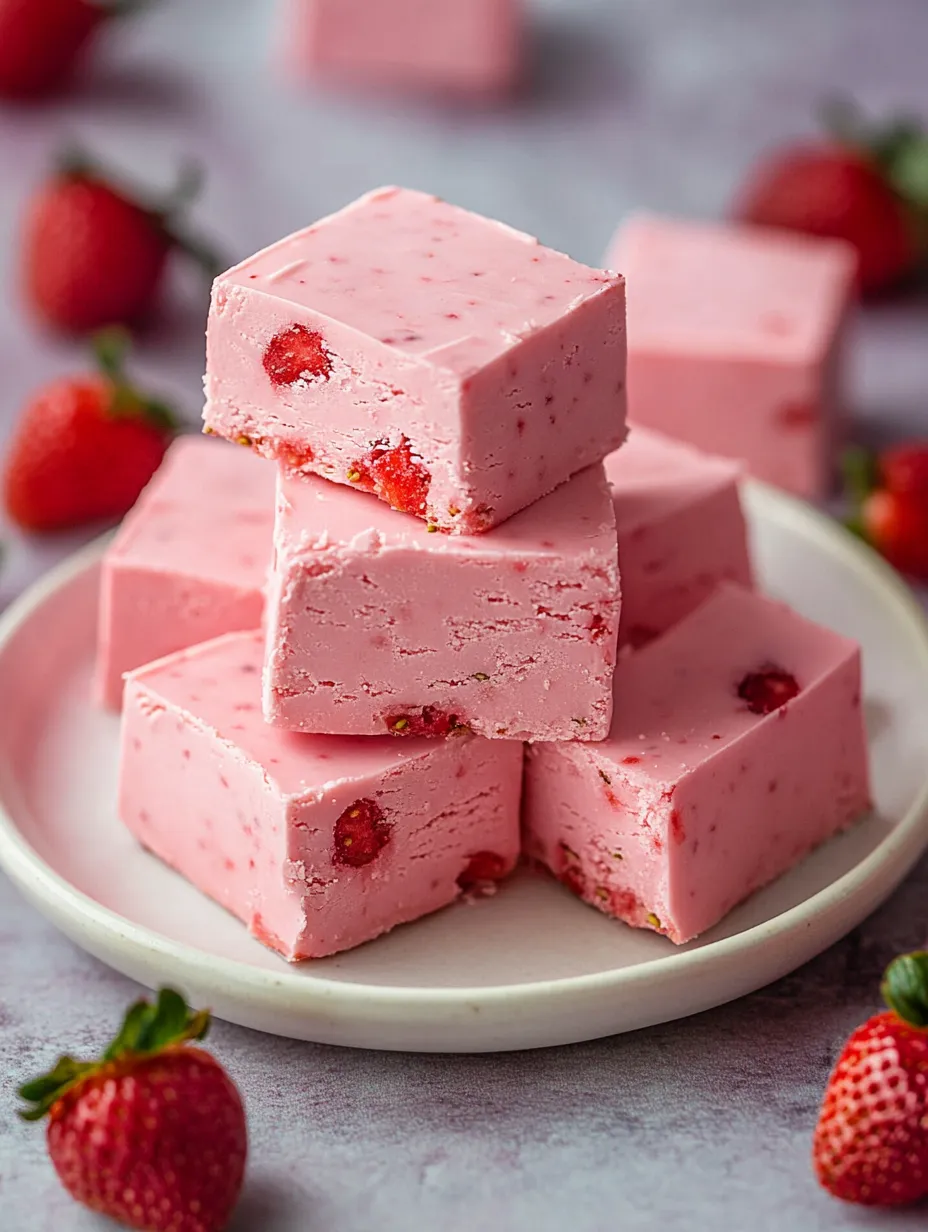
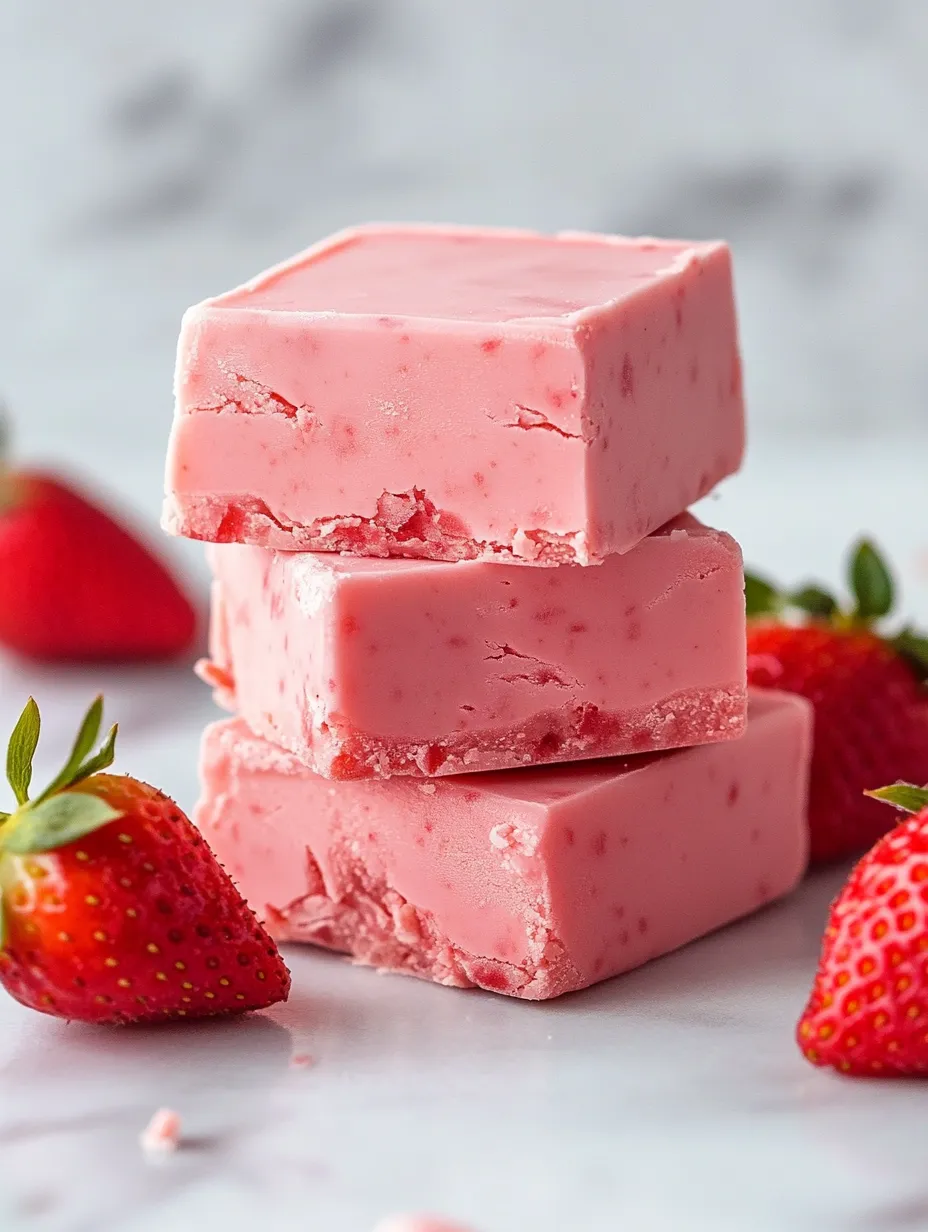
The allure of homemade fudge meets modern convenience in this incredibly simple strawberry fudge recipe. By combining just two ingredients - strawberry frosting and candy melts - you can create a batch of creamy, pink-hued fudge that looks like it came from a professional candy shop. The sweet strawberry aroma fills your kitchen as you prepare this delightful treat that's perfect for gifting or satisfying your own sweet cravings.
Making this fudge brings back memories of my first attempts at candy making. What started as a desperate solution for a last-minute bake sale turned into a family favorite that my kids now request for special occasions. The simplicity of this recipe means it never fails to turn out beautifully.
Essential Ingredients and Selection Tips
- Strawberry frosting: Choose a high-quality brand for the best flavor - store brands can vary in consistency
- Strawberry candy melts: Look for fresh, unmelted packages as older ones can be difficult to melt smoothly
- Optional toppings: Consider freeze-dried strawberries, white chocolate drizzle, or sprinkles to enhance presentation
- Parchment paper: Essential for easy removal - don't substitute with wax paper
Detailed Cooking Instructions
- Start with room temperature frosting
- Cold frosting won't melt evenly and could affect the final texture. Remove it from the refrigerator at least 30 minutes before starting
- When melting candy melts, use a deep microwave-safe bowl
- This prevents overflowing and allows for better heat distribution. Stop and stir every 20 seconds, even if they don't look fully melted
- The key to smooth fudge is in the mixing
- Use a silicone spatula and fold the ingredients together until no streaks remain. This usually takes about 2-3 minutes of gentle but thorough stirring
- Pour the mixture slowly into your prepared pan, starting from the center and letting it spread naturally to the corners.
- This prevents air pockets from forming
- Tap the pan firmly on the counter at least 5-6 times
- You'll see small bubbles rise to the surface. This ensures a professional, smooth finish
- Let the pan sit at room temperature for 10 minutes before refrigerating
- This allows any remaining air bubbles to rise naturally
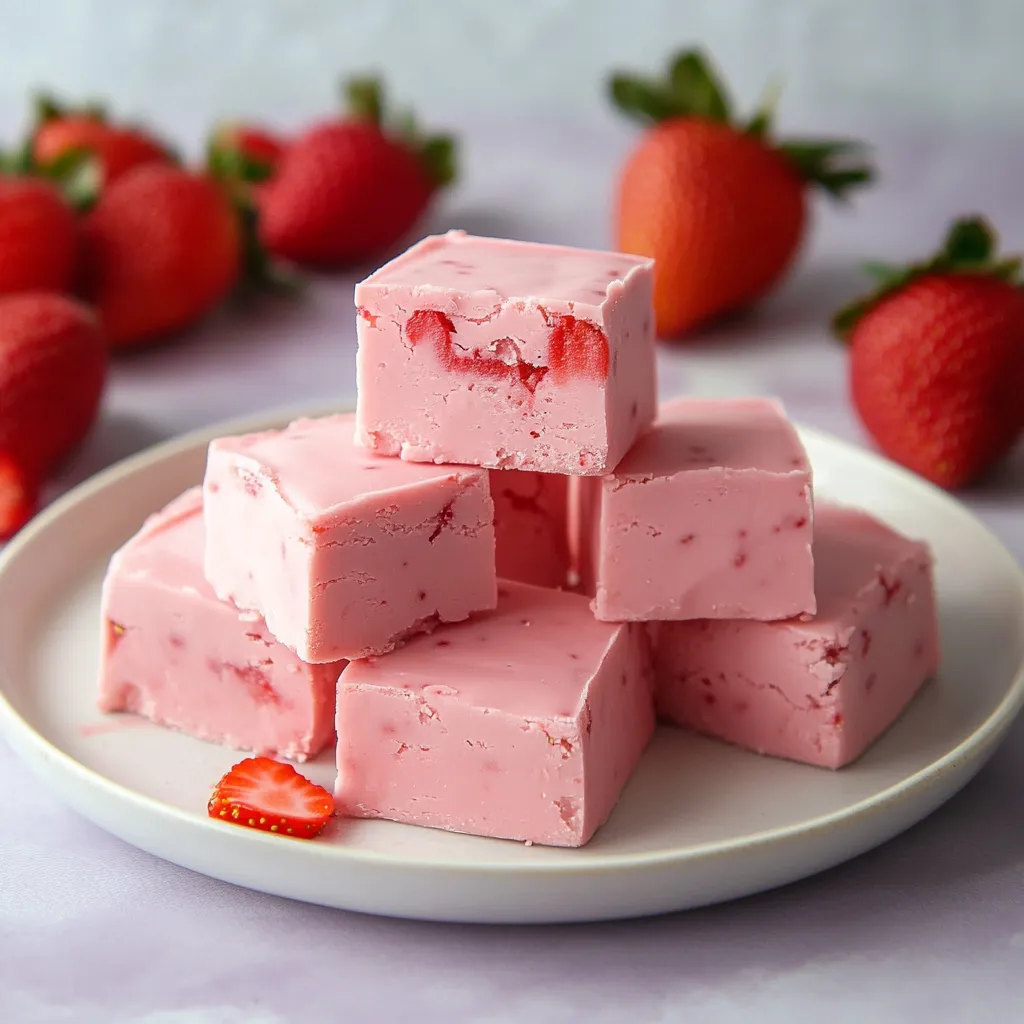
The Art of Perfect Fudge Squares
When cutting your fudge, warm your knife under hot water and dry it between each cut. This creates clean, professional-looking edges that make your fudge even more appealing.
Storage Success
I've found that storing fudge pieces in alternating layers with parchment paper prevents them from sticking together. Keep them in a container with a tight-fitting lid away from strong-smelling foods in your refrigerator.
The Joy of Gifting
This fudge has become my signature holiday gift. Packed in pretty boxes with ribbon, it never fails to bring smiles to friends and family.
My daughter discovered that slightly warming a piece creates an incredible soft, creamy texture that makes it taste like fresh strawberry cream. It's become our favorite way to enjoy this treat.
After countless batches, I've found that this simple recipe brings as much joy as more complicated desserts. It's proof that sometimes the easiest recipes become our most treasured treats.
The Science of Setting
Getting the perfect fudge consistency relies heavily on temperature control. Too warm, and your fudge won't set properly; too cold, and it might become too hard. The magic happens during that 4-hour chilling period when the mixture gradually firms up to achieve that ideal, creamy texture.
Color and Presentation Magic
One of the most appealing aspects of this strawberry fudge is its natural pink hue. For special occasions, I've experimented with creating marble effects by swirling in white candy melts or adding edible pearl dust for a shimmer effect. These simple additions transform the fudge into an elegant confection worthy of any celebration.
Troubleshooting Common Issues
Through countless batches, I've encountered and solved various fudge-making challenges:
- If your fudge is too soft, it likely needs more time in the refrigerator
- If it's grainy, the candy melts might have been overheated
- If there are streaks, more thorough mixing is needed before pouring
Seasonal Adaptations
While this recipe is perfect year-round, I love adapting it for different seasons:
- Spring: Add dried strawberry pieces and pastel sprinkles
- Summer: Mix in crushed graham crackers for a strawberry shortcake effect
- Fall: Include white chocolate chips and autumn-colored sprinkles
- Winter: Top with crushed candy canes for a festive touch
The Benefits of Portion Control
One of the beauties of this recipe is how easily it can be cut into precise portions. I typically aim for 16 squares, but you can make them smaller for party servings or larger for more indulgent treats. Using a ruler as a cutting guide helps achieve uniform pieces that look professionally made.
Making it Gift-Worthy
This fudge has become my go-to homemade gift. I've found that presenting it in small, clear cellophane bags tied with ribbon makes for an elegant presentation. Adding a handwritten tag with storage instructions adds a personal touch that recipients always appreciate.
Health-Conscious Variations
While this is definitely a treat, there are ways to make it more mindful:
- Use sugar-free frosting and candy melts for a lower-sugar version
- Cut into smaller pieces for portion control
- Add crushed nuts for protein and healthy fats
This strawberry fudge recipe has taught me that sometimes the simplest creations bring the most joy. Whether you're making it for yourself or sharing with others, it's a sweet reminder that delicious doesn't have to mean difficult. Every time I make this fudge, I'm reminded of how a little creativity and patience can transform basic ingredients into something truly special.
Recipe FAQs
- → Can I use different flavored frosting?
- Yes! This recipe works with any flavor of canned frosting. Try chocolate, vanilla, or other varieties for different fudge flavors.
- → How should I store this fudge?
- Store the fudge in an airtight container in the refrigerator for up to one week, or freeze for up to three months.
- → Why isn't my fudge setting properly?
- Make sure to use the correct amounts and fully melt both ingredients. The fudge needs a full 4 hours in the refrigerator to set completely.
- → Can I add mix-ins to this fudge?
- Yes! Try adding sprinkles, chopped nuts, or mini white chocolate chips before the fudge sets for extra texture and flavor.
- → How long does it take to make this fudge?
- Active prep time is only 15 minutes, but you'll need 4 hours of chilling time for the fudge to set properly.