 Pin
Pin
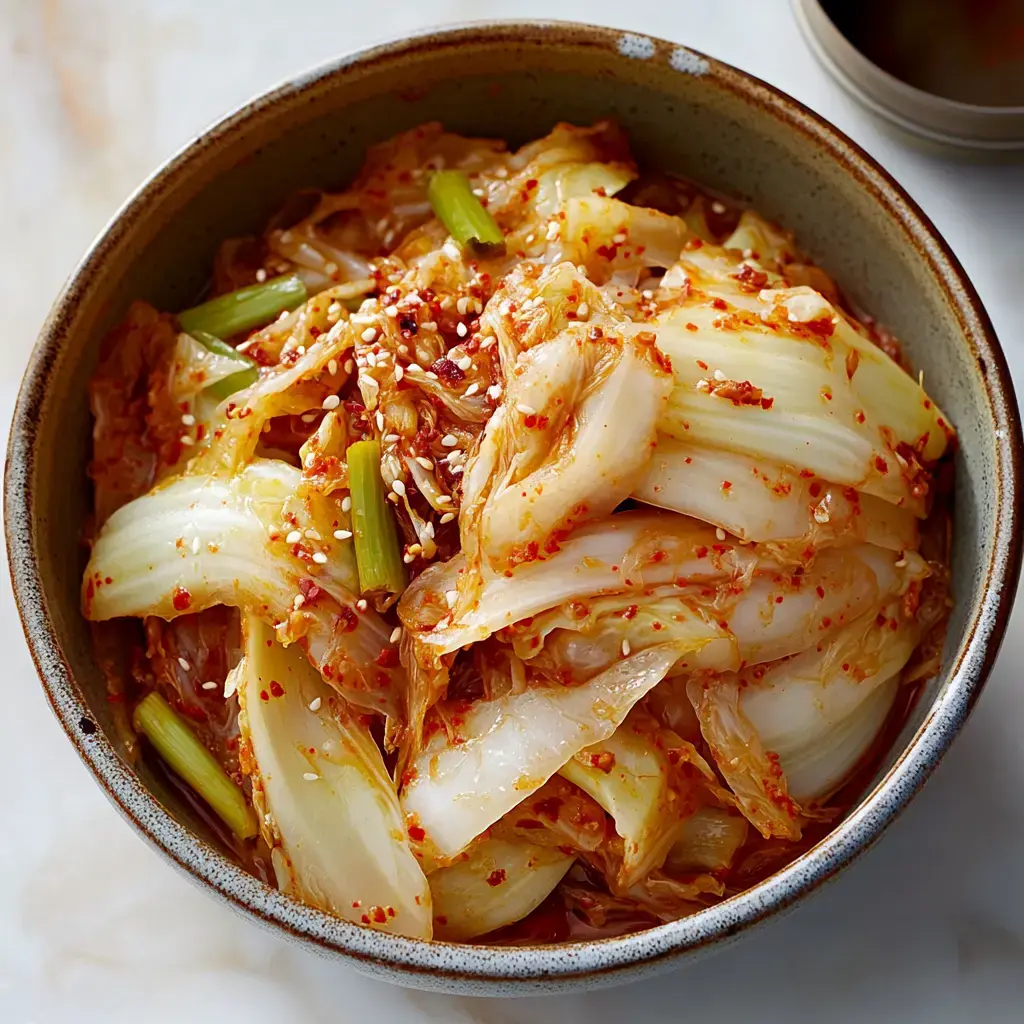
My Korean neighbor taught me how to make this amazing Cabbage Kimchi, and now I'm hooked! It's tangy, spicy, and adds so much flavor to everything from rice bowls to grilled meats. Don't let fermentation scare you - it's way easier than you'd think.
Why This Recipe Works
I love that this kimchi is totally customizable - make it as spicy or mild as you like. Plus, it's packed with good-for-you probiotics and keeps getting better in the fridge. I started with this basic version (called mak kimchi) before getting fancy with other variations.
Grab These Ingredients
- Napa Cabbage: Look for fresh, crisp heads with no brown spots.
- Good Salt: Skip the table salt - use sea salt or kosher salt.
- Fresh Stuff: Lots of garlic and ginger - don't hold back!
- The Magic Spice: Gochugaru (Korean red pepper flakes) - start mild, you can always add more.
- The Funky Bits: Fish sauce or shrimp paste gives that deep flavor.
- Extra Crunch: Korean radish if you can find it.
- Green Onions: They add such nice flavor and color.
Let's Make Kimchi
- Cabbage First
- Cut your cabbage into bite-sized pieces, then give it a good massage with salt. Cover with water and weigh it down - I use a plate. Let it hang out for a couple hours until it's soft.
- Clean It Up
- Give that cabbage three good rinses in cold water - we want the salt level just right. Let it drain while you prep everything else.
- The Flavor Bomb
- Mix up your garlic, ginger, and fish sauce. Then comes the fun part - adding the gochugaru. Start small if you're unsure about heat!
- Mix and Mingle
- Squeeze that cabbage to get rid of extra water, then mix everything together. Really get in there with your hands (wear gloves - that red pepper stains!).
- Time to Wait
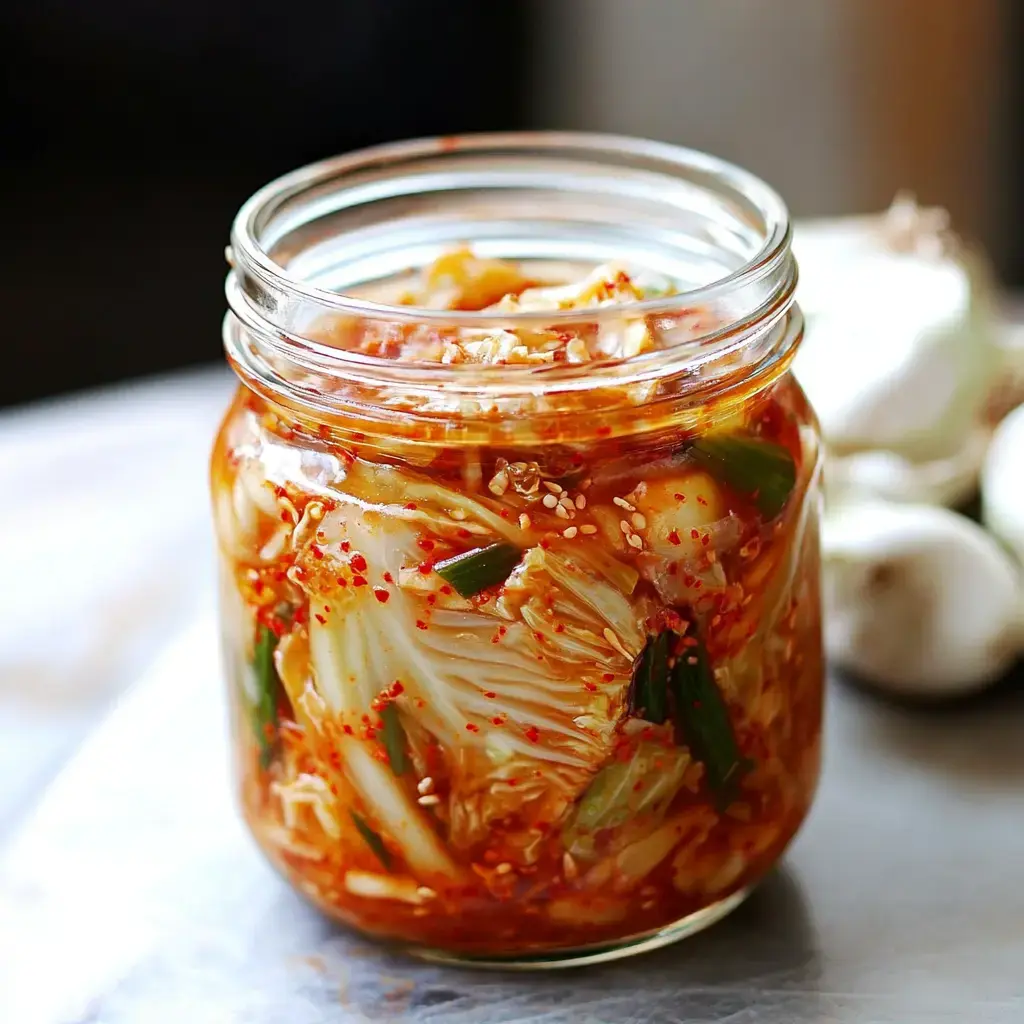
- Pack it all into jars - push down hard to get rid of air bubbles. Leave some space at the top for the magic to happen. Now let it sit on your counter for a few days.
My Best Tips
After making countless batches, here's what I've learned: Always use plain salt - the iodine in table salt messes with fermentation. Taste your pepper flakes before going all in - some are way spicier than others. And don't forget to check on your jars daily - press down the kimchi to keep it under the brine.

Keep It Fresh
Once your kimchi tastes perfect, pop it in the fridge. It'll keep getting better for months! I love it straight from the jar, mixed into fried rice, or tucked into dumplings. My kids even love kimchi grilled cheese - don't knock it till you try it!
Make It Your Own
No fish sauce? No problem! Use kelp powder instead for a vegetarian version. Sometimes I throw in julienned carrots or sliced onions. The recipe's pretty flexible - just keep the basic method the same and have fun with it. Every Korean family has their own special touch, and now you can create yours!
Recipe FAQs
- → Why use non-iodized salt?
Iodized salt can interfere with fermentation and may cause discoloration. Use kosher or sea salt instead.
- → How do I know when kimchi is ready?
Taste daily during fermentation. It's ready when it develops a sour, tangy flavor to your liking, usually 1-5 days.
- → Why do I need to weigh down the cabbage?
Keeping cabbage submerged in brine during salting and fermentation ensures even salt distribution and proper fermentation.
- → Can I adjust the spiciness?
Yes, vary the amount of gochugaru (Korean red pepper flakes) from 1-5 tablespoons based on preference.
- → How long does kimchi last?
Properly stored in refrigerator, kimchi continues fermenting slowly and can last several months, developing stronger flavor.
