 Pin
Pin
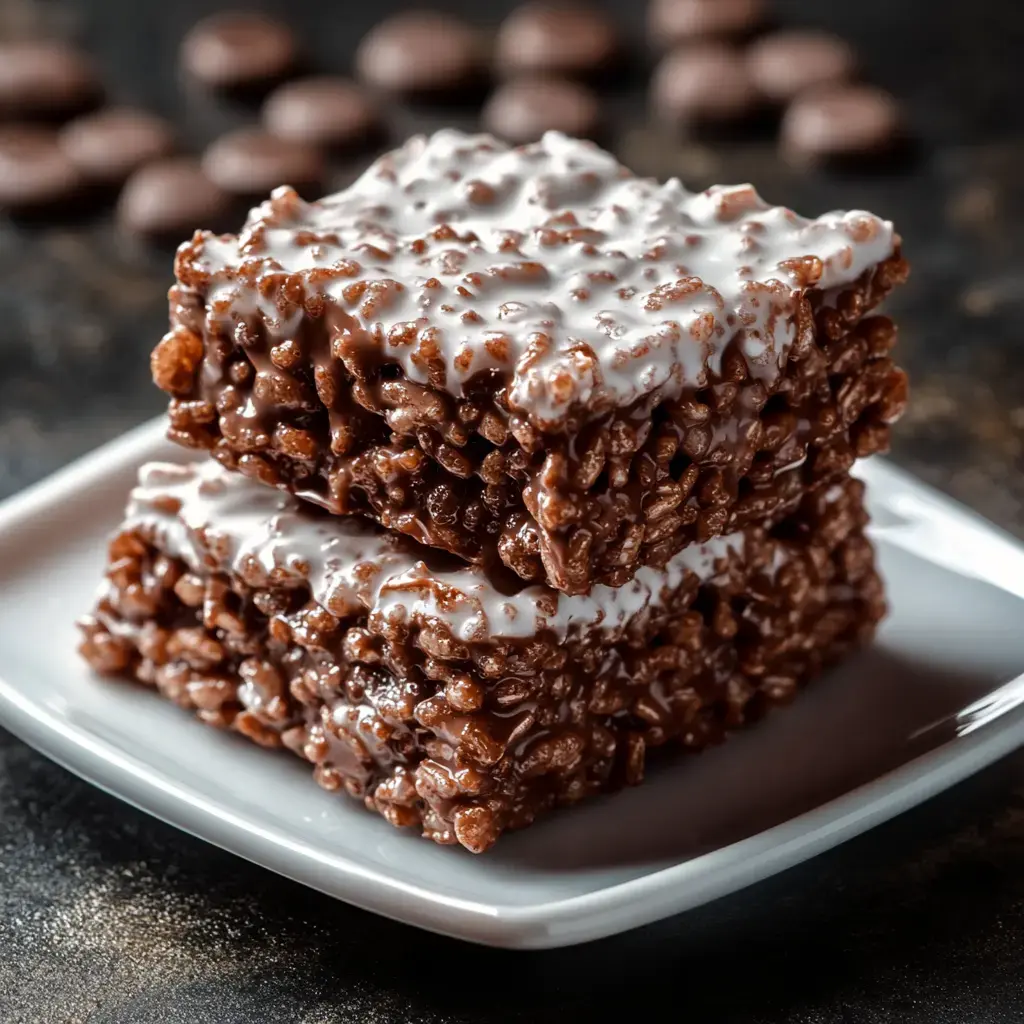
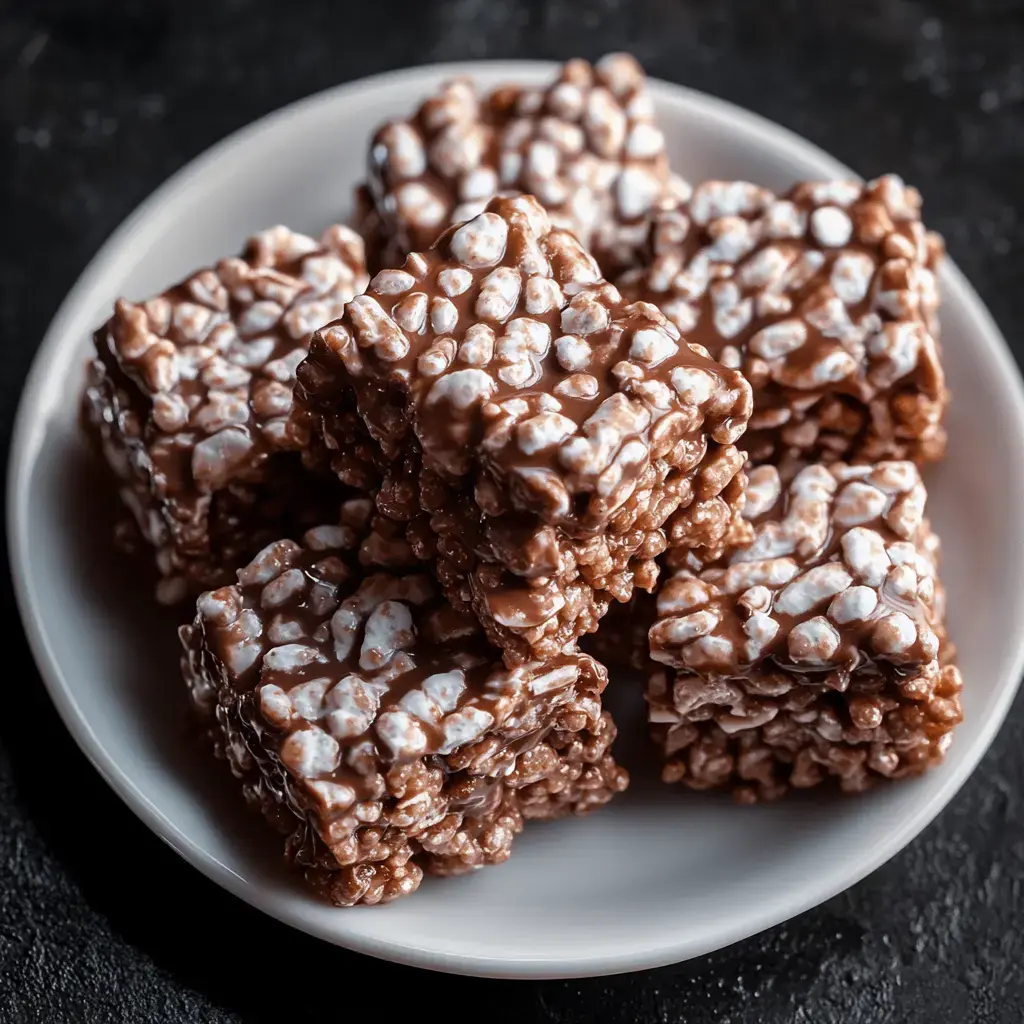
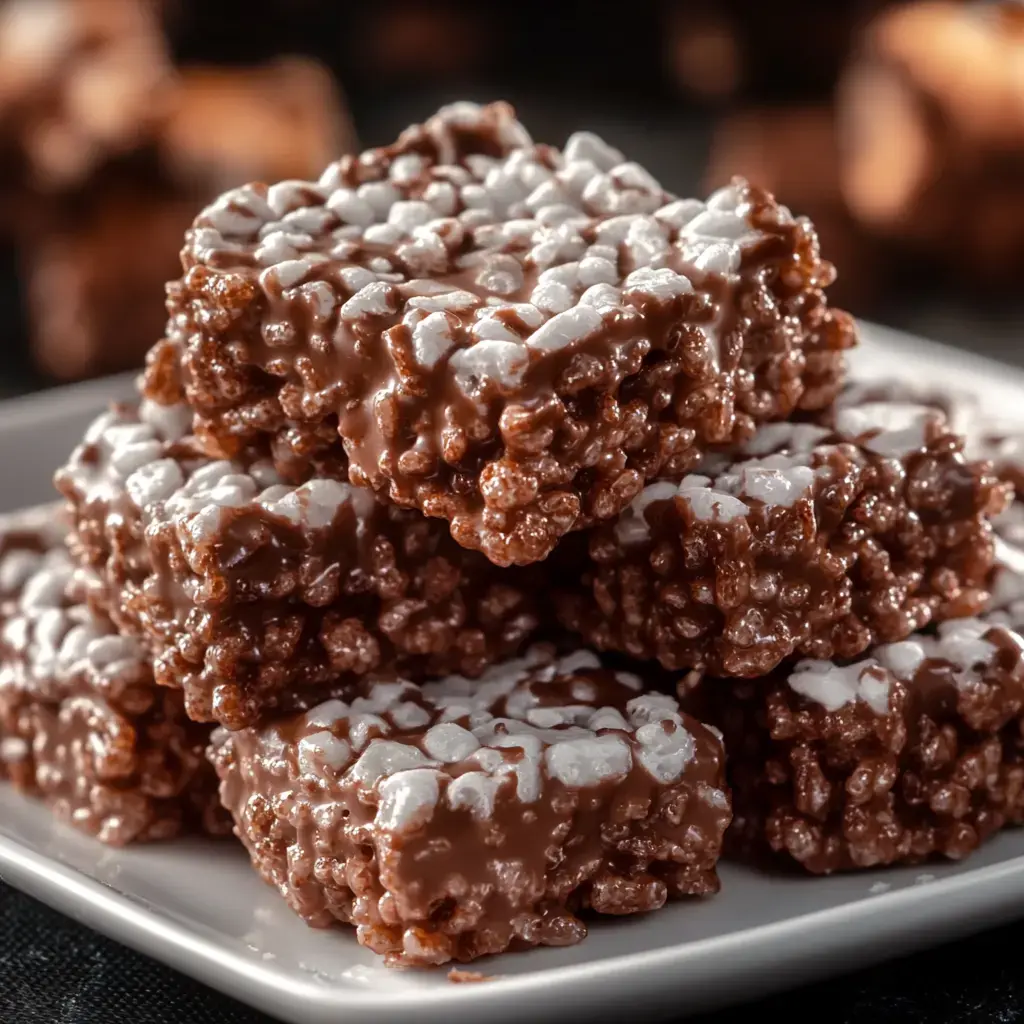
My family's newest obsession combines two snacks we can't get enough of - Rice Krispies and that powdered sugar coated chocolate snack mix we grew up calling Puppy Chow. The moment I shared this recipe on my blog, my inbox flooded with messages from moms saying their kids couldn't stop reaching for more. It's that perfect mix of crispy cereal coated in melted chocolate and peanut butter, finished with a generous dusting of powdered sugar. Trust me, you'll want to make a double batch.
The Secret Behind This Addictive Snack
I stumbled upon this combination one afternoon while my kids were begging for both Rice Krispies treats and Puppy Chow. As a busy mom trying to save time in the kitchen, I thought 'why not combine them?' The result was pure magic. The cereal stays perfectly crispy while getting that heavenly coating of chocolate and peanut butter. My kitchen testers (aka my three kids and their friends) demolished the first batch in minutes. Best part? No oven needed, which is a lifesaver during hot summer days.
Everything You'll Need
- Rice Krispies cereal: Grab 6 cups and make sure they're fresh. When I'm shopping, I always give the box a little shake near my ear to check for that signature snap and crackle.
- Peanut butter: You'll need 1 cup. I use regular creamy peanut butter from the grocery store. The natural stuff can get a bit oily for this recipe.
- Milk chocolate chips: 1 cup of your favorite brand. I've tested countless brands in my kitchen, and honestly, any milk chocolate chips work beautifully.
- Powdered sugar: 1 ½ cups. Give it a quick sift if you've got lumps, nobody wants those in their snack.
Let's Make It
- First Things First: The Chocolate Mixture
- Grab your saucepan and pop it on low heat. Throw in your peanut butter and chocolate chips together. Keep stirring until everything's smooth and melty. Watch it closely, my first attempt years ago turned into a burnt mess because I got distracted by a phone call.
- Coating the Cereal
- Dump your Rice Krispies into the biggest bowl you own. Pour that warm chocolate peanut butter mixture all over. Fold everything together gently—you don't want to crush the cereal.
- The Powdered Sugar Shake
- This is the fun part! Put everything in a big ziplock bag with the powdered sugar. My kids love helping with this step—seal it up tight and shake, shake, shake until every piece is coated in sweet, powdery goodness.
- The Final Touch
- Spread it all out on a baking sheet or dump it in a bowl. Let it cool completely before diving in—trust me on this one. If you rush it, you'll end up with sticky fingers and messy countertops.

My Kitchen Secrets
After making this recipe countless times in my kitchen, I've learned a few tricks. Always start with fresh cereal—stale Rice Krispies will ruin the whole batch. Keep the heat low when melting your chocolate and peanut butter—nobody likes that burnt chocolate taste. Give everything a good stir to get all those cereal pieces coated. Wait until it's completely cool before adding the sugar coating—I learned this the hard way. For the perfect coating, shake that bag like you mean it.
Switch It Up
My family loves trying different versions of this recipe. Sometimes I swap in almond butter when my sister visits—she's obsessed with it. Dark chocolate works beautifully if you're feeling fancy. For my friend Sarah's gluten-sensitive kiddo, I make sure to use certified gluten-free cereal. My nephew has a nut allergy, so I often make his batch with sunflower seed butter—works like a charm. Sometimes I toss in some mini marshmallows or bits of pretzels when I'm feeling creative.
Ways to Serve It
This snack is perfect for so many occasions. I always bring a big bowl to our neighborhood potlucks—it disappears fast. For my kids' lunchboxes, I pack it in little snack bags. It's wonderful with cold milk—my afternoon coffee break favorite. When I'm hosting book club, I put it out on a platter with some strawberries, and everyone goes crazy for it.
Keeping It Fresh
Store these treats in an airtight container on your counter—they'll stay crispy for about a week. Pop them in the fridge if you want them to last longer—about two weeks max. I've frozen portions for up to three months—just let them come to room temperature before eating. If they lose their crunch, spread them on a baking sheet, warm them in the oven at 250°F for 10 minutes, then let them cool completely—they'll crisp right back up.

Personal Touches
The best thing about this recipe is making it your own. Sometimes I add mini chocolate chips for extra chocolate goodness. My daughter loves when I mix in colorful candy pieces. Last week, I tried it with dark chocolate and cashew butter—totally worth it. Go wild with the toppings: crushed graham crackers, toffee bits, or whatever catches your eye at the store. This recipe is pretty forgiving, so don't be afraid to experiment.
Summary
These no-bake Muddy Buddy Rice Krispies combine crunchy cereal with chocolate and peanut butter, dusted in powdered sugar. Ready in 15 minutes, they're perfect for quick treats or party snacks.
Recipe FAQs
- → Can I use different types of chocolate?
Yes, you can use milk, dark, or white chocolate chips. Each type will give the treats a unique flavor while maintaining the same texture.
- → How should I store these treats?
Store them in an airtight container at room temperature. They'll stay fresh for up to 5 days if properly stored.
- → Can I substitute the peanut butter?
You can use other nut butters like almond or cashew butter. Just make sure to use creamy versions for the best texture.
- → Why are my treats too sticky?
This usually means they need more powdered sugar coating. Add them back to the bag with extra sugar and shake gently to fix.
- → Can I make these ahead for a party?
These treats can be made 2-3 days ahead. Keep them in an airtight container and add a fresh dusting of powdered sugar before serving.
