
 Pin
Pin
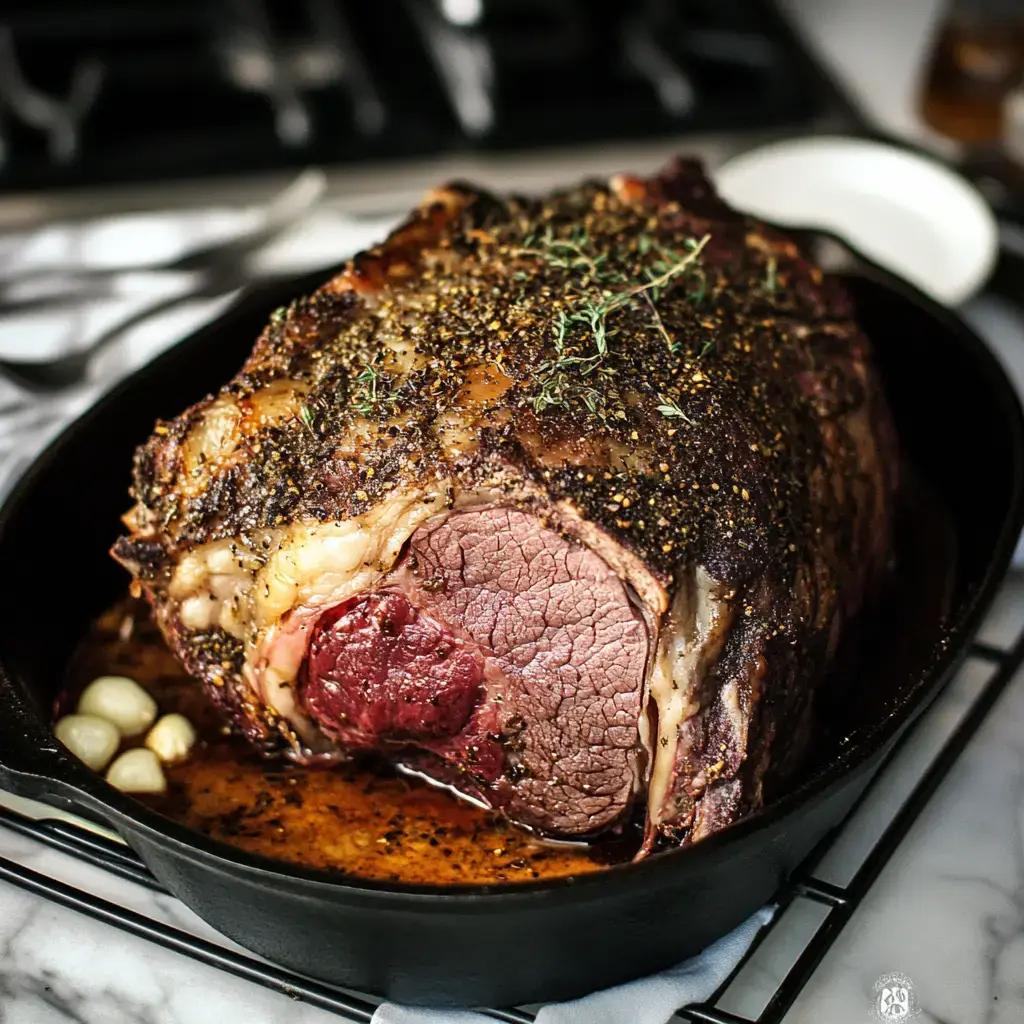
Need a showstopping roast for your next dinner? This ultimate standing rib roast guide walks you through creating meat perfection at home. We'll cover everything from timing to temperature for an incredible beef centerpiece. Our straightforward approach gives you a juicy, flavorful cut with a delicious herb-garlic exterior that rivals fancy steakhouses. No more guesswork—just amazing results every time.
Benefits of Making This Succulent Rib Roast
Cooking a standing rib might look tricky, but our straightforward method makes it super easy. We've broken down the timing so you won't mess it up. This approach works great for both bone-in and boneless options—though we'll tell you which gives better results. Plus, you'll save tons of cash making this impressive cut at home instead of paying restaurant prices. It's the perfect way to wow family and friends during special gatherings.
Ingredients for Your Perfect Roast
- Standing Rib: Go for bone-attached for maximum taste
- Coarse Salt: Brings out the meat's natural flavors
- Cracked Pepper: Adds necessary spice contrast
- Sprigs of Rosemary: Creates aromatic crust
- Fresh Thyme Leaves: Provides earthy undertones
- Minced Cloves: Adds depth to the flavor profile
- Extra Virgin Oil: Creates adhesion for seasonings
- Prepared Horseradish: An optional but fantastic sidekick
How To Make Standing Rib Roast
- Temperature Matters:
- Take your meat out early so it warms up before cooking. This small step makes a huge difference in even heating.
- Heat Your Kitchen:
- Get your oven screaming hot at 500°F for that initial sear that locks in juices.
- Create Flavor Magic:
- Mix up all your seasonings thoroughly. Don't hold back—a generous coating works wonders.
- Positioning Tricks:
- Put your roast bone-side down in the pan so heat distributes evenly throughout the meat.
- Quick Sear Method:
- Let it blast at high temperature for 15 minutes to develop that amazing outer crust.
- Gentle Cooking Phase:
- Turn down to 325°F for the remaining time so the inside cooks without burning.
- Patience Pays Off:
- Always let your masterpiece sit untouched after cooking. This isn't optional—it's crucial for juiciness.
- Carving Technique:
- Cut thin slices against the grain for the most tender bites on your plate.
Selecting Your Ideal Cut
When shopping for your roast, you've got options that affect flavor. This technique works for boneless or bone-in cuts, but bones definitely boost taste. Most pros suggest cooking with bones attached for flavor, then removing them before serving for easier carving. Don't be shy—ask your meat counter person to help with preparation tricks when you're buying for your special meal.
Timing Your Roast Perfectly
Getting the timing right makes all the difference between dry disappointment and juicy triumph. Start with that blazing hot oven, then drop the temperature down for slow, even cooking. For medium-rare perfection, plan about 13-14 minutes per pound at the lower temperature. Don't trust timing alone though—a good meat thermometer is your best friend for guaranteed success.
Creating Amazing Flavor
The magic happens when you nail the seasoning blend. That herb mixture isn't just decoration—it creates an incredible flavor crust that transforms your roast. Our special combination of garlic and herbs works together for an unforgettable taste experience. For best results, don't rush this part—let those flavors really sink into the meat before it hits the oven.

Why You Must Wait
Don't ruin your hard work by rushing to cut into your masterpiece. The 30-minute rest under foil isn't optional—it's when the magic happens. During this cooling period, juices redistribute throughout the meat instead of spilling out. Your patience here directly translates to moisture in every single bite. Skip this step and you'll lose all that wonderful juice to your cutting board.
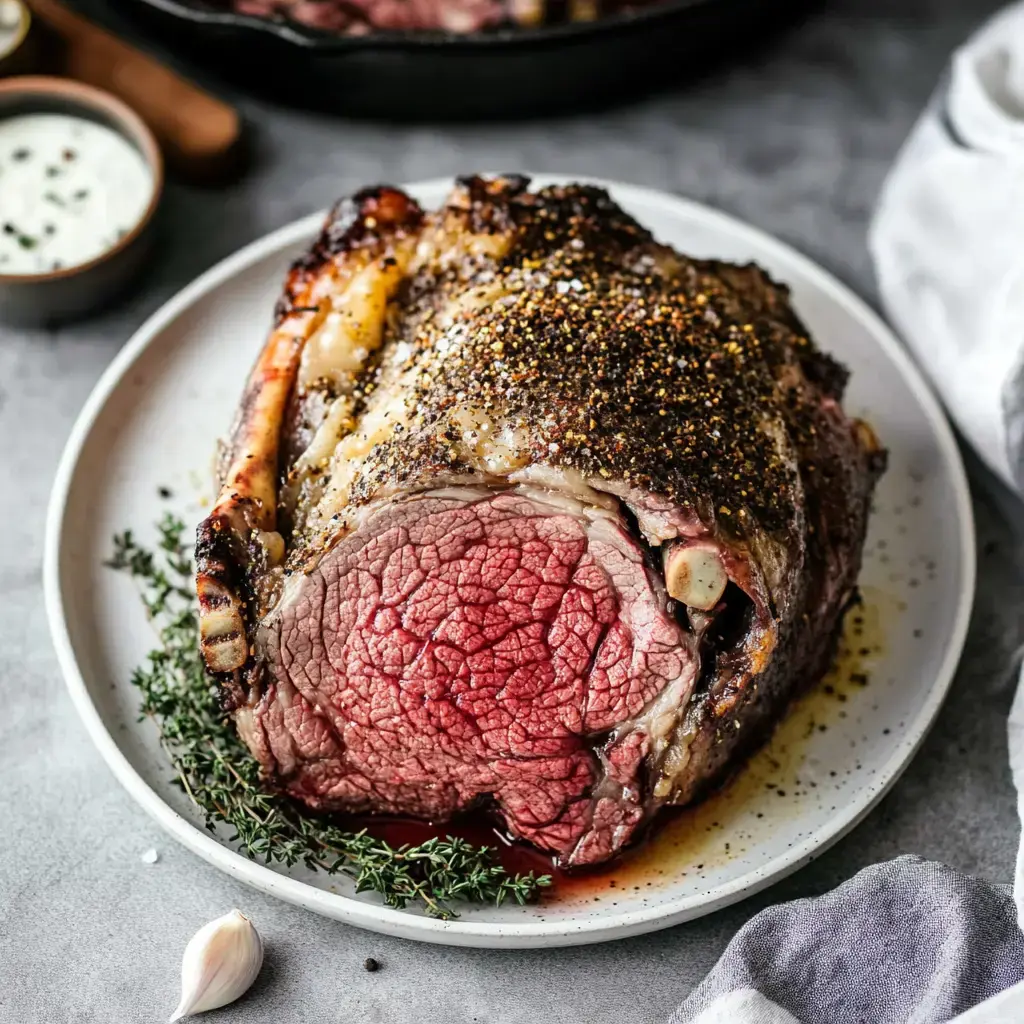
Presenting Your Masterpiece
The final touch comes down to proper slicing technique. You've created something worth showing off, so take care with presentation. Think ahead about sides that complement your star—creamy mashed potatoes and warm bread rolls are classics for good reason. Whether it's a holiday gathering or just making Sunday dinner extra special, taking time with serving makes your efforts shine even brighter.
Summary
Love this? Try herb lamb next. Or make special beef tenderloin. Both great for big dinners.
Recipe FAQs
- → How long to rest meat?
Good half hour at least. Keeps juice inside. Don't cut too quick. Wrap loose in foil. Worth the wait.
- → Fresh or dry herbs?
Fresh taste better. Dry ones work fine. Mix em if you want. Just use less dry kind. Need good fresh ones.
- → Need bones in meat?
Works both ways fine. Bones add flavor. Takes longer with bones. Check temp good. Ask meat man to tie.
- → Want pink middle?
Cook till 130 inside. Let rest - gets warmer. Use meat tool check. Pink means tender. Don't cook past 140.
- → Need spicy sauce?
White spicy sauce good. Some like mustard too. Make sauce early. Serve cold with hot meat. Even plain's fine.
- → Getting too brown?
Cover with foil loose. Lower heat bit. Move pan down some. Check more often. Might need less time.
- → Taking it places?
Keep meat whole wrapped. Cut there maybe. Take sharp knife. Pack sauce cold. Maybe backup sides.
- → Need it quick?
Small roast cooks fast. Room temp helps lots. High heat first bit. Check temp often. Still needs good rest.
- → Making big one?
Get good meat tool. Need longer cook. Check temps lots. Turn pan round. Watch the ends done.
- → Want more flavor?
More fresh garlic. Try other herbs. Rub night before. Let sit with salt. Even wine helps baste.
- → Meat not tender?
Let warm up first. Don't cook too hot. Check right spot. Give good rest time. Maybe need better cut.
- → Too much or little?
Count two folks per rib. Leftovers good cold. Freeze extra sliced. Good few days cold. Makes nice sandwiches.