
 Pin
Pin
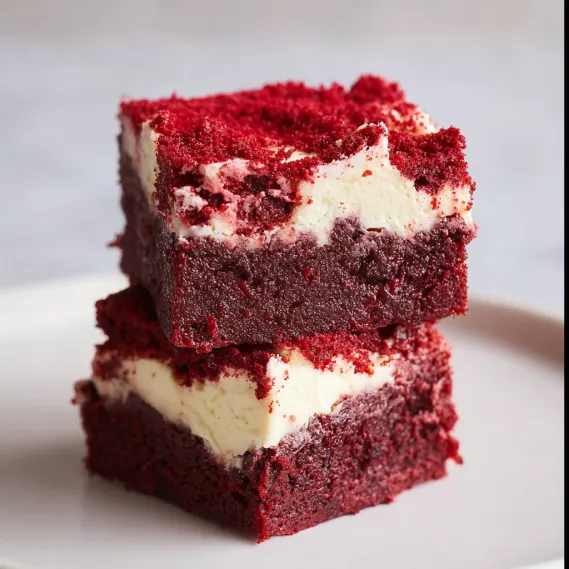
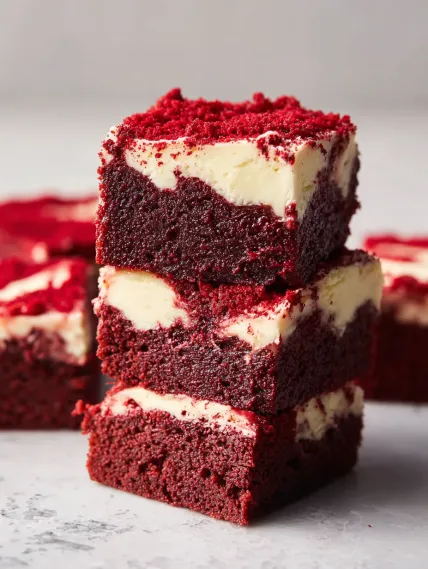
This decadent red velvet cream cheese brownie recipe combines the classic red velvet flavor with rich cream cheese swirls for an indulgent treat that looks as spectacular as it tastes. The vibrant crimson base contrasted with creamy white swirls creates a dessert that's perfect for holidays, special occasions, or anytime you need a chocolate fix with a twist.
I first made these brownies for a Valentine's Day gathering, and they've become my signature dessert ever since. The dramatic color contrast never fails to impress guests, and I've been asked for the recipe more times than I can count.
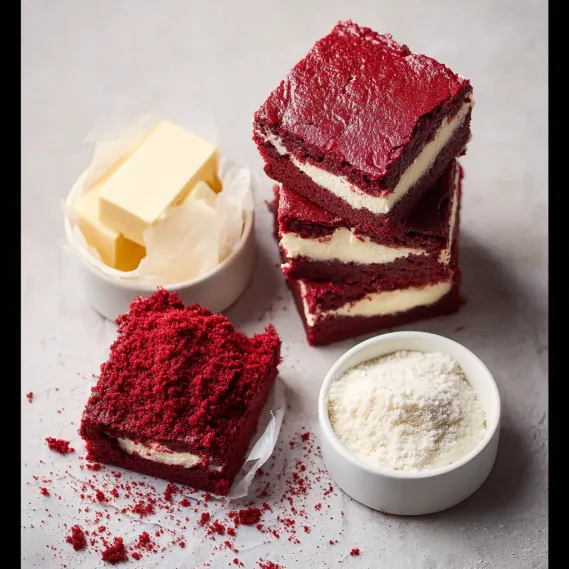
Ingredients
- Unsalted butter: Gives these brownies their moist, fudgy texture without adding salt
- Granulated sugar: Provides the perfect sweetness and helps create that crackly top
- Large eggs: Act as binders and add richness to the brownies
- Vanilla extract: Enhances the overall flavor profile - look for pure vanilla not imitation
- Red food coloring: Creates that iconic vibrant color - use gel coloring for the most intense hue
- Unsweetened cocoa powder: Adds the subtle chocolate flavor distinctive to red velvet
- All purpose flour: Provides structure - use unbleached for best results
- Salt: Enhances all the flavors and balances the sweetness
- Cream cheese: Forms the tangy, creamy swirls - choose full fat for the richest result
- Granulated sugar (for filling): Sweetens the filling without making it grainy
- Large egg (for filling): Helps the filling set properly during baking
- Vanilla extract (for filling): Complements the cream cheese perfectly
How To Make Red Velvet Cream Cheese Brownies
- Preheat and Prepare:
- Turn your oven to 350 degrees Fahrenheit and get it warming while you work. Take an 8x8 inch baking pan and grease it thoroughly, then line with parchment paper, leaving overhang on two sides to create handles for easy removal later. The parchment is crucial for clean removal and perfect squares.
- Make the Red Velvet Batter:
- In a large bowl, whisk the melted butter and sugar together until completely smooth and slightly lighter in color, about 2 minutes by hand. The sugar should partially dissolve into the butter. Add the eggs one at a time, whisking well after each addition until fully incorporated. Stir in the vanilla extract, then carefully add the red food coloring, mixing thoroughly until the color is uniform throughout the batter. In a separate bowl, sift together the cocoa powder, flour, and salt to remove any lumps, then gradually fold this dry mixture into your wet ingredients. Mix just until no dry streaks remain. Overmixing will result in tough brownies. Set aside approximately 1/4 cup of this vibrant batter for creating the beautiful swirls on top.
- Make the Cream Cheese Filling:
- In a medium bowl, beat the softened cream cheese until smooth and fluffy, about 2 minutes with an electric mixer. Add the sugar and continue beating until well combined and no graininess remains. Mix in the egg and vanilla extract until the filling is completely smooth and silky. Take care not to overbeat once the egg is added, as this can incorporate too much air.
- Assemble the Brownies:
- Pour the main portion of your red velvet batter into the prepared pan, using a spatula to spread it evenly into all corners. Gently dollop the cream cheese mixture over the red batter, then carefully spread it into an even layer without completely mixing the two batters. Take your reserved red velvet batter and drop small spoonfuls across the top of the cream cheese layer. Using the tip of a knife or a toothpick, swirl the batters together with light, sweeping motions to create a marbled effect. Avoid over swirling, which would blend the colors rather than create distinct patterns.
- Bake:
- Place the pan in the center of your preheated oven and bake for 28 to 32 minutes. You will know they are done when the edges are set but the center still has a slight jiggle. A toothpick inserted into the center should come out with a few moist crumbs but no wet batter. Allow the brownies to cool completely in the pan on a wire rack before slicing. For the cleanest cuts, refrigerate for at least 2 hours before cutting with a sharp knife wiped clean between slices.
The cocoa powder is truly the secret ingredient in these brownies. While many people think red velvet is just chocolate dyed red, the traditional recipe actually uses just a touch of cocoa powder to create that unique, subtle chocolate flavor that makes red velvet so distinctive. My grandmother used to make red velvet cake for every birthday in our family, and these brownies are my modern twist on her classic recipe.
Storage Tips
These red velvet cream cheese brownies can be stored in an airtight container in the refrigerator for up to 5 days. The cream cheese component requires refrigeration for food safety, but I recommend bringing them to room temperature for about 20 minutes before serving for the best texture and flavor. For longer storage, these brownies freeze beautifully. Wrap individual portions tightly in plastic wrap, then aluminum foil, and freeze for up to 3 months. Thaw overnight in the refrigerator before enjoying.
Ingredient Substitutions
If you prefer to avoid artificial food coloring, try using natural alternatives like beet powder or beet juice, though the color will be less vibrant and more burgundy than bright red. For a gluten free version, substitute a 1 to 1 gluten free flour blend in place of the all purpose flour. Dairy free cream cheese can replace regular cream cheese for those with lactose intolerance, though the texture may be slightly different. For a deeper chocolate flavor, you can increase the cocoa powder to 1/2 cup, but reduce the flour by 2 tablespoons to maintain the proper texture.
Serving Suggestions
These luxurious brownies deserve an equally indulgent presentation. Serve them slightly chilled with a dusting of powdered sugar on top for an elegant finish. For an extra special dessert, plate with a scoop of vanilla bean ice cream and a drizzle of warm chocolate sauce. During the holidays, garnish with fresh mint leaves and a few red berries for a festive touch. These brownies also make a beautiful addition to a dessert board alongside fresh strawberries and chocolate covered pretzels.
The History of Red Velvet
Red velvet cake originated in the Victorian era when cocoa was first introduced to cake recipes. The natural cocoa powder used at that time contained anthocyanins, which would react with the acidic ingredients to create a reddish hue. During World War II, when food was rationed, bakers began using beet juice to enhance the color and maintain moisture. The modern bright red version became popular in the 1950s when food coloring became widely available. These brownies are a contemporary adaptation of this classic American dessert, combining the beloved red velvet flavor with the dense, fudgy texture of brownies.
Recipe FAQs
- → How do I create the perfect swirl effect?
Drop small spoonfuls of the reserved red velvet batter over the cream cheese filling, then lightly drag a knife through it in swirling motions for a marbled effect.
- → Can I use gel food coloring instead of liquid?
Yes, gel food coloring works well. Use a smaller amount compared to liquid as it’s more concentrated.
- → How do I know when the brownies are baked?
Check doneness by inserting a toothpick into the center. It should come out with a few moist crumbs but not wet batter.
- → Can I substitute the unsweetened cocoa powder?
Natural cocoa powder is best for this recipe, but you can use Dutch-processed cocoa for a slightly milder flavor.
- → How should these brownies be stored?
Store the brownies in an airtight container in the fridge for up to 5 days. Let them reach room temperature before serving for the best texture.
- → Can I double this recipe for a larger batch?
Yes, you can double the ingredients and use a 9x13 inch pan for a larger batch. Adjust baking time slightly and test for doneness.