
 Pin
Pin
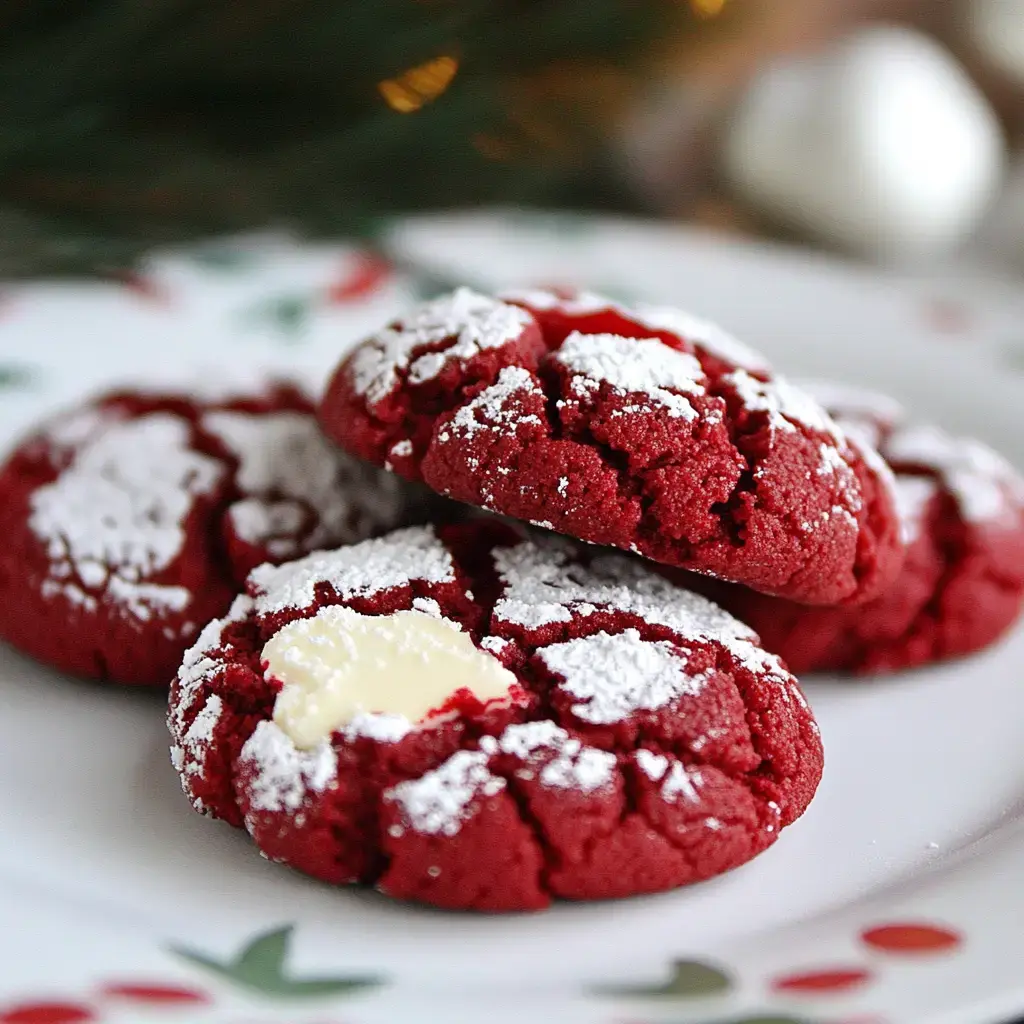
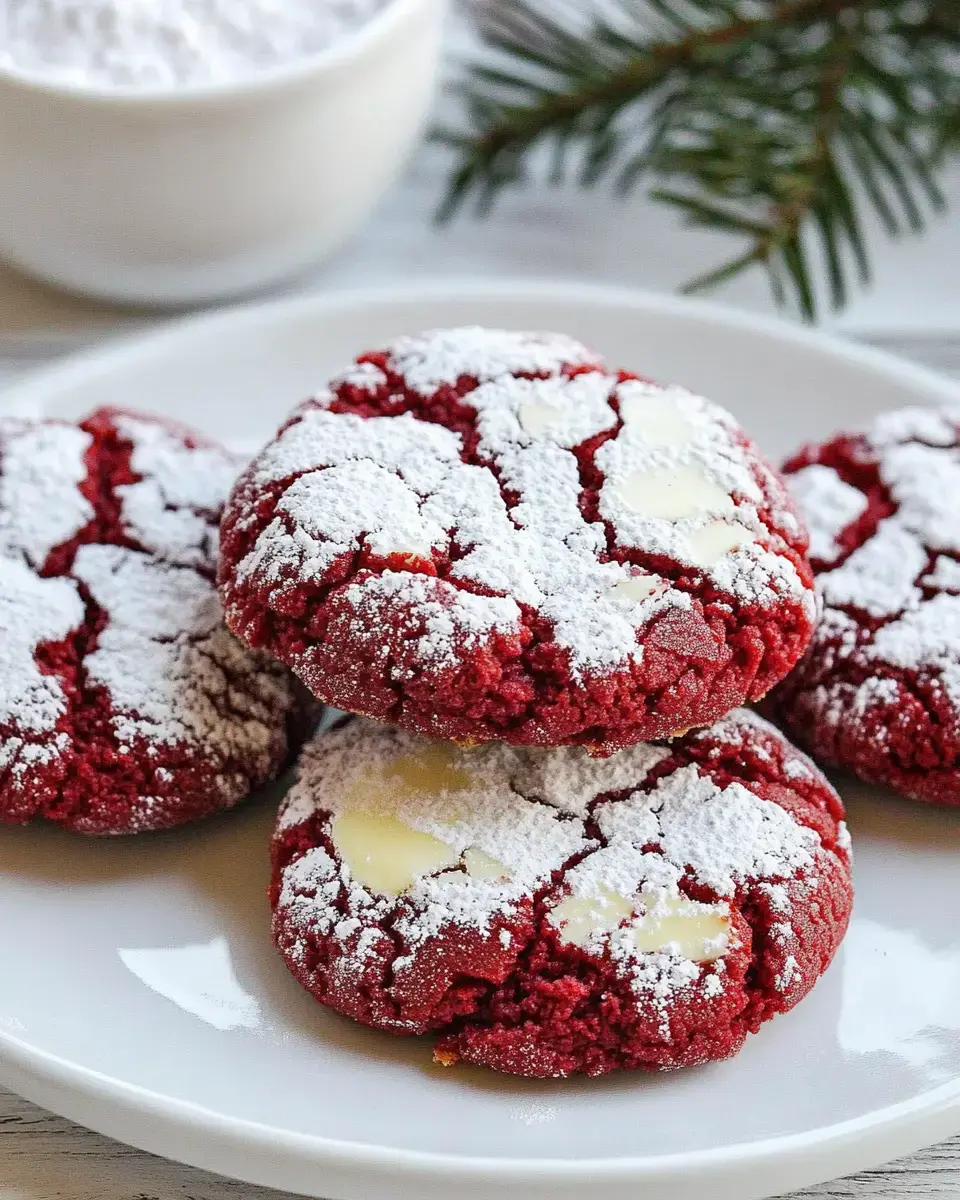
I bumped into this gem when I was mixing up my two faves - red velvet cake and ooey butter cookies - and boy, what a lucky find! These cookies are absolutely dreamy with their vivid red look, sugary cracked tops, and those super moist centers. Whenever I bring them to cookie swaps, they're gone in a flash!
What Makes These Special
For red velvet lovers, these treats will totally win you over. They've got that subtle cocoa hint wrapped in a buttery, rich taste, and that pretty dusty coating makes them look so fancy. They're gorgeous on holiday trays, but truth be told, I whip them up all through the year because they're just too good to save for special times.
Key Ingredients
- Flour: Simple all-purpose flour creates that perfect balance between firm and soft.
- Sugar: The right amount for sweetness that doesn't overwhelm you.
- Cocoa Powder: Brings that signature red velvet flavor we all crave.
- Baking Powder: This creates those lovely splits across the top.
- Salt: Just a dash to boost all the tastes.
- Cream Cheese: Adds that amazing richness and gooey texture.
- Butter: Don't cheap out here - quality really counts.
- Egg: Works as the perfect binder for everything.
- Red Food Coloring: Creates that eye-catching shade everyone loves.
- Powdered Sugar: Forms that gorgeous snowy outer layer.
How To Make Red Velvet Cookies
- Mix Your Dry Stuff First
- Combine your flour, sugar, cocoa powder, baking powder and salt in a bowl and stir them together until they're fully mixed.
- Prepare Your Wet Stuff
- Mix your cream cheese and butter until they're completely smooth, then add in your egg and the bright red food coloring.
- Mix Everything Together
- Slowly add your dry mix into your wet ingredients until you end up with a beautiful red dough. Stick it in the fridge for at least 60 minutes so it firms up.
- Roll and Cover
- Form your cold dough into small balls, then roll them thoroughly in powdered sugar.
- Pop Them in the Oven
- Set them on your cookie sheet and bake at a 350°F oven for around 10-12 minutes. You'll know they're done when those nice cracks start showing.
- Cool Them Down
- Let them sit on the baking sheet briefly, then move to a cooling rack. They're hard to resist warm, but they're worth the wait!
Cookie Success Secrets
Don't rush past the chilling step - it really helps with handling the dough. Be super generous with the powdered sugar coating, as that's what gives you those pretty cracks. I always grab the nicest cocoa powder I can find because it makes the flavor so much better. And don't rush the cooling part - they need time to set up just right.
Adaptable and Colorful
These little wonders work for any get-together. They fit right in on Christmas cookie trays, make sweet Valentine's treats, or just everyday snacks. Sometimes when I'm feeling fancy, I stick two together with cream cheese frosting in the middle - it's absolutely amazing.
Everyday Treats
While folks go nuts for these during holiday times, I bake them whenever I feel like it. There's nothing better than dunking one in cold milk or having one with your coffee to brighten up your day. They also work wonderfully as a little pick-me-up gift when someone's feeling down.
Recipe FAQs
- → Why chill the dough?
Makes it easier to handle and shape.
- → What type of food coloring?
Gel colors work best for deep red.
- → Can I freeze these?
Yes, up to 3 months in airtight container.
- → Why room temp ingredients?
Ensures smooth mixing and better texture.
- → How long do they keep?
Up to 3 days in airtight container.