
 Pin
Pin
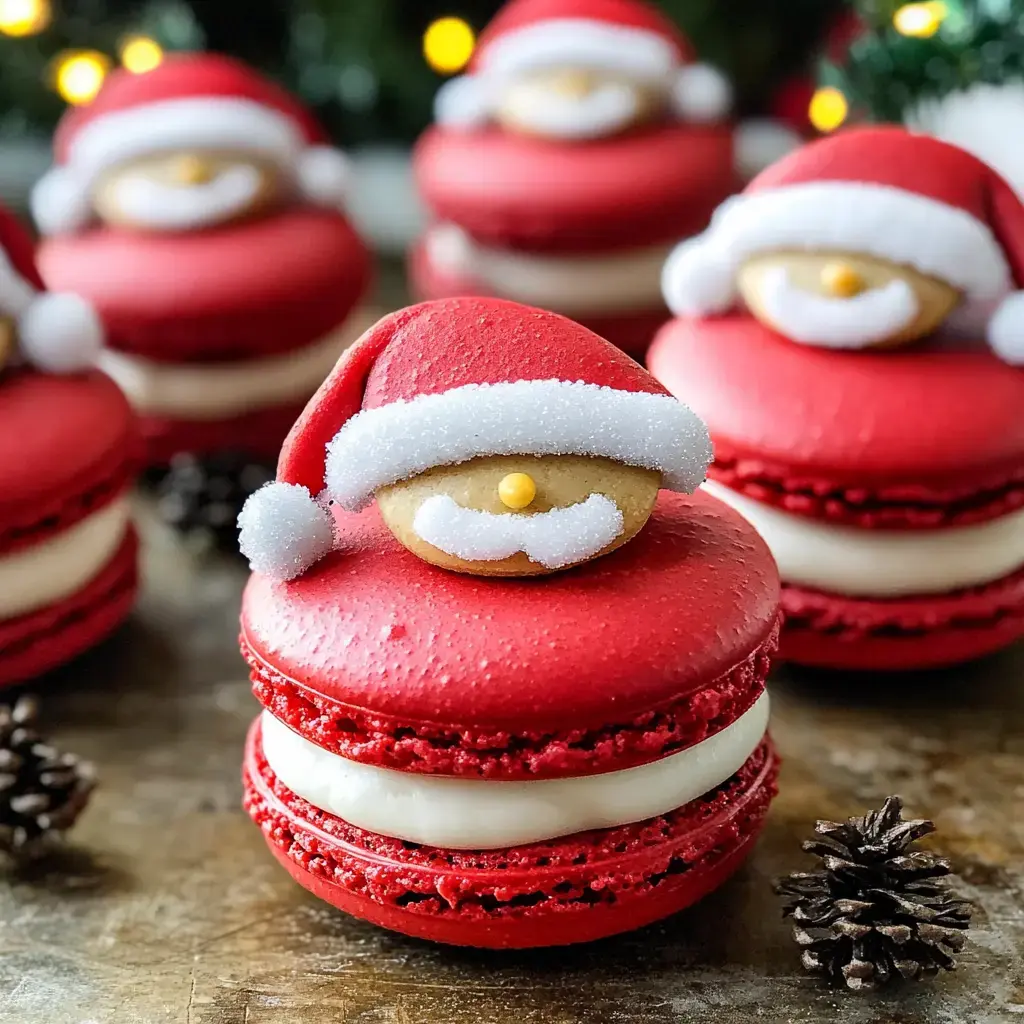
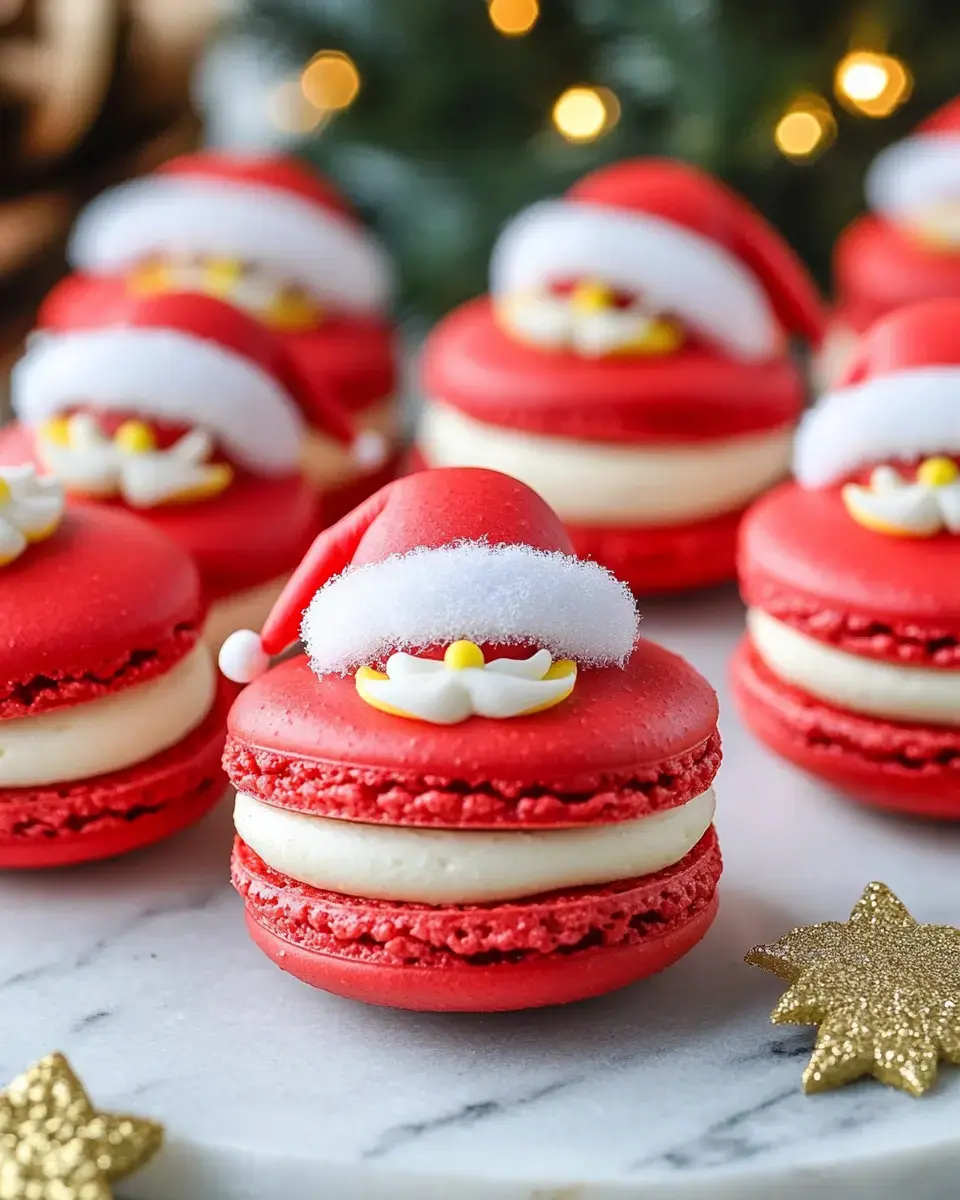
Making these Santa Claus Macarons has become my holiday tradition. They're simply magic - vivid red cookie shells with cute little royal icing belts, stuffed with the yummiest Sugar Cookie Buttercream, then rolled in fluffy coconut 'snow.' I can't count how many guests grab their phones for a quick pic before they gobble these up.
What Makes These Special
These aren't regular macarons - they're Christmas in bite-sized form! The striking red color grabs attention right away, and when folks notice the adorable belt design, they can't help but smile. Then there's that amazing sugar cookie filling that makes them taste as good as they look. They're a blast to create and even better to hand out to friends.
Main Components
- Almond Flour: Double-sift it for incredibly smooth results.
- Powdered Sugar: Creates that shiny, perfect top we all want.
- Egg Whites: Must be at room temp for the best volume.
- Red Gel Food Coloring: Go bold here - we need that true Santa shade.
- Sugar Cookie Buttercream: Creamy butter mixed with golden sugar and vanilla for that classic cookie taste.
- Royal Icing: Gives us those sharp, defined belt designs.
- Shredded Coconut: Wraps the edges in a snowy white finish.
How To Make Santa Claus Macarons
- Begin With The Shells
- Combine your double-sifted almond flour with sugar, then gently incorporate into stiff egg whites. Add plenty of red coloring for brightness. Pipe onto parchment-lined trays and let sit until they're not sticky anymore, around 1-2 hours, then bake at a steady 300°F.
- Create Your Filling
- Get your butter really fluffy, then mix in golden sugar and vanilla until you achieve that perfect cookie taste. Don't be shy about sampling it.
- Draw The Belt Details
- Prepare thick royal icing and carefully pipe belt shapes and tiny buckles on your fully cooled shells. Allow them to completely dry before handling.
- Assemble Your Macarons
- Drop big spoonfuls of buttercream onto shells, press together gently, then roll the exposed edges in coconut for that snowy appearance.
- Finishing Touches
- Store them in the fridge overnight - they'll taste way better after the flavors have time to mingle.
Tricks For Success
I get that bright Santa color by combining gel and powder food coloring. Don't try to speed up the drying phase, especially when it's humid. I sometimes use a small fan to help. My biggest tip? Let them chill overnight in the fridge - they'll taste so much better and get that amazing chewy-crisp texture.
Fun Twists
- Try Different Fillings: Cream cheese frosting or peppermint ganache work wonderfully too.
- Experiment With Colors: Christmas green or metallic gold look fantastic with the same belt design.
- Go Fancy: A tiny bit of edible glitter on the buckle part adds extra charm.
Perfect For Holiday Parties
These Santa treats always grab attention on my Christmas dessert spread. They work great for cookie swaps, make wonderful handmade gifts, and bring so much joy to Christmas breakfast. There's something about these little guys that brings out smiles - and isn't that what we want from our holiday goodies?
Recipe FAQs
- → Do I need egg white powder?
Only in humid climates above 30% humidity.
- → Why must shells rest longer?
Extra food coloring requires longer drying time.
- → Can I freeze these?
Yes, up to 2 months.
- → Why heat treat flour?
Makes it safe to eat in raw filling.
- → How long do they keep?
5 days refrigerated, 1-2 months frozen.