
 Pin
Pin
Perfectly portioned luxury meets classic comfort in these Mini Vanilla Pound Cakes. Each small treasure delivers the rich, buttery satisfaction of traditional pound cake in an elegant individual serving. The delicate vanilla-flecked crumb paired with a vibrant raspberry glaze creates a dessert that's both nostalgic and fresh - perfect for sharing with someone special or treating yourself to a moment of pure indulgence.
The first time I served these at a family gathering, my aunt couldn't believe they weren't from a high-end bakery. The secret? Taking extra care with the butter-sugar creaming process and adding both vanilla extract and fresh vanilla bean.
Essential Ingredients and Selection Tips
- Butter - Choose unsalted, high-quality butter with at least 82% fat content. The flavor shines through in every bite
- Sour Cream - Full-fat is non-negotiable here. It creates that incredibly tender, moist crumb that keeps you coming back for more
- Vanilla Bean - Look for plump, oily pods. The tiny seeds create beautiful specks throughout your cake and deliver pure vanilla flavor
- Eggs - Fresh, room temperature eggs incorporate better and help create the perfect rise
In my kitchen adventures, I've learned that measuring flour correctly makes all the difference. I always spoon it into the measuring cup and level it off - never pack it down.
Detailed Instructions
- Perfect Preparation
- 1. Start by positioning your oven rack in the center and preheating to 325°F. This slightly lower temperature ensures even baking. While waiting, generously grease your mini Bundt pan, making sure to coat every ridge and crevice.
- The Creaming Method
- 2. Begin with room temperature butter - it should indent easily when pressed but still hold its shape. Beat it with both sugars until incredibly light and fluffy, about 3-4 minutes. Don't rush this step; it creates the foundation for your cake's texture.
- Building Your Batter
- 3. Add eggs one at a time, beating well after each addition. The mixture might look slightly curdled - that's perfectly normal. Scrape down the bowl often to ensure everything mixes evenly.
- Adding Moisture
- 4. Mix in the sour cream and vanilla until just combined. Then add your carefully measured flour mixture in three portions. The final batter should be thick and luxurious, almost like softened ice cream.
- The Baking Process
- 5. Fill each cavity about 2/3 full - these little cakes need room to rise. Tap the pan gently on the counter to release any air bubbles. Bake for 20-25 minutes, or until a toothpick comes out clean with just a few moist crumbs.
Recently, I discovered that placing parchment paper strips under each cake while glazing makes cleanup infinitely easier. It's these little tricks that make baking more enjoyable.
Mastering Mini Sizes
Working with mini Bundt pans requires attention to detail. Each cavity should be filled consistently to ensure even baking. I use an ice cream scoop to maintain uniformity - it's a game-changer for portion control.
The Art of Glazing
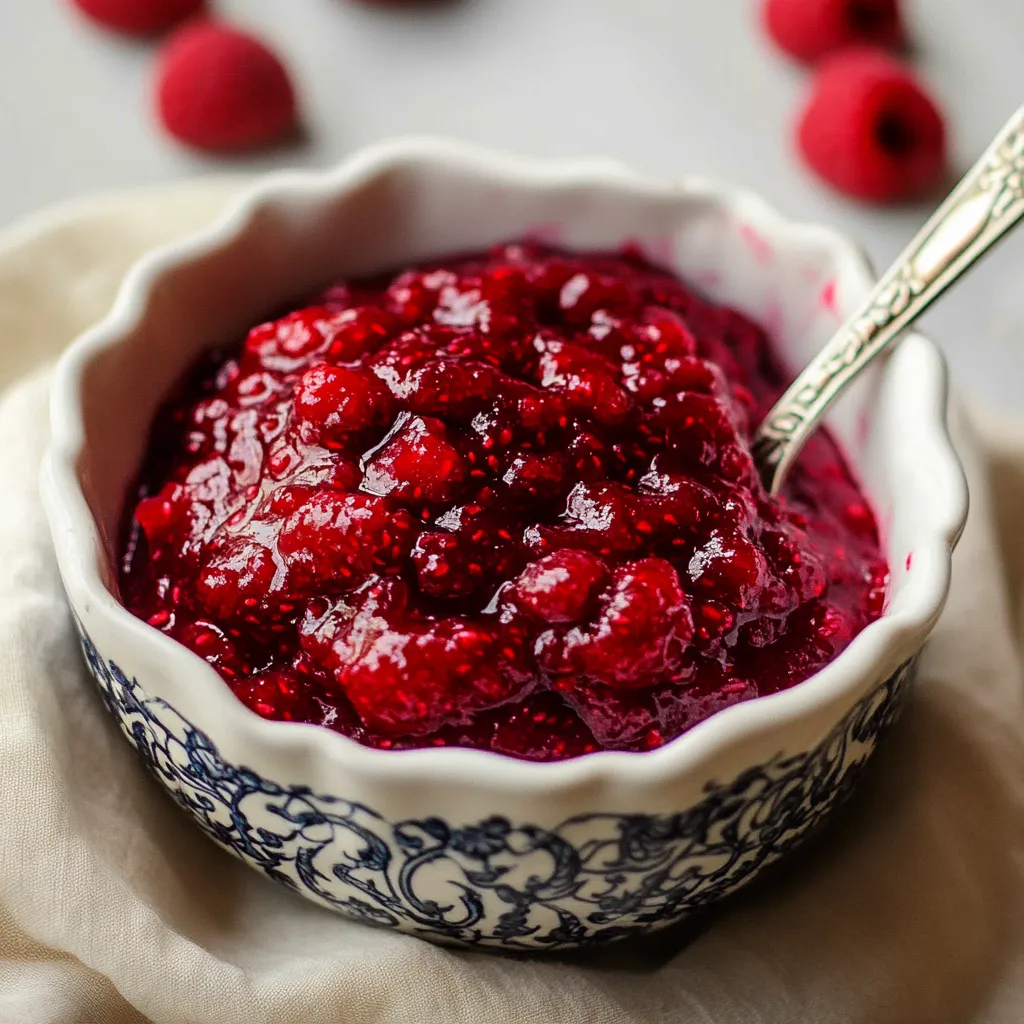
Creating that perfect raspberry glaze takes patience. Start with fresh raspberries, strain out the seeds, and add powdered sugar gradually. The consistency should be like warm honey - thick enough to coat but thin enough to drip elegantly down the ridges.
Planning Ahead
These cakes actually improve with a day's rest, as the flavors deepen and meld. Store them under a cake dome at room temperature for up to 3 days, or freeze unglazed cakes for up to 3 months.
The Science Behind Temperature and Timing
Mastering the perfect texture in these mini cakes involves understanding the crucial role of temperature at every stage. Starting with room temperature ingredients isn't just baker's lore - it's chemistry in action. Cold eggs or butter can cause the batter to curdle, disrupting the delicate emulsion we've worked so hard to create. Even the temperature of your kitchen matters; I've noticed that on particularly cold days, the batter needs an extra minute or two of creaming to reach that perfect, fluffy stage. When it comes to baking, I've found that preheating the oven for at least 20 minutes ensures it reaches the right temperature throughout, preventing any hot spots that could lead to uneven baking.
The Art of Pan Selection and Preparation
While these cakes shine in a mini Bundt pan, the choice of pan material significantly impacts the final result. Dark metal pans tend to brown the cakes more quickly, requiring a slight temperature adjustment - I lower the heat by 25°F to compensate. Light-colored pans produce a more delicate crust but might need a few extra minutes of baking time. Through countless batches, I've discovered that a well-seasoned Nordic Ware pan produces the sharpest details, but any quality mini Bundt pan will work beautifully when properly prepared. My secret weapon is a mixture of melted butter and flour, applied with a pastry brush to every nook and cranny. This extra step might seem fussy, but it's saved countless cakes from sticking, especially in those intricate Bundt designs.
Chef's Essential Tips
- Test for doneness 5 minutes before the recommended baking time - every oven is different
- Cool in the pan for exactly 10 minutes before turning out onto a wire rack
- When adding vanilla beans, split and scrape with the back of your knife for maximum seed extraction
Final Thoughts
Through years of baking these mini treasures, I've learned that patience is the key to pound cake perfection. There's something magical about pulling these golden beauties from the oven, each one a perfect individual serving of comfort and elegance combined.
Recipe FAQs
- → Can I make this ahead?
- Yes, components can be made ahead and cake freezes well
- → Why add coffee?
- Deepens chocolate flavor without tasting like coffee
- → Can I use frozen raspberries?
- Yes, for filling - no need to thaw first
- → Why room temperature ingredients?
- Ensures even mixing and better texture
- → Can I make it smaller?
- Yes, instructions included for 6-inch version