
 Pin
Pin
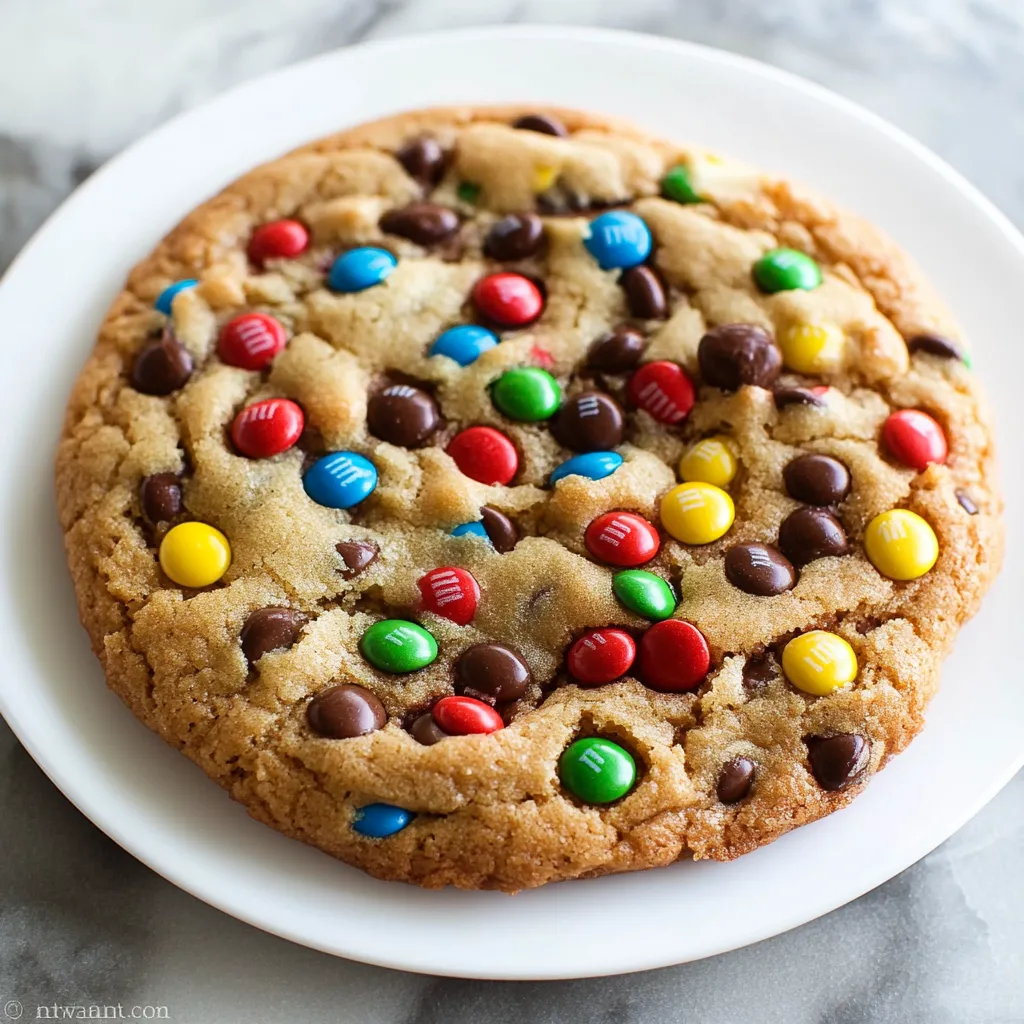
The ultimate comfort cookie doesn't always come in small packages. This Giant Monster M&M Cookie delivers pure joy in magnificent 6-inch form, packed with colorful M&Ms and rich chocolate chips nestled in a perfectly chewy peanut butter-oat base. Every bite brings together the satisfying crunch of candy shells, melty chocolate, and that homestyle cookie texture that makes you feel like a kid again.
The first time I made this supersized treat, my kitchen filled with that unmistakable cookie aroma that drew everyone in. My neighbor's kids pressed their noses against the window, watching in amazement as I pulled out what looked like a cookie meant for giants. Now it's become our favorite weekend baking project.
Essential Ingredients and Selection Tips
- Butter - Always choose unsalted, room temperature butter. I've found that taking it out 1 hour before baking ensures it creams perfectly with the sugars
- Old-Fashioned Oats - These thick, hearty flakes create incredible texture. Quick oats work too, but the old-fashioned variety gives that homestyle bite we're after
- Peanut Butter - Stick with creamy, commercial brands like Jif or Skippy. Natural peanut butter can separate and affect the cookie's texture
- M&Ms and Chocolate Chips - The combination of both creates magic. M&Ms provide crunch and color, while chocolate chips melt into perfect pockets of gooey goodness
In my test kitchen, I've tried endless combinations of mix-ins, but this classic duo never fails to bring smiles. Sometimes I'll grab a handful of extra M&Ms, knowing some will mysteriously disappear during the baking process.
Detailed Cooking Instructions
- Prep Phase
- 1. Start by bringing your butter to room temperature - this is crucial for that perfect creamy base. Place it on your counter for an hour before baking. Meanwhile, line a baking sheet with parchment paper and preheat your oven to 325°F. The slightly lower temperature ensures our giant cookie bakes evenly without burning.
- Mixing Magic
- 2. Beat your softened butter with both sugars until the mixture becomes light and fluffy. This usually takes about 2-3 minutes, and you'll notice the color becoming slightly lighter. Don't rush this step - it's creating the foundation for our perfect texture.
- Creating the Base
- 3. Add your beaten egg (just those 2 tablespoons!), vanilla, and peanut butter. Mix until they're fully incorporated. The mixture might look a bit curdled at first, but keep beating until it smooths out. Trust me, it'll come together beautifully.
- Building Structure
- 4. Combine your flour, oats, baking soda, and salt. Gradually mix these dry ingredients into your wet mixture. Stop as soon as they're incorporated - overmixing here can make your cookie tough. The dough should feel sticky but manageable.
- The Grand Finale
- 5. Now comes the fun part - fold in those M&Ms and chocolate chips. Don't be afraid to get in there with a spatula to ensure they're evenly distributed. Some bakers swear by saving a few M&Ms to press into the top of the cookie before baking - it makes for a gorgeous presentation.
- Shaping Your Giant
- 6. Scoop all that glorious dough onto your prepared baking sheet. Shape it into a mound in the center - don't worry about making it perfect. The heat will help it spread into that beautiful 6-inch circle. If your dough feels too sticky, pop it in the fridge for 5-10 minutes.
- The Baking Journey
- 7. Slide your creation into the preheated oven and let the magic happen for 20-30 minutes. You're looking for lightly browned edges and a top that's set but still soft in the center. Remember, it'll continue setting as it cools.
Last week, I made this cookie for my daughter's study group. One of the teens asked if I'd gotten it from a bakery, which might be the best compliment a home baker can receive. The secret? Taking my time with the butter-sugar creaming stage.
Customization Corner
Feel free to experiment with your mix-ins. White chocolate chips, crushed pretzels, or even chopped nuts can create exciting variations. Just keep the total amount of add-ins similar to maintain the right dough-to-mix-ins ratio.
Storage Secrets
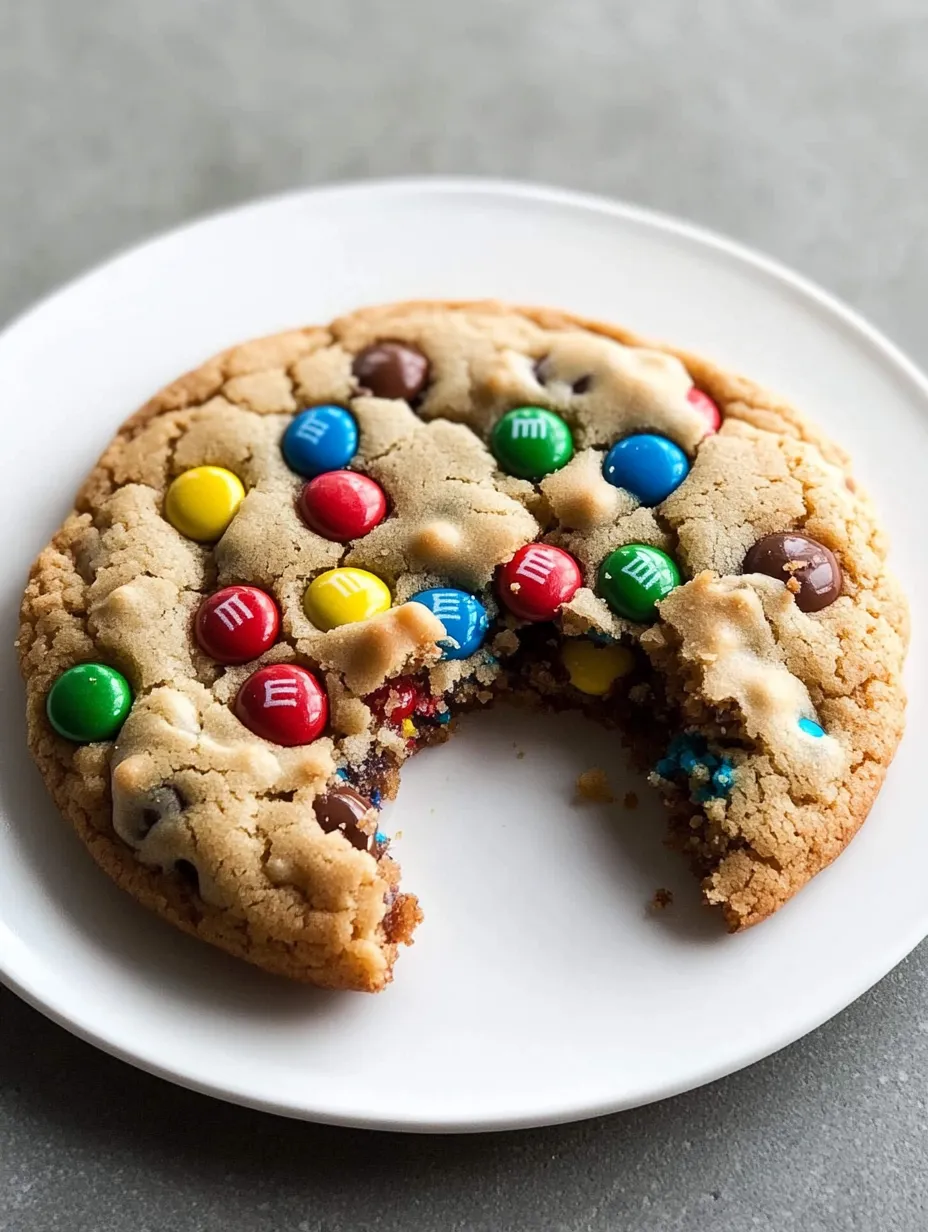
This giant cookie stays fresh for up to 5 days when stored in an airtight container. Though honestly, it's never lasted more than two days in my house. The temptation of breaking off "just one more piece" is too strong.
The Science of Spreading
The perfect spread comes from the right balance of butter and flour. If your cookie isn't spreading during baking, gently press it down with the back of a spoon halfway through the bake time.
The Art of Temperature Control
Understanding your oven's personality is crucial for this oversized beauty. Every oven has its hot spots, and with a cookie this large, those variations matter more than ever. I've found that rotating the baking sheet halfway through baking ensures even browning. If you notice the edges browning too quickly while the center remains pale, place a loose tent of foil over those outer edges. This technique, borrowed from pie baking, works wonders for protecting the edges while allowing the center to catch up. Through countless test batches, I've discovered that the perfect internal temperature for this cookie is when the edges reach 180°F and the center is around 165°F - this ensures that coveted crispy-edge, chewy-center combination.
Mastering Texture Through Timing
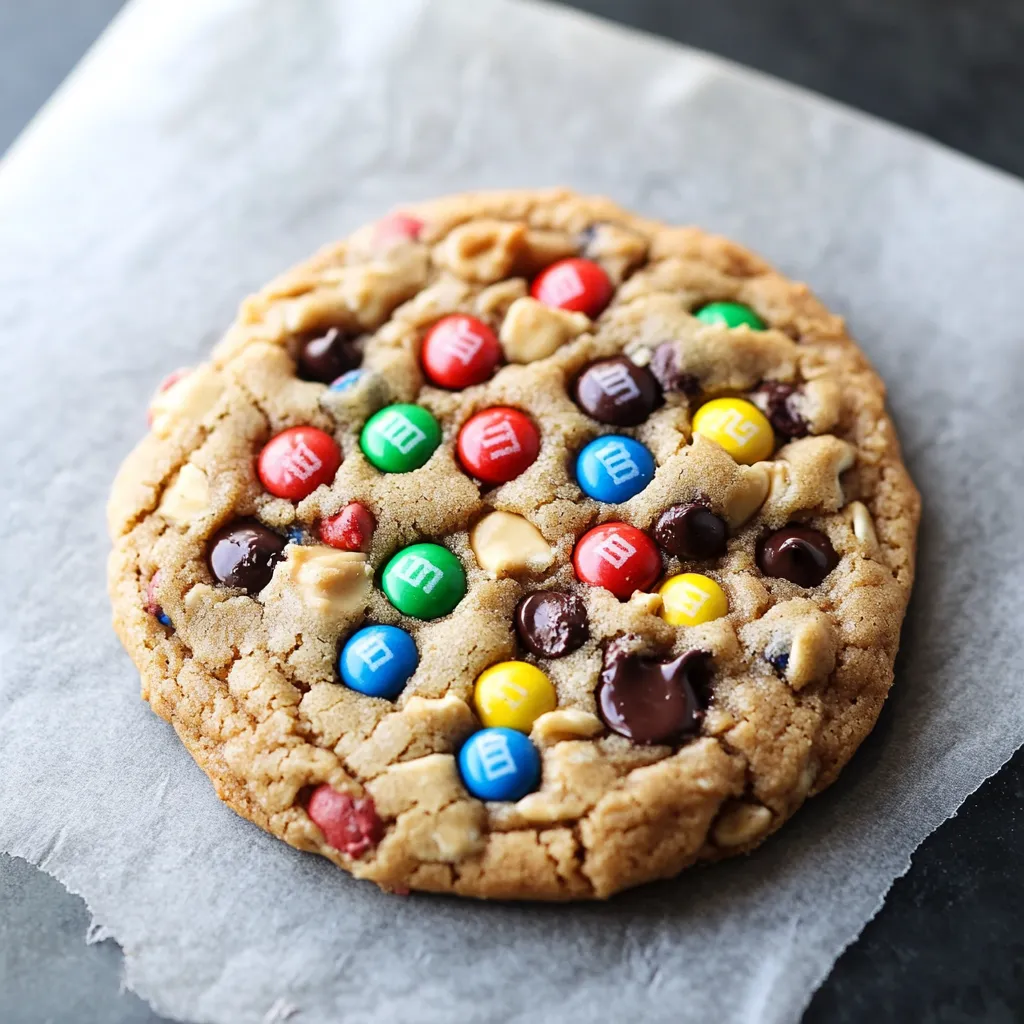
The lifecycle of this giant cookie doesn't end when it leaves the oven - the cooling process is just as crucial as the baking. When you first remove it from the oven, the cookie will have a slight dome and feel almost liquid in the center. Don't panic - this is exactly what you want. As it cools, the cookie will slowly collapse, creating those beautiful crinkles and cracks that make it look artisanal. During the first 5 minutes, you'll notice the edges starting to set while the center remains soft. By 10 minutes, the entire cookie will be firm enough to handle, though still wonderfully warm. This gradual cooling process is what develops those chewy pockets between the M&Ms and creates that professional bakery-style texture that makes people swear you bought it from a high-end cookie shop.
Chef's Essential Tips
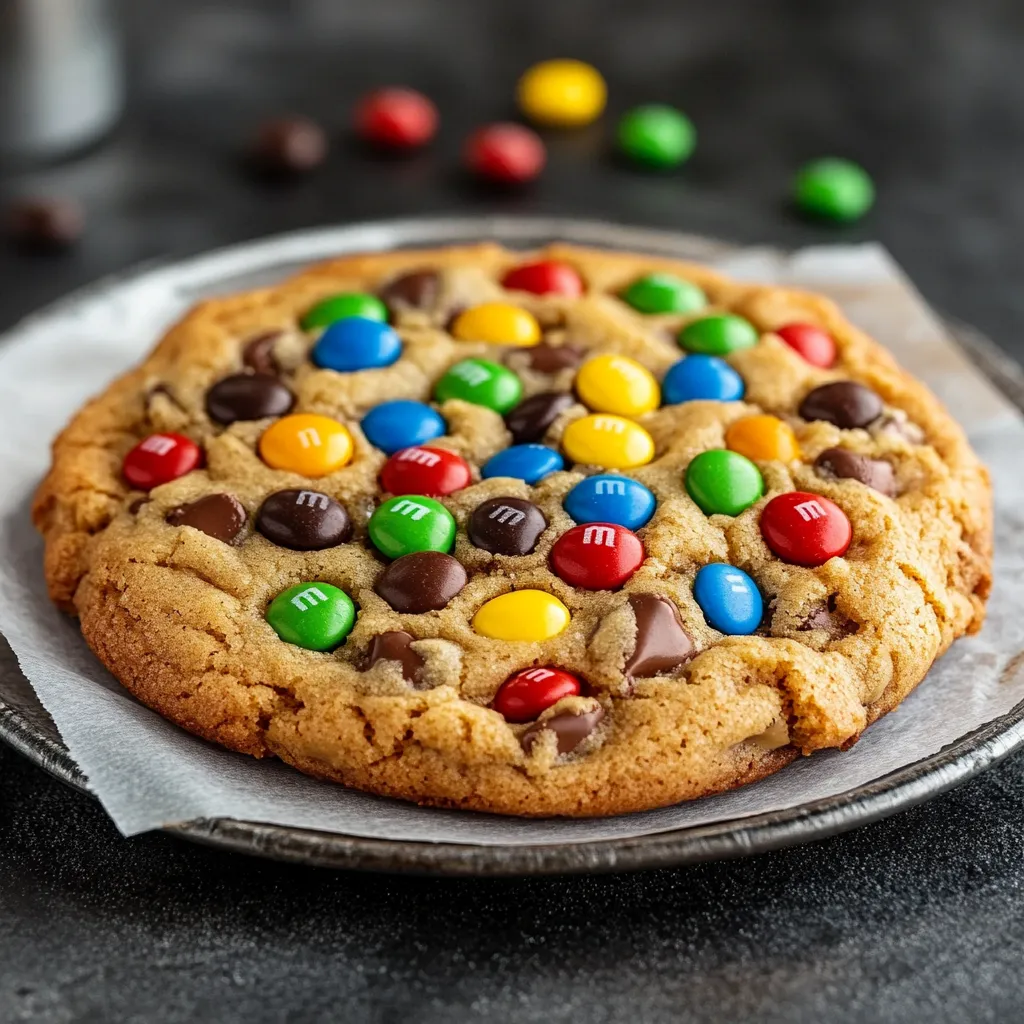
- Press extra M&Ms and chocolate chips onto the warm cookie right after baking - this creates that bakery-style look and ensures every bite has plenty of chocolate
- Let the cookie cool on the baking sheet for at least 10 minutes. Moving it too soon can cause it to break - I learned this the hard way!
- For picture-perfect slices, use a sharp knife warmed under hot water and dried well. Clean the blade between cuts
Final Thoughts
After years of baking cookies of all sizes, this giant version has become my go-to when I want to create something special. There's something magical about pulling a massive cookie out of the oven - it never fails to bring childlike joy to everyone who sees it. Whether you're sharing it with friends or keeping it all to yourself (no judgment here!), this recipe proves that sometimes bigger really is better.
Recipe FAQs
- → Can I make smaller cookies?
- Yes, divide dough into 4 portions and bake 10-12 minutes
- → Why chill the dough?
- Only if too sticky to handle - 5-10 minutes is enough
- → Can I skip peanut butter?
- Yes, omit without other changes to recipe
- → Can I freeze this?
- Yes, freezes well up to 3 months
- → What M&Ms work best?
- Use Valentine's colors for theme, or any variety you prefer