
 Pin
Pin
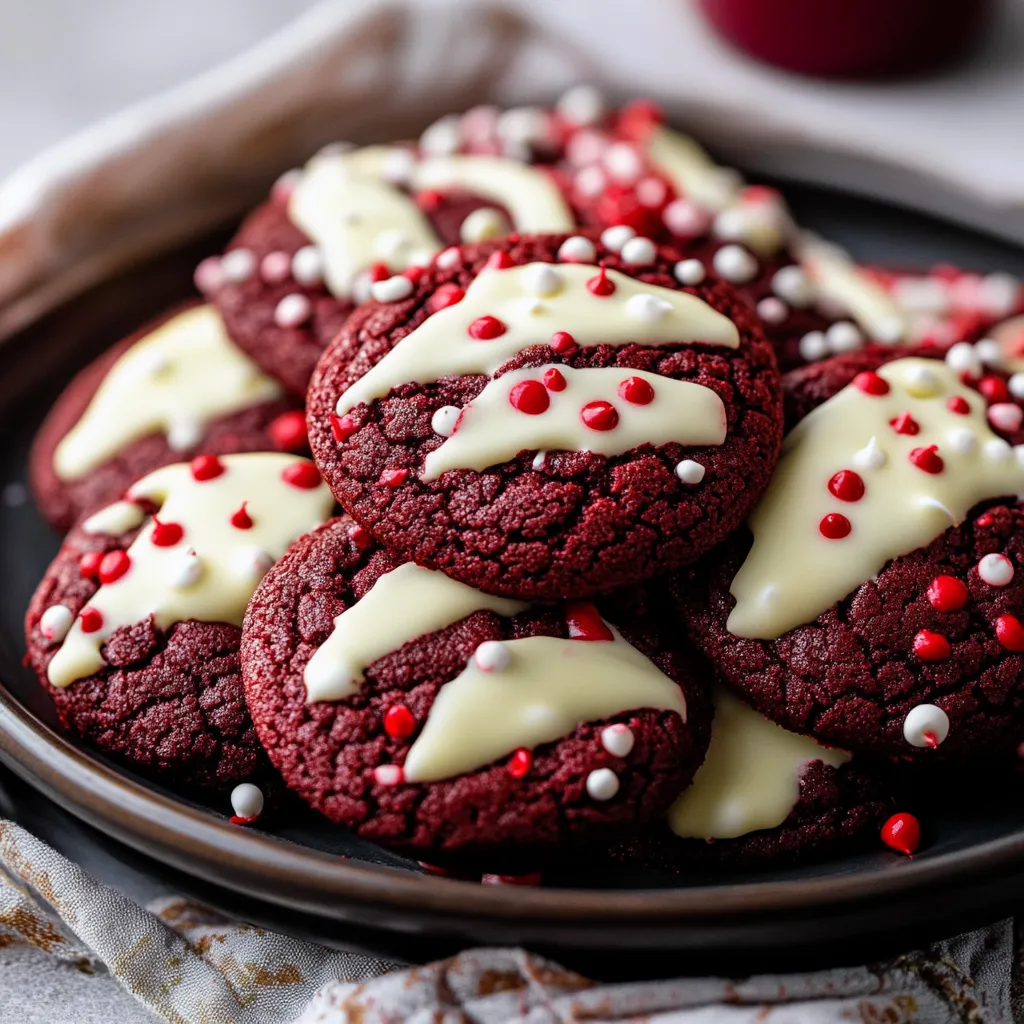
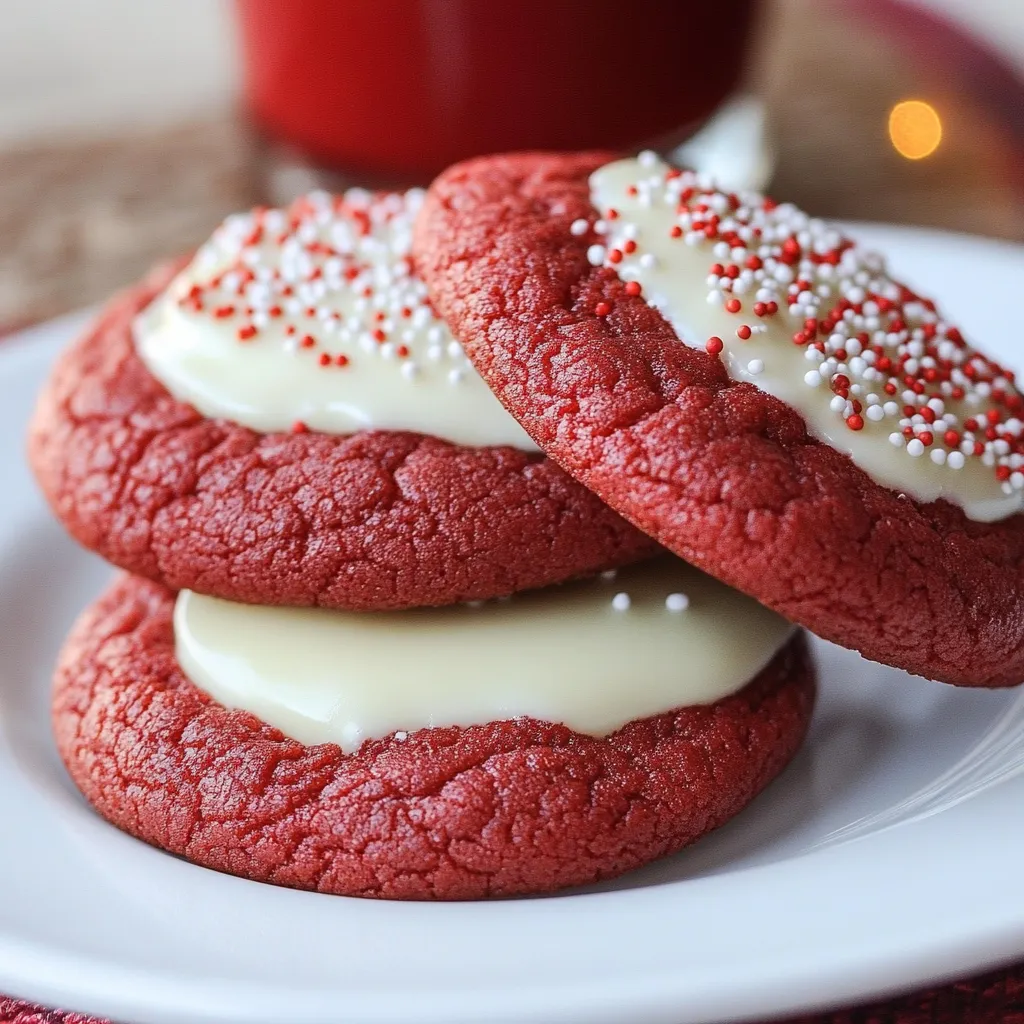
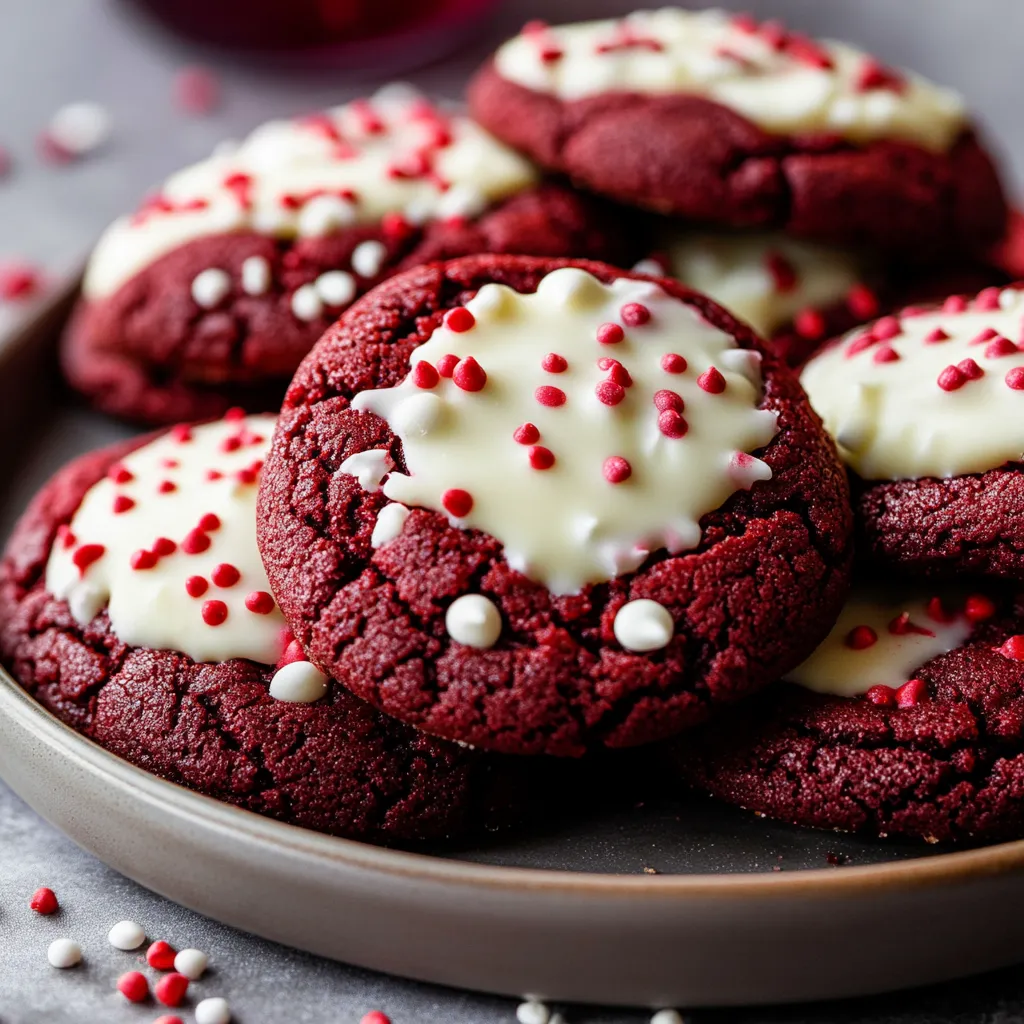
A perfect balance of vanilla and cocoa wrapped in a festive red package - that's what makes these White Chocolate Red Velvet Cookies truly special. Each bite delivers the classic red velvet flavor we love, while a generous dip in white chocolate adds an elegant touch that elevates them from everyday cookies to something extraordinary. The contrast between the soft, chewy center and the crisp white chocolate coating creates an irresistible texture that keeps you coming back for more.
Last Christmas, these cookies were the centerpiece of my cookie exchange party. Their vibrant color and elegant white chocolate coating had everyone asking for the recipe. The secret? Taking time to properly chill the dough and using quality white chocolate for dipping.
Essential Ingredients and Selection Tips
- White Chocolate - Use only pure baking bars like Ghirardelli or Baker's. Chocolate chips contain stabilizers that prevent smooth melting
- Cocoa Powder - Natural unsweetened cocoa powder provides the classic red velvet taste
- Food Coloring - Gel coloring gives the most vibrant color without affecting texture. I prefer Americolor Super Red
- Brown Sugar - Light or dark both work, but dark adds extra moisture and deeper flavor
Through countless batches, I've learned that room temperature ingredients aren't just a suggestion - they're crucial for achieving that perfect red velvet texture.
Detailed Instructions
- Perfect Preparation
- 1. Begin by whisking your dry ingredients together. This step isn't just about combining - it's about aerating the flour and cocoa powder for the perfect texture. Use a whisk to break up any cocoa powder lumps.
- The Creaming Process
- 2. Beat your softened butter and sugars until light and fluffy - about 3-4 minutes. This creates air pockets that give your cookies structure. The mixture should be noticeably lighter in color and texture.
- Building the Base
- 3. Add your egg, milk, and vanilla. The splash of buttermilk isn't just for moisture - it adds tang and helps activate the baking soda. Mix until just combined to avoid tough cookies.
- Creating the Color
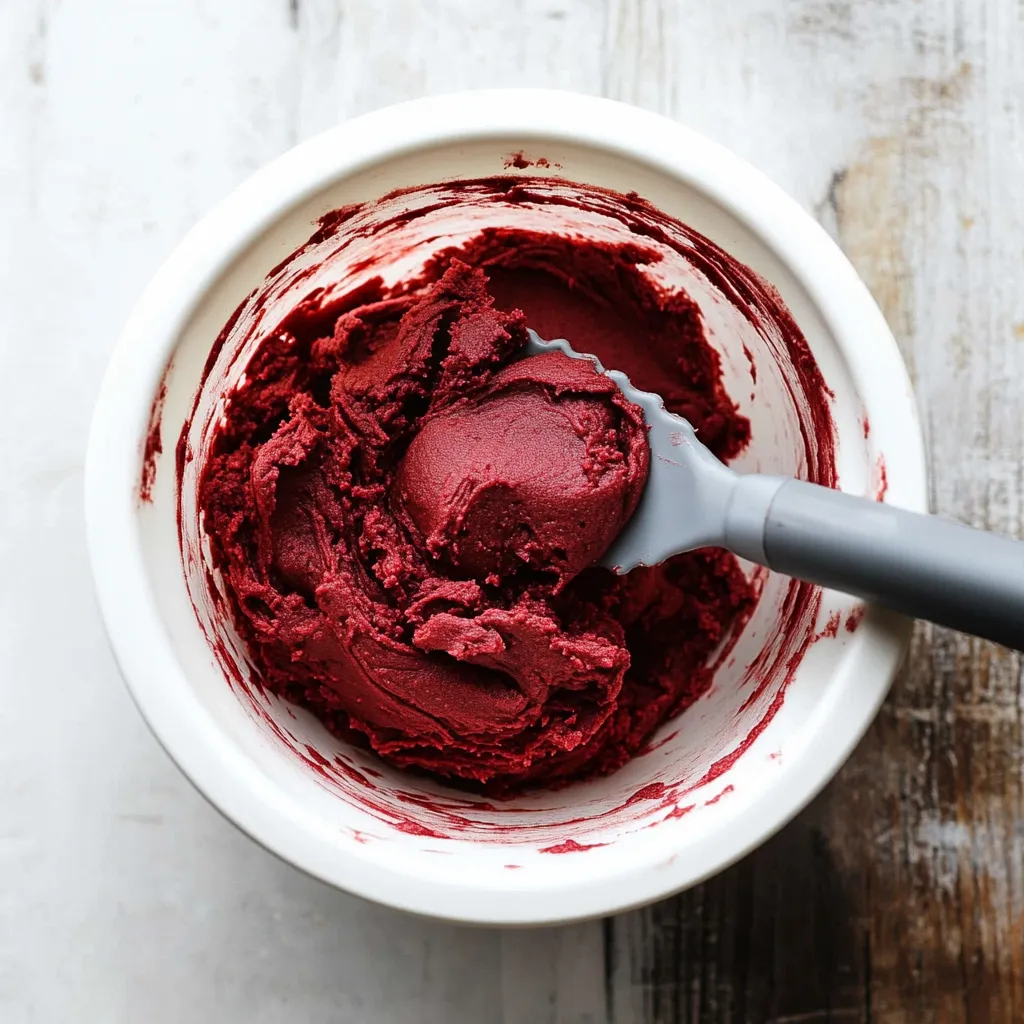
- 4. This is where the magic happens. Add your gel food coloring gradually until you achieve that perfect red velvet shade. Remember, the color will deepen slightly during baking.
- Chilling Time
- 5. Don't skip the chilling step! Two hours minimum allows the flour to hydrate and the butter to firm up, preventing flat cookies. The dough should feel firm but still scoopable.
Recently, I discovered that lining up all dipped cookies on a single baking sheet in the refrigerator helps the chocolate set with a beautiful shine.
Perfecting the Decorative Touch
Creating visual appeal goes beyond just dipping in white chocolate. Try drizzling additional white chocolate in patterns across the dipped portion, or experiment with different sprinkle combinations. For holidays, match your sprinkle colors to the occasion. The contrast of deep red cookie against pure white chocolate creates a stunning presentation.
Mastering Make-Ahead Secrets
These cookies are perfect for planning ahead. The dough can be chilled for up to 3 days, or you can freeze the shaped dough balls for up to 3 months. The finished cookies also freeze beautifully, even with the white chocolate coating - just layer them between sheets of wax paper in an airtight container.
The Art of Chocolate Temperature
Working with white chocolate requires precise temperature control. I've found that melting it at 50% power in 30-second intervals prevents scorching and ensures a smooth consistency. If the chocolate seems too thick for dipping, add a teaspoon of neutral oil (like coconut oil) to thin it out. The chocolate should be warm enough to coat smoothly but not so hot that it melts the cookie. A candy thermometer reading of 88-90°F is ideal.
Color Enhancement Techniques
Getting that perfect red velvet shade takes some finesse. Natural cocoa powder can affect the final color, so I often add the food coloring in stages. Start with half the recommended amount, then gradually add more until you achieve your desired shade. Remember that the color deepens slightly during baking. For a more vibrant red, I sometimes add a tiny pinch of brown gel food coloring to create depth.
Storage and Serving Secrets
These cookies actually develop better flavor after 24 hours, as the vanilla and cocoa notes meld together. Store them in an airtight container at room temperature, placing wax paper between layers to protect the white chocolate coating. In warmer months, refrigerate them to prevent the chocolate from softening. Just remember to bring them to room temperature before serving for the best texture and flavor experience.
Chef's Essential Tips
- Chop white chocolate into very small pieces for smooth melting
- Tap off excess chocolate gently when dipping to prevent puddles
- Add sprinkles immediately after dipping each cookie while chocolate is still wet
Years of perfecting these cookies have taught me that patience - with both the chilling and dipping process - yields the most beautiful results.
Final Thoughts
These White Chocolate Red Velvet Cookies are more than just a treat - they're a celebration in cookie form. Whether you're making them for Valentine's Day, Christmas, or any special occasion, their vibrant color and elegant white chocolate coating make them stand out on any cookie platter. The perfect balance of vanilla, cocoa, and white chocolate creates a cookie that's as delicious as it is beautiful.
Recipe FAQs
- → Why chill the dough?
- Essential step for proper texture, cannot be skipped
- → What white chocolate to use?
- Pure baking bars like Ghirardelli, not chips
- → Natural coloring options?
- Can use 2 teaspoons beet powder instead of food coloring
- → Can I freeze these?
- Yes, with or without chocolate coating up to 3 months
- → Why won't my chocolate melt smoothly?
- Add 1 teaspoon vegetable oil if too thick