
 Pin
Pin
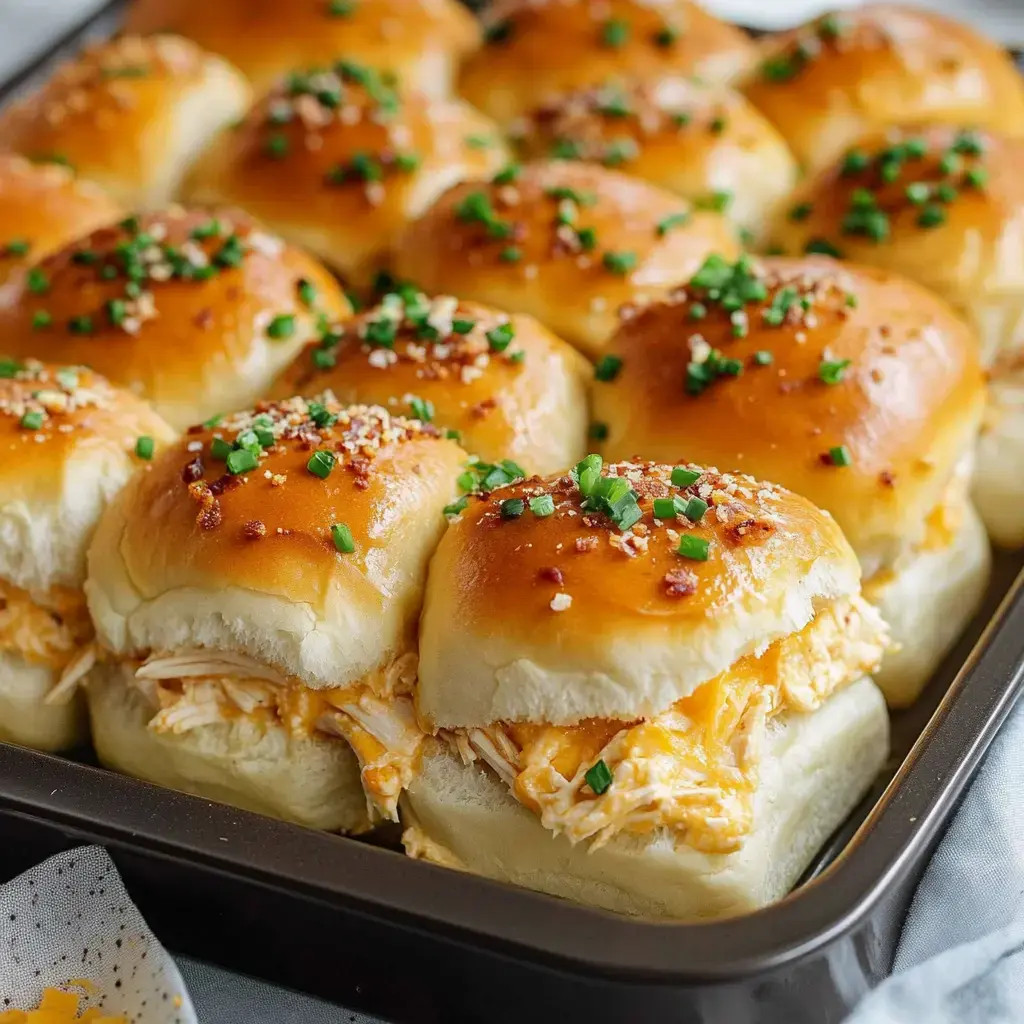
Looking for a simple DIY party nibble? These Crack Chicken Sliders work like magic! My homespun take brings together soft shredded chicken, crunchy bacon bits, and gooey cheese with tangy ranch flavoring. This simple approach tucks all that yumminess between fluffy Hawaiian buns, finished with a buttery parmesan-chive topping that'll get your taste buds dancing!
What Makes These Special
This kitchen creation is absolutely fantastic! With just 10 minutes of setup, these quick sliders feed many mouths easily. My version works wonderfully as a light bite, starter, or complete meal. After your first taste of this simple dish, you'll get why we name them "crack" chicken - they're downright impossible to resist!
Ingredients List
- Main Player: Pulled chicken keeps this simple dish fantastic.
- Rich Foundation: Cream cheese for that homemade goodness.
- More Cheesy Flavor: Sharp cheddar gives amazing melt.
- Crunchy Elements: Plenty of bacon in this DIY version.
- Zesty Touch: Ranch mix gives this simple dish kick.
- Ideal Bread: Hawaiian rolls can't be replaced.
- Tasty Finish: Butter, parmesan, and snipped chives.
How To Make Crack Chicken Sliders
- Create Your Mixture
- For this DIY approach, begin by softening your cream cheese in a large bowl. When it's creamy, stir in the ranch mix - this simple dish needs proper flavoring! Mix in onion powder and pepper, then stir in your pulled chicken. Next comes the tasty stuff - crunchy bacon pieces, chopped green onions, and loads of cheese.
- Stack Everything Up
- This is where this DIY creation gets exciting! Cut those Hawaiian rolls horizontally - keep them attached! Spread your chicken combo on the bottom section, then add more cheese because this simple dish always benefits from extra cheese.
- Add The Finishing Touches
- For my version, I coat the tops with melted butter mixed with garlic powder - it improves everything! Scatter parmesan and fresh chives on top. I sometimes add everything bagel topping to this simple dish for added texture.
- Into The Oven
- Wrap your DIY sliders with foil and put them in a 350°F oven. They need roughly 25 minutes covered - this helps everything melt together beautifully. Then unwrap and cook 5-8 more minutes until golden. This simple dish deserves the cooking time!
Helpful Tricks
Don't swap out those Hawaiian rolls in this simple dish - their sweetness makes these DIY sliders stand out. I usually make the chicken mix for my version ahead of time. Want some heat? Try hot ranch in this simple dish. And always cook more than needed - they'll vanish quickly!

Perfect Pairings
These DIY sliders go great with hot fries or tangy slaw. Sometimes I put this simple dish over noodles or rice - the chicken mixture tastes that amazing! My kids enjoy this version with raw veggies alongside. They're suitable for any gathering!
Storage Tips
Your DIY sliders will last in the fridge about 3 days. When you're ready to enjoy this simple dish again, heat them in the oven wrapped in foil. You can even freeze the chicken mixture from this version - just use fresh rolls when putting them together!
Recipe FAQs
- → Why are they called crack chicken?
- The addictive combination of ranch, bacon and cheese earned this popular name.
- → Can I use rotisserie chicken?
- Yes, perfect time-saving option for shredded chicken.
- → Why cover with foil first?
- Allows filling to heat through without burning tops.
- → Can I make ahead?
- Assemble up to 24 hours ahead, add butter topping just before baking.
- → Why let rest before cutting?
- Allows filling to set slightly for cleaner cutting.